 |
| Capture: Camera+ Processed: Snapseed, ImageBlender, Snowdaze, Glaze, Leonardo |
1. Capture: Camera+ I chose Camera+ for the capture because it allows you to control exposure, either with the compensation slider of by touching the screen with the exposure reticule selected. I wanted to capture white snow so I added compensation to brighten the original image capture.
2. I then used Snapseed to add a blur effect and toning warming up the image by using the "grunge" filter option, while maintaining focus in the middle of the image.
3. I was not happy with the composition of the triangular shape of white sky in the top left of the image so I took the Snapseed filtered image into Leonardo and flipped it on the horizontal. My idea was to use the top left of the blurred trees to "fill in" the barren sky area in the original image.
4. I used ImageBlender to layer and then mask out the section of the flipped image I wanted in the original shot.
5. Now that I had the image I envisioned, I wanted to add some snow in the atmosphere. So, I chose the app Snowdaze, by Jixipix, to add snow falling in the scene. In Snowdaze, I also adjusted the whiteness of the image.
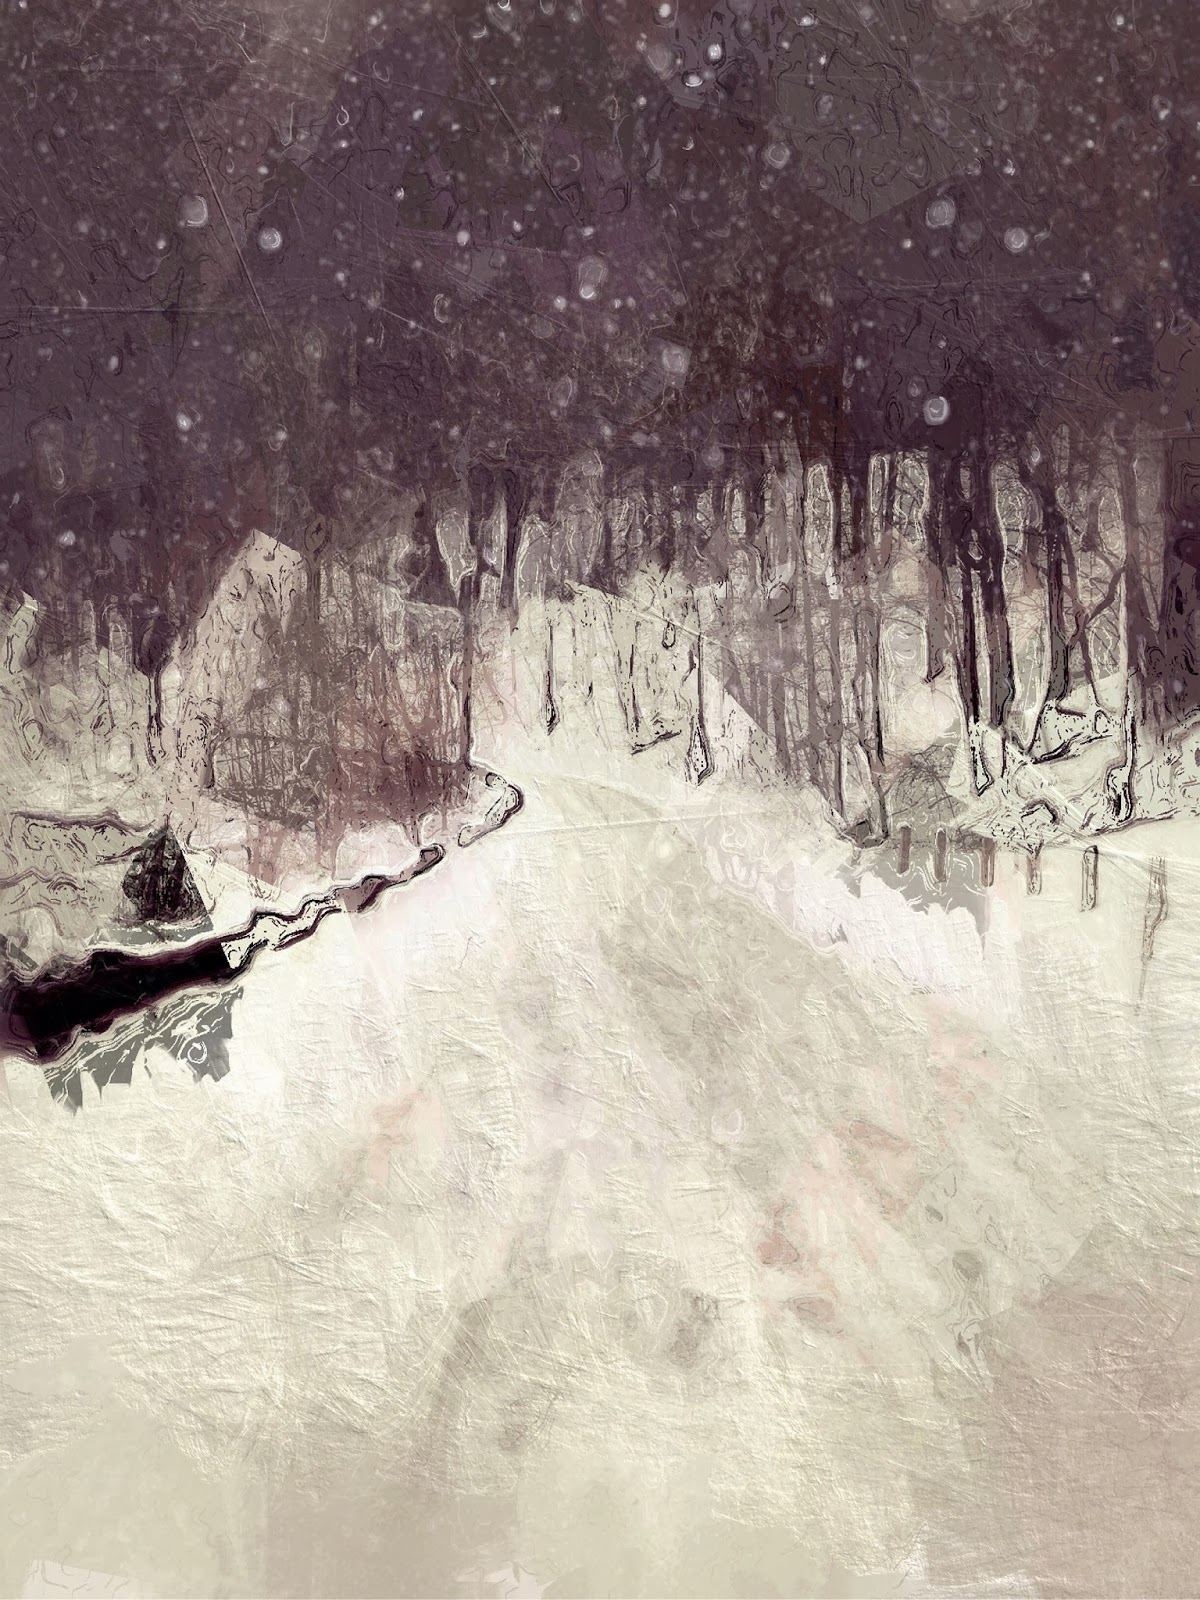
6. Now that I had that image I ran it into Glaze to get a couple painterly files to work with that suited my aesthetic. I chose the one above to work with as I loved the texture and geometry of shapes.
7. I then took the two images and blended the file in step 5 with the image in step 6 to get more definition to the image from Glaze.
8. The last step I took to finish off the image was to run it through Leonardo. I added clarity and adjusted the white point using levels. I enjoyed the abstract nature of the geometric shapes among the trees and roadside while the beauty of the curve of the road and the snowy scene was maintained in the final image.
I hope you enjoyed the tutorial!
My next "Getting Started" in iPhone Photography Sponsored by Capital Photography Center, is March 8, in Washington DC. Click here for more information.
My next all day iPhone "Working with APPS in depth" Sponsored by Capital Photography Center, is May 4th in Washington, DC. Click here for more information.
Hope to see some of you in the field or classroom!


This is stunning!
ReplyDeleteThank you Geri!
Deleteamazing, as usual, karen...
ReplyDeleteWonderful to read your process and I love this image, Karen!
ReplyDeleteThank you Anne!
Delete