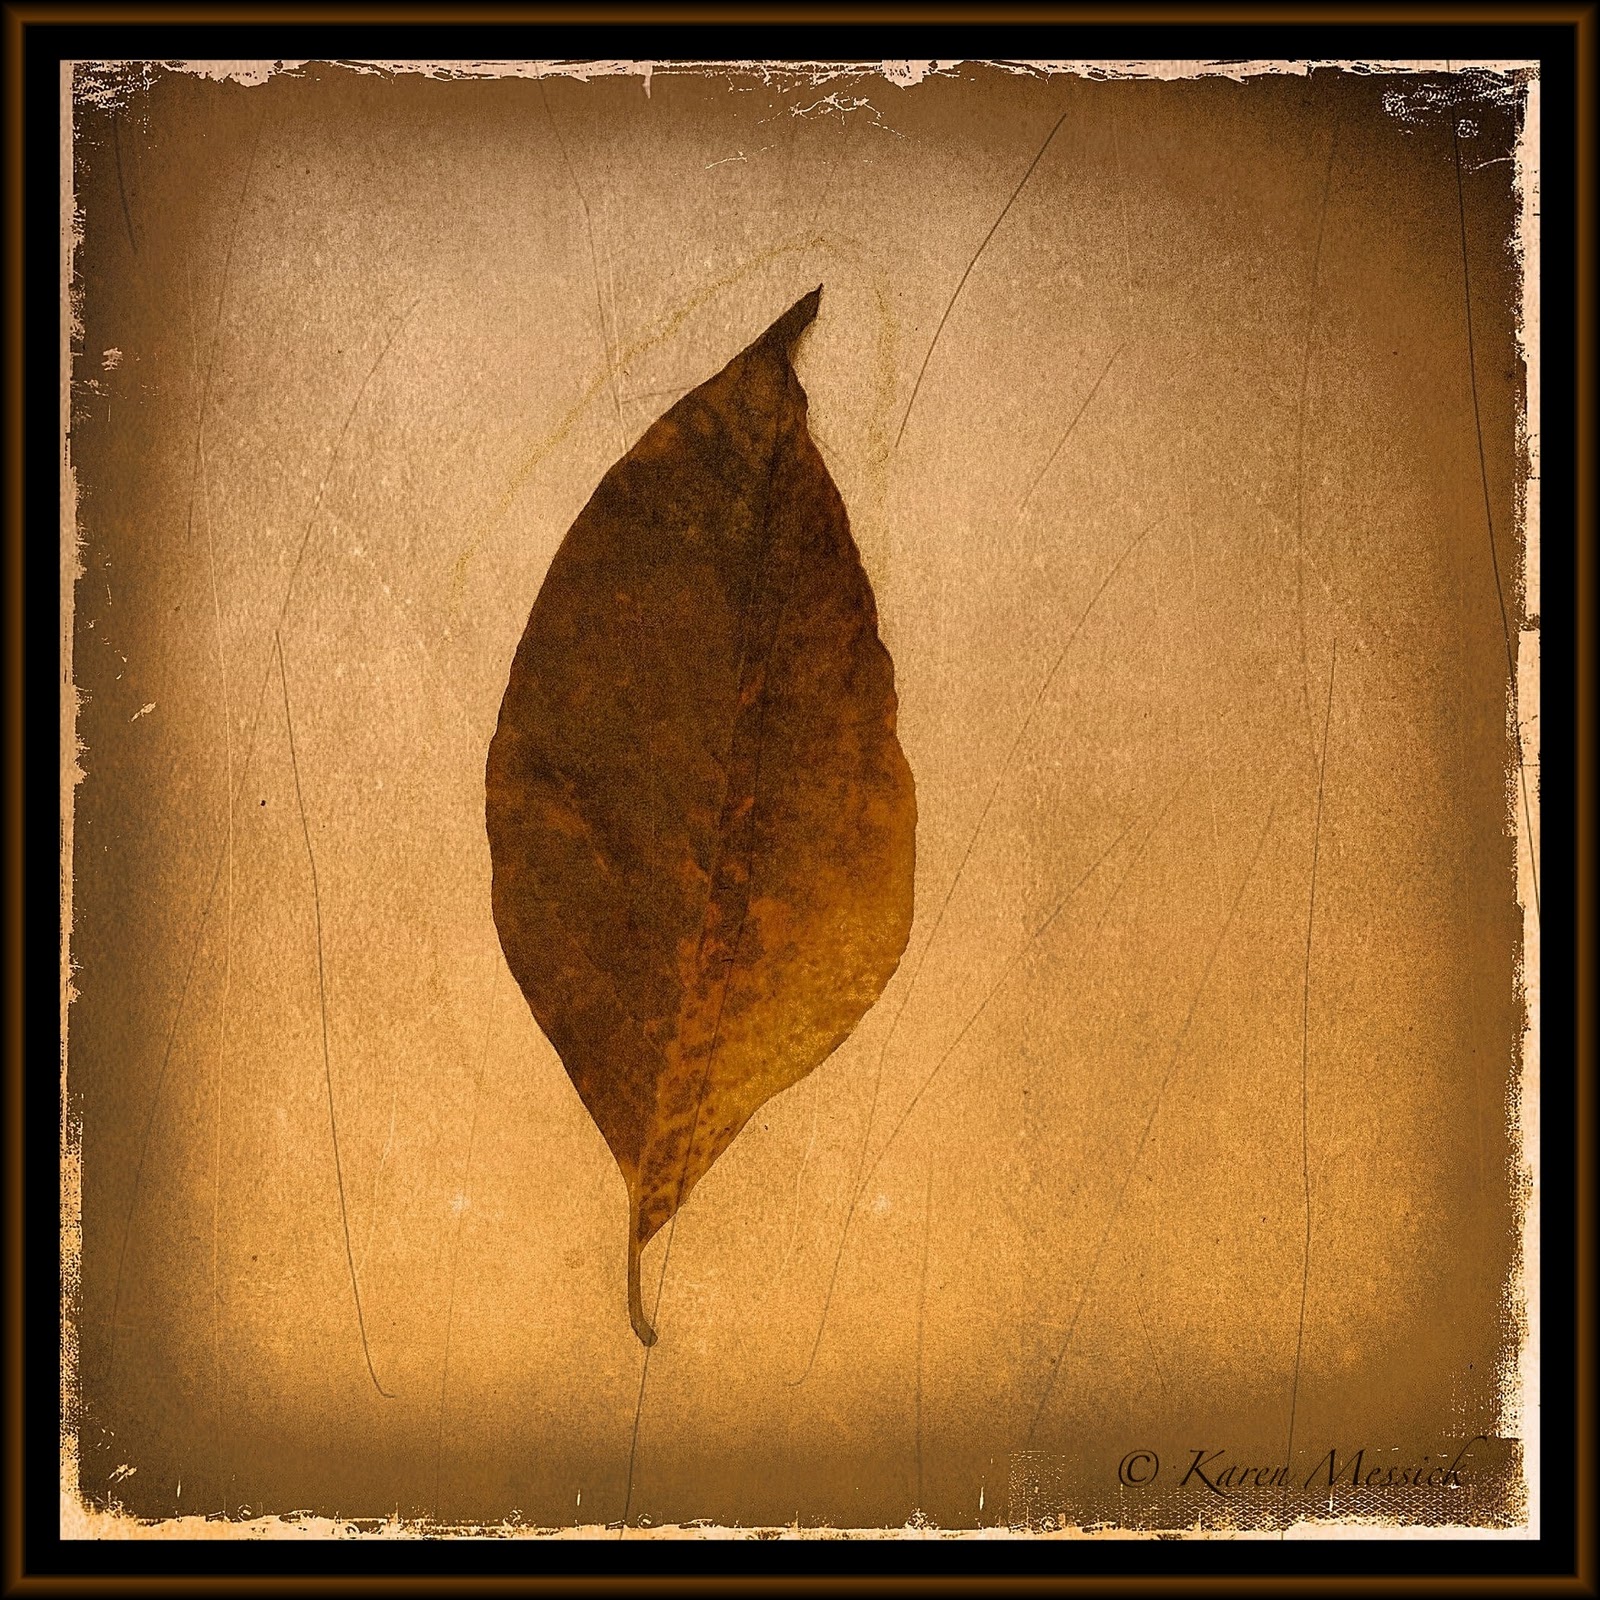
| Apps: BracketMode:TrueHDR:Luminance~Weathered: Crop'n'Frame |
Tuesday, October 25, 2011
Hatch Show Print Shop...Apps:BracketMode~TrueHDR~Luminance~Crop'n'Frame
Monday, October 24, 2011
On the Road...with Steve..
I left Baltimore on October 12 for a road trip to Arizona with my nephew. That morning his dad dropped over to make sure there was enough room in the car for my luggage and photo gear. He had packed some boxes he wanted Steve to transport to Phoenix. We were fine but the car was full that big black suitcase on the right is mine. ; - ) I snapped a few iPhone shots using the Hipstamatic Camera before we left.
Our first stop was Nashville. We busted it out in 11 hours and clocked 721 miles. We checked in and had a good nights rest. The next morning we had planned to walk around Nashville downtown before heading on toward Little Rock, Oklahoma. We loved Nashville we had lunch there and we made some shots on the street. Elvis likeness is in front of most storefronts. We visited the old Hatch Show Print Store. It was awesome! On the shots below I decided to try the app NeonFrame from the same developer of Crop'n'Frame (my favorite framing app), as I thought it fit the show aspect of Nashville's sites. I like the app I just wish it actually cropped off the corners so that the frame was the outermost data in the image, I don't particularly like the squared off black corners, but I think it works fine for this set of images. The frames come in a set of shapes including a Heart, Star, Circle, Oval and Rectangle, with a color slider for customization. It has a camera which creates a full res image file at 1936 x 2595, but when framing the image it loses substantial resolution to 768 x 1005. Its fun and I thought I would give it a try. Maybe they will figure out a way to keep the file at full res when adding the Neon Frame which is cool. (Just had some correspondence from the developer of Neon Frames and the next update will allow for a full res file to be saved good news on that its a cool look)
| Apps: BracketMode: iCamHDR: Iris: NeonFrames |
| Apps: CameraPlus: NeonFrames: Iris |
| ClassicPan: AutoStitch: NeonFrames: Iris |
Saturday, October 8, 2011
Gates: Putting them together: Many Apps
| This is a BracketMode shot for the highlights made on a tripod |
| This is the BracketMode shot for the dark areas of the image. |
After making the initial shots above in BracketMode, I blended the two images in TrueHDR, adjusting warmth, brightness and saturation, and arrived at the image below.
Then I decided I wanted the image in Black and White so I used the app Simply Black and white to make the conversion, adding a subtle black vignette and applying an orange filter option, arrived at the image below.
I wanted a slightly different toning to the gates and opened the image in Bleach Bypass and selected the tone option Verve adjusting the slider until I had the tone I wanted below.
Then I was goofing around with this last image and said I wonder what this would look like run through Tiny Planet...so I did...and came up with these two images.
Then I said hmm...what can I do to these that might be cool? And I opened the last one in BadCamera added a frame and some effects and came up with this image.
Now that I had this image from Tiny Planet, I said..how can I blend these together??? So I opened SuperImpose...and used the "Verve" gates file as the background image...and added the BadCamera file above as the top image, transforming the top image by shrinking the file and rotating it 45 degrees to the right then adding a yellowish color to the foreground rotated image, adjusting for exposure, brightness and saturation. Then while in SuperImpose I added one more foreground image of the gate and stretched it out over the last two files after reducing the opacity to cover the barren area of the bricks and the foreground.
My next step while in SuperImpose was to add a file I shot of a stained glass window to these layers stretching out the file and reducing the opacity leaving only a trace of this file.
After saving the layered file from SuperImpose, I opened that file in Simply HDR and chose a High Dynamic range preset tab "SubtleHDR", committed that render and then tapped the adjust tab while still in SimplyHDR, and chose a tint option containing purple and reduced the opacity to get the enhanced color effect in the image.
Then I ran that image into PerfectPhoto sharpened and then into SnapSeed for the ragged edge border below and lastly ran that image into Crop'n'Frame to finish it off. Now you know how my mind works! At least on this shot...
The final resolution on the file is 1400 x 1809, so it lost some file size going through these iterations. The original file size was 2592 x 1936.
Monday, October 3, 2011
Fall Leaves: Hipsta: Blender, 100 Cameras, ScratchCam, Phonto
It has been very rainy here the last two weeks and I really have not been doing much iPhone shooting, but I am constantly walking past my patio table which accumulates leaves from the overhead trees. I enjoyed making a series of images there this summer on the iPhone, with my flowers, which can be viewed here: Flower Series. I thought why not fall leaves? I love leaves in the fall, except for all the work they make me do. Tonight I had a few minutes to work on a couple shots. The Diptic assembled image above is one shot with Hipsta using the Labatique Lens and Kodot xGrizzled Film. (Note: The Labatique Lens was offered with the Cowboys and Aliens Pac, and may no longer be available) I always check the store in Hipsta for new releases as they do make limited offerings on occassion. Then I used many different app selections to process the images. During the process, I was using Blender to layer different effects together. While working in Blender I used the "Arrange" option (which you can access by double tapping the image) to add the top layer, the small square leaf. Once you find the Arrange window, there are options to re-size the arranged image on the base layer and adjust opacity. You can also apply a separate filter to the "arranged" layer; here I chose, "Exclusion" to get the effect in the layer. Blender is a pretty cool app and they have really made some nice enhancements since it was developed. I added the text "Fall" in an app called Phonto which is also pretty cool for adding text. It has many options, for font styles, colors, size and even an option to tilt the font. It saves your files with the original resolution. Check out my Guest Blog post on the Beginners Lens on iPhoneography workflow here: The Beginners Lens
I hope you can join me at Nature Visions in November and view my Presentation on creating images with your iPhone and apps.
| Same Leaf Shot: Processed with ArtistaSketch: ArtistaHaiku: LensFlare: Luminance |
| Hipstamatic: ScratchCam: PhotoFX |
Wednesday, September 28, 2011
Hipsta Labatique 73, the Olloclip and SimplyHDR
Often I try to shoot with just one app when on location. This gives me the opportunity to create a series of images with similar looks. Then I process with the same apps. This group of images was shot at the Lanaconing Silk Mill with the Olloclip for the Fish eye looks and Hipsta set to Labatique 73 lens a modern twist on Calotype styling of 1873 and Kodot XGrizzled film. When shooting with Hipsta, I usually make three or four shots of the same scene as the unique features of Hipsta will place light and dark areas in each image in slightly different ways. This will give me a choice of images, then I can decide which light enhancement I like best. The Olloclip adds an interesting distortion but looses sharpness in the image to a degree, and more so on the edges of the image, but its a look! The turn of the century silk mill is dark and gritty. I chose SimplyHDR as the processing app to add even more grit and pop some dark areas. Because the mill is so dark the iPhone actually added a lot of noise into the image as well. Then I finished off the images with a consistent frame choice from Crop'n'Frame
Sunday, September 25, 2011
Miscellaneous! Updates...
| Lewes Harbor: Apps: ClassicPan:PicGrunger: SimplyHDR: Iris |
Whew sometimes life gets busy! The last couple weeks have been pretty fast and I have really not been focusing on photography lately other than getting some presentations ready for Nature Visions in November and the Silver Spring Camera Club on October 6: Writing another article for The Beginners Lens and getting 175 iPhone images ready for a stock submission. Yes that's right a stock photography company to be named is going to launch in the near future a selection of iPhone images for sale. How cool is that! I have been very fortunate to be invited to participate in this exciting new venture.
I thought tonight I should get the blog updated and share some work.
Some news first from the Beginners Lens: The Beginners Lens have recently launched another great giveaway for iPhoneographers! Enter for your chance to win great prizes...first place winner gets an Olloclip 3-in-1 iPhone Lens plus a Gorillapod iPhone Tripod! The second place prize is an Olloclip, and third place winner receives a Glif tripod mount! Check out the giveaway page for more details and enter for your chance to totally pimp your iPhone!
OK Now for some random images I have made over the past couple weeks:
| Red Chair: BracketMode: TrueHDR: Iris: Grungetastic: Crop'n'Frame |
| Baltimore Morning: BracketMode: TrueHDR:SimplyHDR:ArtistaOil:Iris:PerfectPhoto: Crop'n'Frame |
| Fallen: Hipsta: ScrtachCam: Iris: Crop'n'Frame: Impression |
| Drift Tree: CameraPlusPro: SimplyB&W:SnapSeed: Iris: Crop'n'Frame: Impression |
| Delaware Bayside: BracketMode: PicGrunger: PhotoFX: PerfectPhoto |
Sunday, September 11, 2011
Nanticoke Indian Pow Wow
Yesterday I attended the Nanticoke Indian Pow Wow in Millsboro, Delaware. Arriving at the Pow Wow site as the opening remarks were being made, and standing right under the overhead speaker I wanted to record the comments. So I quickly searched the App store for a recording app and made the recording here. I also made the Diptic out of several images I shot with ClassicPan. The colors of the feathers and blankets on display caught my eye. All the images were processed the same way, first smudged in PhotoForge, then blended back with the original file in Iris, then processed in ArtistaOil and sharpened in PerfectPhoto..then framed in Snapseed. I used iMovie to bring the recording and the image together. I hope it works I can't really tell until its published! It was a super day with lots of energy and beautiful attire. Also this week I was the featured iPhoneographer on the Beginners Lens. The article and site can be found HERE
Subscribe to:
Posts (Atom)