Showing posts with label Hipstamatic. Show all posts

Tuesday, February 21, 2017

Catching up!

APPS: Capture: Canera+: Processed: Snapseed Signature: Impression

It is going to be a great year in iPhone Photography! My two classes at Johns Hopkins are booked full and my iPhone workshops at Capital Photography Center are booking fast! In addition to the "Getting Started" sessions, we have added two iPhone Photography walk~ a~ bouts this spring!
My iPhone Photography presentation scheduled for The Garden Club of America's annual meeting in downtown Baltimore on May 5th is also booked! Yay! Who knew the iPhone would be such a game changer for photography in our modern lives. I read a post on FB tonight by a photographer who said he had been shooting for 46 years and just did not understand why anyone would want to capture images with an iPhone. That he had one and was never even tempted to use the camera in it. I thought gee that is too bad its so much fun! How do you know until you try??
Well no worries here, unless some new better technology comes along I will always embrace creating images with my iPhone! It is just plain fun!
On a recent workshop I was happy to see the renovated East Wing at the National Gallery of Art has officially reopened. After conducting my last iPhone workshop there I made a few images while cruising the new space.
I just love the second floor sitting area with the expansive windows looking out on Washington, D.C.
APPS: Capture: Hipstamatic: Fashion Pac Processed; Snapseed
The installation above caught my eye! I knew the Hipsta pac, Fashion would create a cool effect with the neon, so I decided to shoot it with the combination Tachman Lens and Runway Film.
Walking further along the new space, I noticed another installation I liked. While standing at an angle to avoid capturing my own reflection, I enjoyed the graphic nature of all the architectural features and reflections that came into the composition.
APPS: Capture: Camera+ Processed: Snapseed Signature: Impression


Friday, September 9, 2016

Creating a Photo Series on your iPhone ~ Hipstamatic ~ Stackables


It's no secret, I love the beach and I love the app Hipstamatic for shooting in certain situations where you want a very unique look. I went for a walk on the beach late in the afternoon and loved the fading light, tide pools and the sparse amount of people enjoying the beach.
My idea was to use Hipstamatic loaded with the Fashion Pak while adding exposure using the shutter speed dial in Classic Mode, I wanted a bit of an ethereal look in my images.
The latest Hipstamatic update added an in App "Settings" menu under the Photos Icon in the lower left of the Classic screen: Tap the photos icon, then Tap Menu, Then Settings, it is a bit obscure but there.
There are new features for 1. Capture: Raw original unfiltered image in a 2x3 orientation along with the Square Filtered image, adding more complexity to the app and for, 2. Saving: as separate files or versions. You will need to make choices there in the settings based on your preference for Capture and Saving...

Hipstamatic now has a lens preview switch, a small toggle next to the shooting screen, which allows you to see what the image will look like with the selected film and lens combo. It was a big update on September 1: there are lots more updated features. This app, though adding improvements, has gone from a really cool simple to use app, to a somewhat complex to a new user app. I still enjoy shooting in classic mode, as I love the large screen feature of shutter release...though the pro mode shooting side of the app is pretty cool too!
So much for updates, back to creating the images: After I captured the images I wanted, I took the images into the Stackables app applied a texture filter and saved it as a formula in the app so I could apply the same filter with the same opacity to the series I shot.
I then finished the series by adding my name using the app Impression. So give it a try..create a series with intent, a point of view and consistency...
Check out my Getting Started iPhone workshops at Capital Photography Center in Washington, DC


Wednesday, August 31, 2016

The value of "Play" in your photography..Hipstamatic Classic


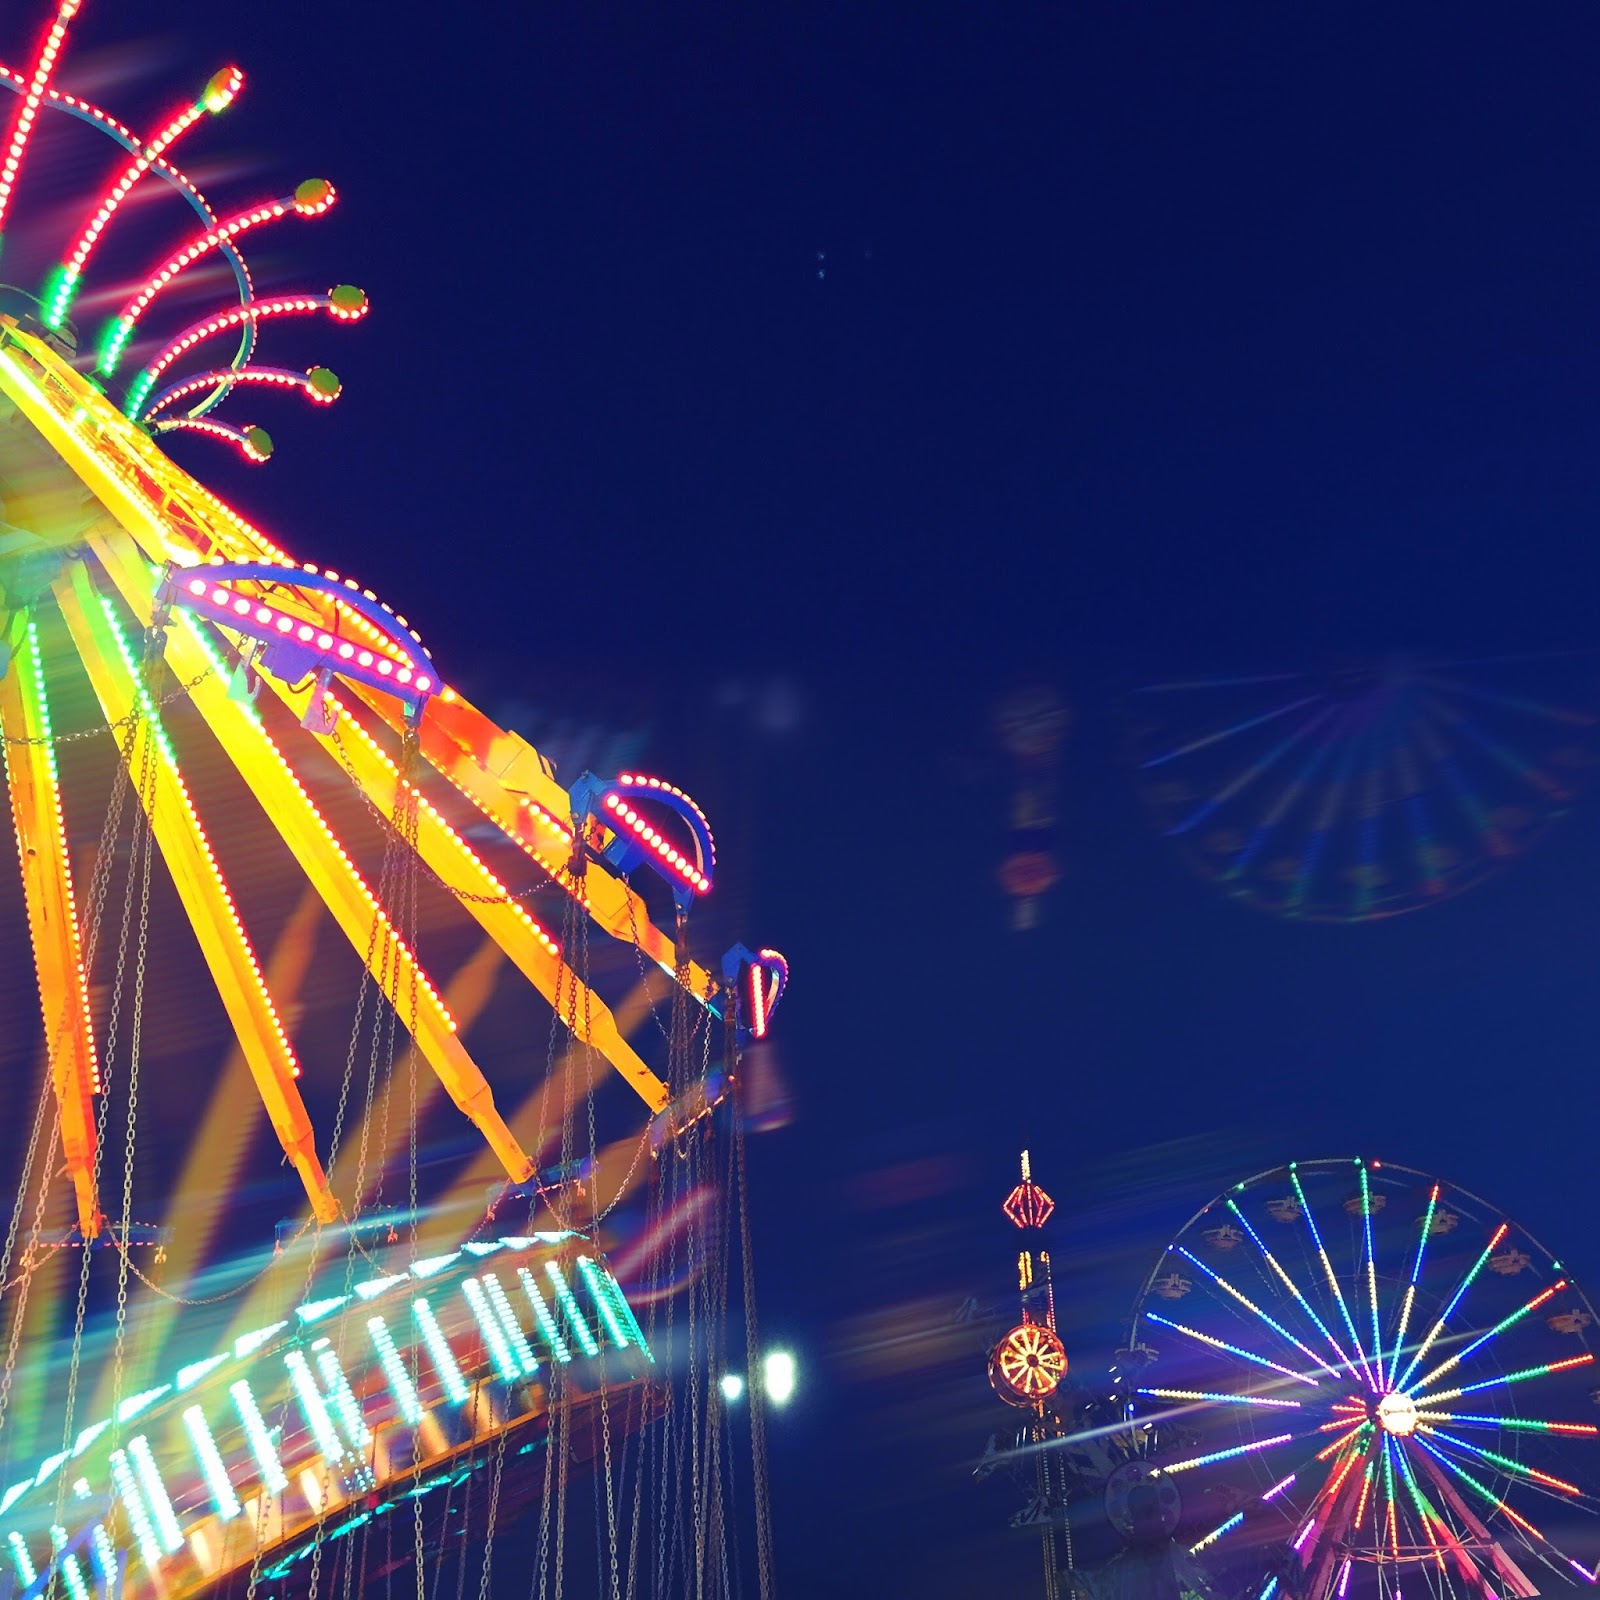
Last night several members from the Baltimore Camera Club went to the Maryland State Fair to create images. It was a great time with friends, music, lights and lots of energy there! I decided to go without the big camera. So with my iPhone in hand I selected the Hipstamatic App, loaded with the Fashion Lens/Film combo: Tacman Lens (adds motion and energy) and Runway film. I thought it would be perfect for the feeling I wanted to represent in my images. I also experimented with the shutter speed control dial that was added to the Classic Camera interface in January. I have not really experimented with it to any degree of difference but thought this would be a perfect time to play with that feature. I also used the multiple exposure feature that is built into the Classic Camera of Hipstamatic...So the combination of shutter speed control, multiple exposure and the Fashion Pak gave me the exact results I was hoping for, crazy fun images with lots of energy! I then finished the images in Snapseed for saturation, and sharpening.
I was really playing with the idea I wanted to communicate and used some cool features the App has to offer...just for fun! Don't take your photography so seriously that it becomes work or route, experiment have some fun with the art!


Friday, May 22, 2015

Barcelona Street Photography ~ Hipstamatic ~ Snapseed ~ Diptic ~ Phonto

Street Tango
Barcelona is a fabulous city filled with opportunity for street photography!
I chose to capture nearly 95% of my street images with Hipstamatic, using the Film Rasputin and Lens Sergio. I love shooting with the Hipstamatic large screen feature engaged so all I have to do is tap the screen to release the shutter. I also like to turn the sound off so as not to attract attention.
There are several places on the web I like to check out for Hipstamatic info and get combination ideas: one is a blog called Hipstography and the other is the Hipstamatic official blog.

The image above was further processed in Snapseed to make the monochrome conversion. When street shooting it is a good idea to make a series of images all processed with consistency.
When shooting, use the same film lens combo and when processing, make note of the adjustments so they can be applied consistently to create a series of images as in the collage below.
This collage was made using DipTic and Phonto for the script. When using DipTic to make a collage with square images, modify the Aspect adjustment feature to 4:4 and choose a border that works well with the image colors and modify the border size to compliment the collage.

I also made a small book on Blurb using all monochrome images...the link can be found below.
I used Lightroom as the interface with Blurb and it worked well.


Sunday, March 22, 2015

Hipstamatic Oggl ~ TinType ~ Alt Photo

App: TinType by Hipstamatic LLC
Hipstamatic Classic has long been one of my favorite shooting apps and one I teach in my intro to iPhone Photography workshops. Lately I have been revisiting two other App products by Hipstamatic LLC, TinType and Oggl. TinType launched in the fall of 2014 and Oggl launched in May 2013. TinType is a full resolution, one trick, pony, producing effects reminiscent of daguerreotypes, tintypes, with a few processing choices, such as blur, grain and frame,  but for .99 in the App store it is worth giving it a try if you are running iOs8 or later and like those looks. It has potential but does not have the variety of looks as in the App Alt Photo by Alien Skin Software. (Even tho Alt Photo has not had an update since Dec 2012 it still functions on iOs 8 using the iP6 producing a full resolution file.)

Oggl on the other hand is an immensely deep App that requires a subscription either $3.99 for three months or $9.99 for a year. Oggl will allow you to import images from your camera roll then allow you to apply any Hipstamatic combo of Film and Lens that you have purchased using the Classic Hipstamatic App.
You can also shoot with Oggl making exposure choices by moving the on screen reticle around the scene while composing your image. The one thing you can't do using Oggl is shoot with Oggl and have a 'standard' unfiltered image file delivered to your camera roll. For those that like to shoot Oggl with their iPhone and process on the iPad this poses a problem...because each file shot with Oggl will have the recent combo applied while saving. I sent a note to the developer requesting the possibility an update that would make saving an unfiltered image file to your camera roll that was shot with Oggl. If that happened you could then shoot with Oggl and process the image on your iPad with Oggl options. 

The one thing you can do in Oggl by choosing exposure is create two images with different dynamic light range. In the hotel cafe I visited this past week, I saw a scene I liked and wanted to use Oggl to test capture two different exposures to then further blend in Pro HDR.
Image 1. Oggl single shot exposed for the bright outside light
I liked the window light with blinds so I captured  Image 1 for the  blinds and while holding my iPhone in the same spot and as still as I could, quickly moved the exposure reticle to create a second exposure for the light on the sofa in Image 2.
Image 2. Oggl shot exposed for the dark interior light.
(outside light blows out and detail is lost in the blinds)
In this shot now you can see the interesting light falling on the sofa but the blinds are beginning to lose interesting detail.
In this the combined processed image below, using Pro HDR you can see both detail in the window blinds and the interesting light falling on the sofa.
Image 3. Combined processed images in Pro HDR allows both the inside light on the sofa and the bright outside light to have detail as well as the light on the window blinds.
My next day long iPhone photography class is April 12 in Washington DC...if you might be interested in attending CLICK HERE for more information and registration.


Thursday, October 30, 2014

Processing Steps: St. Johns Anglican Church ~ Hipstamatic ~ Snapseed ~ Glaze~ ImageBlender ~ Leonardo


St John's Anglican Church, Peggy's Cove, Nova Scotia is a much photographed subject! It's charming red roof and architecture is just fabulous...but there are some composition issues with distracting subject matter, like telephone wires and poles, houses etc..that make it tough for "straight" shots so I decided to shoot it with my iPhone from a slightly different perspective.
I used Hipstamatic to capture the original image below, crouching low to put the fall vegetation in the foreground as a good base to the image and to minimize the roof tops of the background structures.
Join me for my "Getting Started" iPhone Photography workshop sponsored by Capital Photography Center on November 9 at the National Portrait Gallery.
Or catch up with me at during one of my presentations at Nature Visions Photography Expo Nov 15-16.
Here's the process that I used to create the opening image:
Image 1. Original file captured with Hipstamatic Inas 1969 film and Jane lens combo
Image 2. Original file processed with Snapseed using the HDR Scape filter to pop the tones.
Image 3. Iteration 1 created in Glaze using the Workshop Mode and saved
Image 4. Iteration 2 created in Glaze using the Workshop Mode and saved.
Image 5. Iteration 2 blended in ImageBlender with image 2. the HDR version of original image and saved.
Image 6. Image 3 and 4 blended together in ImageBlender and saved.
Image 7. Image 6 blended with image 5 with selective masking applied.
Image 8. Image 7 blended with image 5 to mask in details in the church saved and then run through Leonardo, applying the clarity filter to taste.

Thursday, October 23, 2014

The Lone Tree ~ Hipstamatic ~ Snapseed ~ Vintage Scene ~ Glaze ~ Leonardo


I was reminded ever so gently by a fellow iPhoneographer Whit, who has followed my blog for a while that I had stopped posting...Well thanks for the reminder, it has been such a busy travel year, I have not really had time to sit down with any consistency and contemplate the writing of another blog post for a while, but now that fall is here and winter not far away, I am planted once more in one spot and today am moved to write. 
So here it goes: Lone tree images have been pervasive in art and photography forever and I too love a lone tree image and make them when I am moved by the scene. 
Today I really had a question about why we like to make and view lone tree images? What psychological significance does a lone tree image have? What meaning is there behind the creation of a lone tree image?
So I did some searching and found this very unique article written by  Kim D. Coder Professor, Silvics/Ecology, Warnell School of Forest Resources
The University of Georgia in 1996. 
It blew me away the depth to which the subject matter of trees in general has deep roots in our human psychology...so if you have a mind to read check out the article here: Trees and Humankind: Cultural and Psychological Binding While it does not address the lone tree specifically, it did open my eyes to trees and humankind in general, I took away many inferences for myself. 
Now back to creating the image above: It was a rainy day....I had received mention of a lone tree in a text correspondence, so I figured I was supposed to make or find a lone tree image this day. I had lunch with Whit in Vermont and before lunch I looked at my map and charted my path after lunch. I saw a point on the map where I was heading toward Lake Champlain name Lone Tree Peak...yet another Lone Tree sign so I told Whit I was heading there after lunch. As it turned out he was too so we headed that way. After a few stops we parted he went on to see his mom and I rambled to the shores of Lake Champlain, where this little tree stood deeply rooted in the rocky shore and I said "Got it!" I didn't make many images that day because of the heavy rain, but the iPhone allowed me to capture this one.
So this image is a result of those events.
Now to the image processing:
I started with Hipstamatic: Jane Lens and Inas 1969 Film: That combo is my go to when I want as "straight" a shot out of Hipsta I can get. 
Image 1
Then I ran the original file through Snapseed and applied the HDR Scape filter to some degree (I always back it down from the preset strength to my liking)  and applied a little Ambience from the Tune Image filter, as well as a little sharpening and structure and arrived with this image:
Image 2
My next thought was to strip the color from the image file, it was a grey rainy day and I wanted to get that feeling across so I ran image 2 through Vintage Scene by JixiPix and applied a save Preset filter I had developed some time ago. 
Image 3
I liked this moody image and now I wanted to run it through Glaze for the painterly and textured effect I know I can get out of Glaze. After running several custom presets and iterations in Workshop mode I arrived at the  image below.
Image 4
Now I thought it needed a little more pop and I ran Image 4 through Leonardo applying the Clarity filter to some degree. Image 5 is the final result. On occasion I use ImageBlender and blend the Glazed image with the original file but in this case I did not.
Image 5
So if you got this far.....I invite you to join me at Nature Visions in Virginia November 15 and 16. I will be presenting a program on advanced iPhone Photography and will share my processes with you!
Hope to see you there!

This image was also processed the same way and was also taken the same day with Whit where we stopped at a long lane of trees.


Wednesday, August 20, 2014

iPhone in the Palouse


Capture Camera+ Processing Snapseed
I enjoyed my two weeks in the Palouse, one scouting, the other leading a tour group through the amazing land of Eastern Washington State. I must admit I had to really concentrate on getting my iPhone out to shoot as I was moving fast on my scout and often just wanted to get a shot with the big camera, but every so often the iPhone came out too! Sometimes the shot needed minimal processing and other times my vision was for heavier processing.
Hipstamatic Capture and  OGGL processing

In the end, I enjoyed using Hipstamatic as a quick default shooting app using the Jane Lens and Inas 1969 film. Sometimes I ran that captured image back into OGGL for further filtering with Hipstamatic options.
Walking through the town of Colfax one day I noticed this architectural detail and Hipstamatic was again my app of choice.
I will be reviewing how to set up and shoot with your Camera + and Hipstamatic Apps and more in my "Getting Started in iPhone Photography" workshop this Sunday August 24 at the National Gallery of Art in Washington DC.
For more information and registration Click Here

Thursday, February 13, 2014

Controlling or manipulating White Blance in Your iPhone Images Camera+ ~ Snapseed ~ Hipstamatic


Well when it snows all colors of snow images appear on social media, as folks post snaps. It kind of makes me crazy when I see dingy grey snow or blue snow in pics ....... as snow is white! So how do you get your iPhone pics in snow to look white??? Easy!! Post process your Camera+ images in Snapseed or choose a Lens/Film combo in Hipstamatic.

Image 1: Camera+ shot using the square format option unprocessed. (Notice the the blue color cast to the snow?) That is a result of the algorithms in the app and the environmental light.
Image :2 Camera+ shot using Snapseed "Tune Image" filter adjusting the  "Warmth" slider then using the black and white filter.  
So here are a few screen shots showing the adjustment menus in Snapseed.
Image 3: Color Screen shot of Camera+ (Image 1) being processed in Snapseed using the "Tune Image" filter and adjusting the warmth slider to +37, which will vary depending on your taste and the tone of the original image. Substantially different then the first image Titled Image 1. (the blue cast is gone by adding warmth, which is yellow color balancing)
Image 4: Screen shot of "Warmth Adjusted" image now converted to monochrome in Snapseed using the filter "Black and White"
Another way is to choose a combination of filters in Hipstamatic which will brighten snow and whiten your image while delivering a Monochrome image.
The shot below was made using the Hipstamatic App and the lens choice of Lucas AB2 and BlacKeys Extra Fine film.
When I teach "Getting Started" in iPhone Photography students often ask why I would use Hipstamatic...well here is an example of why. I like the square format, I like white snow and I like black and white imagery! And no further processing was needed.
Hipstamatic unprocessed shot.
My next "Getting Started" in iPhone Photography is March 8 in Washington, DC at the Renwick Gallery and DAR. Hope to see some of you there! Please feel free to comment or ask questions!
As with all digital photography there are many other Apps you can use to color correct!

Sunday, November 3, 2013

Trees: Hipstamatic Classic: Glaze: Leonardo: ImageBlender


It has been a beautiful fall week with the trees really showing their colors. I have been gathering a collection of colorful tree images from my iPhone. While working with Glaze in workshop mode I have developed a filter that I like for trees...it reminds me of a style of painting called Pointillism made popular by Georges Seurat...and yes it is a form of Impressionism which I love so much!
I also updated to iOs7 and I definitely see a purple tint in some images. The update went well after sorting off 2000 images from my iPhone and backing up the computer...updating all the apps that needed updating, then updating to iOs7. If you are one of the 30% that have not yet updated, click here for some tips before updating.
After updating, I had to change the home screen background and found that using a burgundy background allowed me to readily see the names of my app folders, which I found hard to do with the new design of the app folders. Then I immediately followed tips on saving battery power that were published...click here for a good list. Then I started to find the new features...Click here for a list of what you can now do with the updates.
Now heres a few more trees! I love fall! I hope you have been enjoying it where ever you are!
My  next "Getting Started" in iPhone photography workshop sponsored by Capital Photography Center is November 17 in Baltimore, click here for more information.
Also I will be doing an all day iPhone photography workshop "Working with Apps in Depth" in Washington, DC on November 24. Click here for more info and registration.
And.....I will be in Chestertown, Maryland on Saturday November 23 at the Chestertown River Arts for an all day iPhone photography workshop "Working With Apps in Depth"..click here for more info and registration.