Showing posts with label Hipstamatic Oggl. Show all posts

Sunday, March 22, 2015

Hipstamatic Oggl ~ TinType ~ Alt Photo

App: TinType by Hipstamatic LLC
Hipstamatic Classic has long been one of my favorite shooting apps and one I teach in my intro to iPhone Photography workshops. Lately I have been revisiting two other App products by Hipstamatic LLC, TinType and Oggl. TinType launched in the fall of 2014 and Oggl launched in May 2013. TinType is a full resolution, one trick, pony, producing effects reminiscent of daguerreotypes, tintypes, with a few processing choices, such as blur, grain and frame,  but for .99 in the App store it is worth giving it a try if you are running iOs8 or later and like those looks. It has potential but does not have the variety of looks as in the App Alt Photo by Alien Skin Software. (Even tho Alt Photo has not had an update since Dec 2012 it still functions on iOs 8 using the iP6 producing a full resolution file.)

Oggl on the other hand is an immensely deep App that requires a subscription either $3.99 for three months or $9.99 for a year. Oggl will allow you to import images from your camera roll then allow you to apply any Hipstamatic combo of Film and Lens that you have purchased using the Classic Hipstamatic App.
You can also shoot with Oggl making exposure choices by moving the on screen reticle around the scene while composing your image. The one thing you can't do using Oggl is shoot with Oggl and have a 'standard' unfiltered image file delivered to your camera roll. For those that like to shoot Oggl with their iPhone and process on the iPad this poses a problem...because each file shot with Oggl will have the recent combo applied while saving. I sent a note to the developer requesting the possibility an update that would make saving an unfiltered image file to your camera roll that was shot with Oggl. If that happened you could then shoot with Oggl and process the image on your iPad with Oggl options. 

The one thing you can do in Oggl by choosing exposure is create two images with different dynamic light range. In the hotel cafe I visited this past week, I saw a scene I liked and wanted to use Oggl to test capture two different exposures to then further blend in Pro HDR.
Image 1. Oggl single shot exposed for the bright outside light
I liked the window light with blinds so I captured  Image 1 for the  blinds and while holding my iPhone in the same spot and as still as I could, quickly moved the exposure reticle to create a second exposure for the light on the sofa in Image 2.
Image 2. Oggl shot exposed for the dark interior light.
(outside light blows out and detail is lost in the blinds)
In this shot now you can see the interesting light falling on the sofa but the blinds are beginning to lose interesting detail.
In this the combined processed image below, using Pro HDR you can see both detail in the window blinds and the interesting light falling on the sofa.
Image 3. Combined processed images in Pro HDR allows both the inside light on the sofa and the bright outside light to have detail as well as the light on the window blinds.
My next day long iPhone photography class is April 12 in Washington DC...if you might be interested in attending CLICK HERE for more information and registration.


Wednesday, August 20, 2014

iPhone in the Palouse


Capture Camera+ Processing Snapseed
I enjoyed my two weeks in the Palouse, one scouting, the other leading a tour group through the amazing land of Eastern Washington State. I must admit I had to really concentrate on getting my iPhone out to shoot as I was moving fast on my scout and often just wanted to get a shot with the big camera, but every so often the iPhone came out too! Sometimes the shot needed minimal processing and other times my vision was for heavier processing.
Hipstamatic Capture and  OGGL processing

In the end, I enjoyed using Hipstamatic as a quick default shooting app using the Jane Lens and Inas 1969 film. Sometimes I ran that captured image back into OGGL for further filtering with Hipstamatic options.
Walking through the town of Colfax one day I noticed this architectural detail and Hipstamatic was again my app of choice.
I will be reviewing how to set up and shoot with your Camera + and Hipstamatic Apps and more in my "Getting Started in iPhone Photography" workshop this Sunday August 24 at the National Gallery of Art in Washington DC.
For more information and registration Click Here

Wednesday, November 13, 2013

Hipstamatic Oggl ~ Winter at the Beach


Watts Lens and BlacKeys Supergrain Film
This is my last week at the beach before closing the house for the winter. It was very cold last night as a Canadian blast of cold air came through. The beach in winter, and it does feel like winter, is ghost like. People abandon it and return it to the wind, the birds and the sea. As the WWII watch towers now stand guard over the abandoned picnic tables, winter is coming on. All these images were shot using the Hipstamatic Oggl app. The coolest thing about Oggl is the ability to control exposure and then to choose the combination of Lens and Film after the shot is made. It was a bold blue sky day when I made all these images and I like to think in Black and white on those kind of days. Processing all the images here in Oggl I chose several Lens and Film combos to achieve the results.
Watts Lens Blackeys Supergrain Film
 The dune fences give way to the wind and the sand.
Watts Lens and Rock BW-11 Film


Shells are tossed to shore and nestled into windblown sand.
Foxy Lens and BlacKeys Supergrain Film


Beach pines filter the harsh afternoon sun.
      
G2 Lens and BlacKeys Supergrain Film                                  


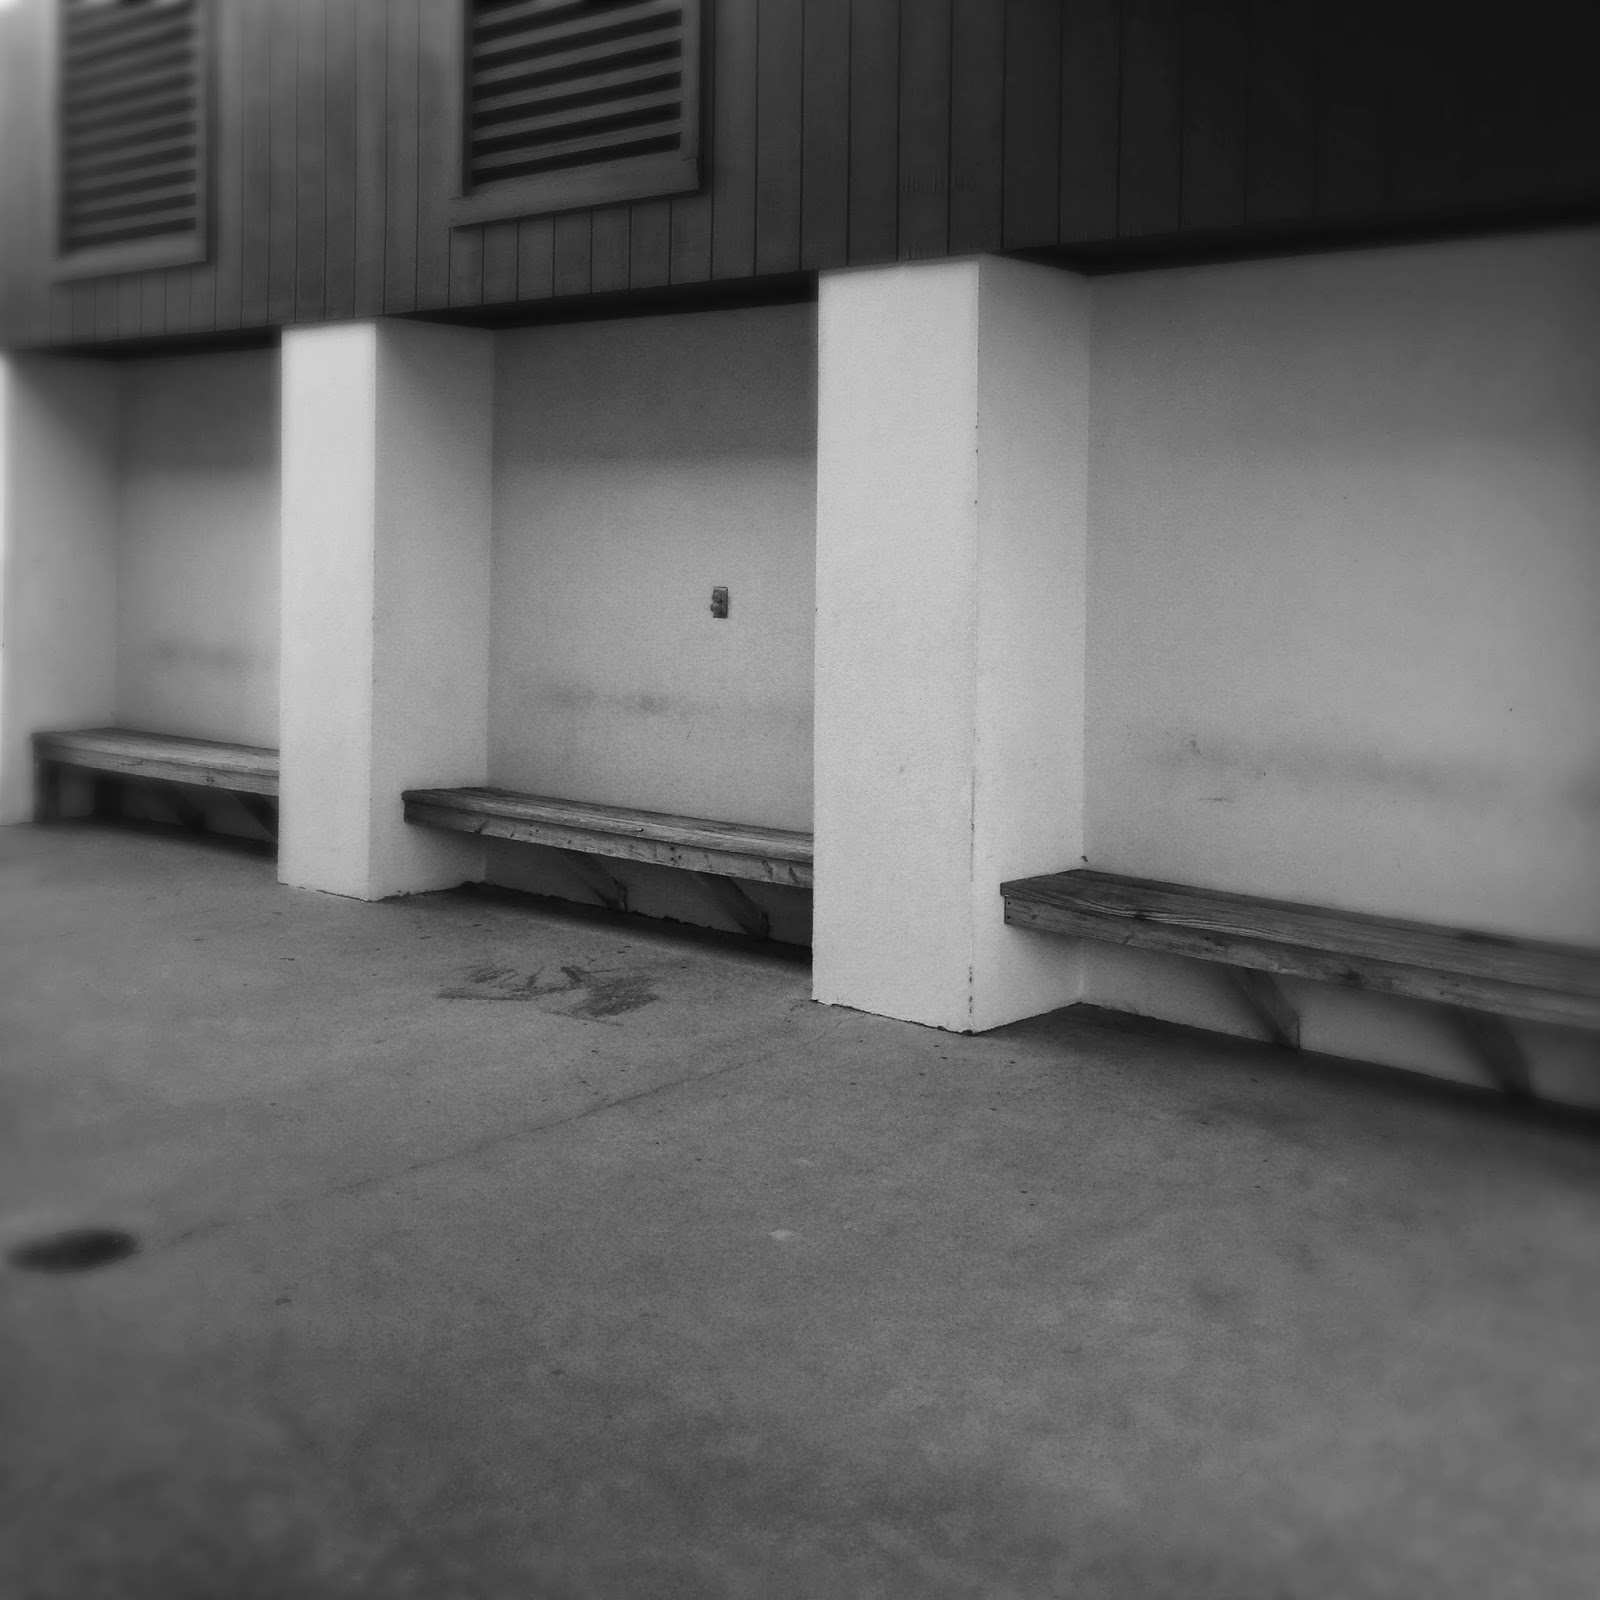
Beach grass struggles to keep rooted in the shifting windblown sands. The ice lockers are locked and the refreshment stands are shuttered. The bath house benches are empty. Winter is here!
Lucas Lens BlacKeys XF Film

Lucas Lens D-Type Plate Film       


Loftus Lens BlacKeys XF Film


Monday, November 11, 2013

Beach Pines~ You can never duplicate the exact image unless you write it all down!


This is an image I posted on Facebook over the weekend. One Facebook friend said they hoped I would write a tutorial on my blog for this processing. Well...... I can tell you what I shot it with and maybe a few steps along the way. However to duplicate the exact same image after the fact, with a process one could share, without writing down the original process, is almost impossible. I am not one to write down my processes with exacting steps. In this tutorial I have tried to recreate the image to some degree here. Hopefully these steps will be a starting point for a creative process you might want to try.

Original Image Capture: Hipstamatic Oggl ~ Lowry Lens Kodot XGrizzled Film
The reason I chose Oggl is because you can control exposure. Using the reticles in Oggl I wanted to open up the deep shady areas of the pines. I didn't care if the sky blew out because it was gray and overcast anyway. I did want a hint of horizon line from the ocean. SO controlling capture is important to me as well as processing. I knew I wanted to add textures to the sky area when I shot this image.
Original Capture
Processing:
A. Open the Hipstamatic image in Mextures then choose
 1. Grunge Filter Painterly
                                           Choose Blend Mode Multiply
Screen shot of Mextures Grunge interface
Then Adjust texture to 50% Check and continue to add filters in Mextures.
Screen shot of Mextures Vintage User interface
   2. Then add new filter in Mextures
       Landscape enhance "Vignette" at 20 %  Blend mode overlay (not shown) Check and continue  to  add filter in Mextures.
   3. Then add new filter in Mextures
          Vintage "Polaroid" at 20% Blend mode Hard Light 
Save file to Photo Library

B. Open the saved Mextures file in AutoPainter and apply Benson filter and save.
AutoPainter file

C. Open the last saved Mextures file (not the AutoPainter file) in Leonardo and apply the Clarity slider as shown in screenshot and save to Photo Library.
Screen shot Leonard Clarity interface
D. Open AutoPainter saved image in Snapseed and add ambience and warmth in the Tune Image Command and save file.
Screen shot Snapseed
E. Open Image Blender and open The last saved Mextures file from Leonardo first, with the last saved AutoPainter file from Snapseed and blend with Lighten mode at about 45% and save.
Screen shot ImageBlender interface
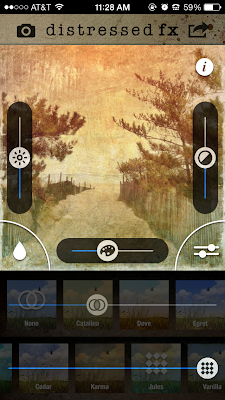
F. Open the saved ImageBlender file in distressed fx and use filters to adjust color save.
Screen shot distressed fx interface
G. Lastly to the saved distressed fx file add a vignette in Mextures and save. This is close but not exact in tone and shading however, I hope the tutorial will give you some ideas for future processing of your images.
Check out my next all day iPhone Sessions in DC on November 24 sponsored by Capital Photography Center (click here for more info) and in Chestertown, Md on November 23 sponsored by The Chestertown River Arts (click here for more info on Chestertown.)
Final image


Sunday, October 27, 2013

Hipstamatic Oggl~ Now you can create an HDR with your favorite Hipsta Combo!


Image Capture: Hipstamatic Oggle Processing: Pro HDR, Glaze, Leonardo, ImageBlender
When the folks at Hipstamatic launched Hipstamatic Oggl in May of this year, I passed it by; thinking, Why would I want to pay for a subscription on an iPhone app? (It is only $9.99 a year) But now it has been through several version updates, with the most recent one on October 17 and it is packed with goodies! You can import all your existing Lenses and Films from Hipstamatic Classic, you can control exposure, you can swap filters, you can share with the Oggl community, you can import images from your camera roll and apply Hipstamatic filters and now you can create a High Dynamic Range (HDR) Hipsta image with a little creativity and a tripod mount. (If you are a classic Hipsta shooter, how many times did you wish for control over exposure? Well Oggl delivers it now.)  As far as a tripod mount: Kirk makes a cool tripod mount that fits its regular tripod plate here is a link for it: Click here: but there are others, its just really important to keep the iPhone still and in the same position when making the two bracketed images.
Here is how I created a Hipstamatic Oggl HDR image...I was playing with Oggl, with my iPhone mounted on my tripod at Longwood Gardens on Saturday. It was a bright, windy, sunny, contrasty but beautiful fall day. I wanted to capture the sky and shady areas in the landscape. So, I thought, now that you can choose an exposure point in Hipstamatic Oggl, I did and made an exposure for the sky, which of course threw the ground and shady areas into almost complete darkness. Then I made an exposure for the ground and shady areas which blew out the sky! Perfect! Now I had the two Hipstamatic images I wanted to blend together in Pro HDR by eyeApps LLC (ProHDR has not done an update for iOs7 but seems to work fine)...It worked!!! here's the proof! So now I would recommend purchasing Hipstamatic Oggl! Its Hipsta Classic on Steroids!
Here are the files I used to achieve the opening image. For both sets of image files I used Ina's 1969 film and the Jane lens.
 
Exposure made on tripod and created to capture details in the shady area, which blew out the sky.

Exposure made on tripod and created to capture the sky color, which threw the areas in the shade into darkness.
Combined image in Pro HDR
So because I could I made another image in the same way. Here is the finished "Glazed" image and the shots I used to get to the final image.
Captured for detail in the shady areas, sky blows out.
Captured for the color of the sky, shady areas go almost black.  
Combined previous two images in Pro HDR
Processed in Glaze and enhanced in Leonardo for final image.