Showing posts with label ImageBlender. Show all posts

Tuesday, April 7, 2015

Farm Dreams ~ Camera+ ~ Stackables ~ Impresso ~ ImageBlender ~ Snapseed ~ Impression

Processed final image...Farm Dreams
Rainy day at the beach so I have some time to made good on a promise I made about writing a tutorial on my image "Farm Dreams" I posted on Facebook the other day....so here goes....
As with all images Capture is important, given subject and light. So my choice to capture the original image was with Camera+ in late afternoon light striking this side of the barn. The farm was a good way off the road and knowing that Camera+ has a zoom feature as well as an exposure and focus feature, I chose to capture the image with Camera+. When I captured it I knew that a zoomed in iPhone image would not give me the best quality for a "straight" shot, but I did not care about the quality just the capture, as I had intended to use processing applications to create a painterly look.
Image 1 original capture with a little tweaking in Snapseed.
I always run my original capture through Snapseed as a basic processing application for clarity, structure, ambience, white balance etc.....
Image 2 Processed in Stackables using the Formula feature and Tintype...
Image 3 Added texture filter Lacerations in Stackables to the Tintype filtered image and one more texture "Soft Clouds" at a very low opacity and saved to camera roll.
Image 4 Added my signature with Impression and saved to camera roll.


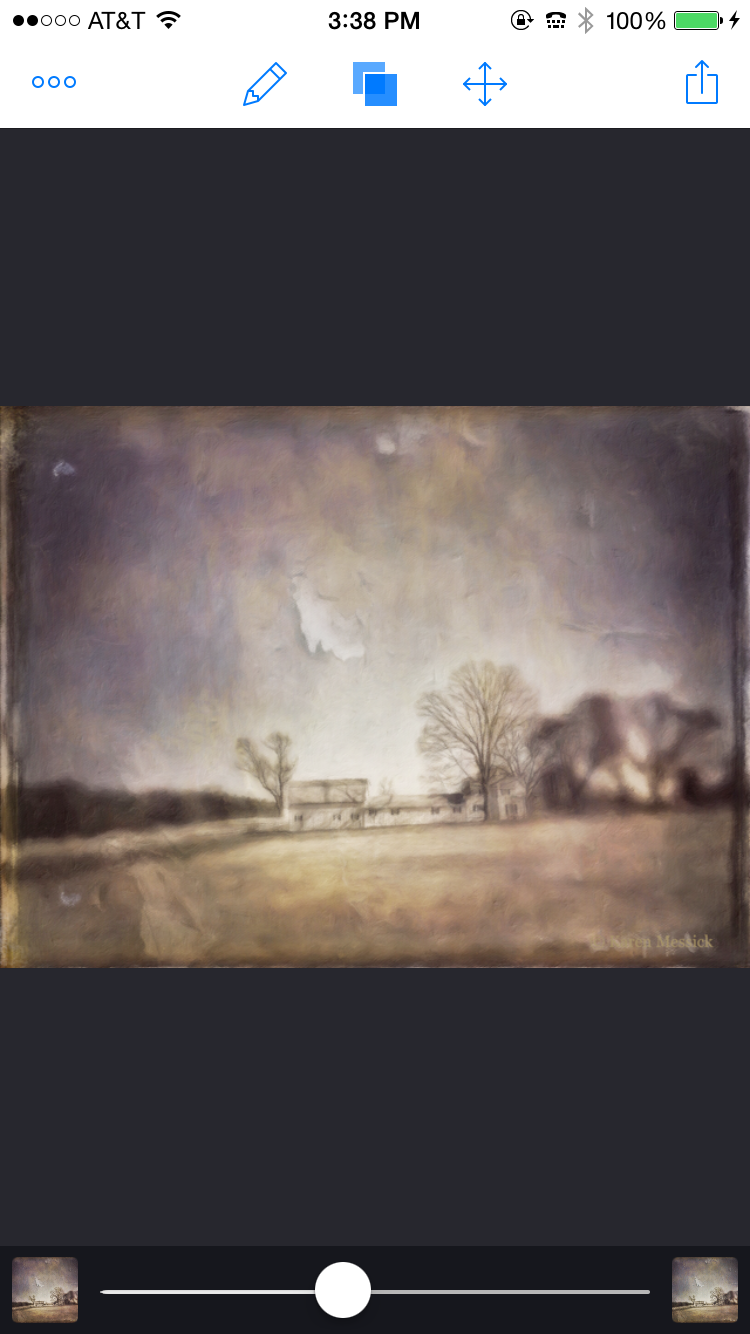
Image 5 This is Image 4 processed with the Impresso app...Choosing the preset "Portrait Perfect" and then adding an area of adjusted brush strength.
Settings in Impresso

Detail area selected
After making the image adjustments in Impresso I saved it to my camera roll for further editing.

Image 6 Blended with Image 5 and 4 in ImageBlender

After saving the blended image I then took the image back into Snapseed for contrast, brightness, detail and structure adjustments to arrive at the Final edited image.
Final Edited Image "Farm Dreams"
I love getting comments on Facebook from friends that see my images...and I just loved the interpretation of Carol Tharp when she wrote "Reality ripping away at your dream!" Awesome insight, tho I never wanted a farm in many ways this may be true....about reality anyway!
and thank you.....Jean Pineda Quimpo...who commented on my FB page "Hope we can get some tutorials on your piece."
Have fun shooting and using your iPhone for creative endeavors! Hope to see some of you on an iPhone or Big Camera workshop one day! or find me on FB!

Thursday, October 30, 2014

Processing Steps: St. Johns Anglican Church ~ Hipstamatic ~ Snapseed ~ Glaze~ ImageBlender ~ Leonardo


St John's Anglican Church, Peggy's Cove, Nova Scotia is a much photographed subject! It's charming red roof and architecture is just fabulous...but there are some composition issues with distracting subject matter, like telephone wires and poles, houses etc..that make it tough for "straight" shots so I decided to shoot it with my iPhone from a slightly different perspective.
I used Hipstamatic to capture the original image below, crouching low to put the fall vegetation in the foreground as a good base to the image and to minimize the roof tops of the background structures.
Join me for my "Getting Started" iPhone Photography workshop sponsored by Capital Photography Center on November 9 at the National Portrait Gallery.
Or catch up with me at during one of my presentations at Nature Visions Photography Expo Nov 15-16.
Here's the process that I used to create the opening image:
Image 1. Original file captured with Hipstamatic Inas 1969 film and Jane lens combo
Image 2. Original file processed with Snapseed using the HDR Scape filter to pop the tones.
Image 3. Iteration 1 created in Glaze using the Workshop Mode and saved
Image 4. Iteration 2 created in Glaze using the Workshop Mode and saved.
Image 5. Iteration 2 blended in ImageBlender with image 2. the HDR version of original image and saved.
Image 6. Image 3 and 4 blended together in ImageBlender and saved.
Image 7. Image 6 blended with image 5 with selective masking applied.
Image 8. Image 7 blended with image 5 to mask in details in the church saved and then run through Leonardo, applying the clarity filter to taste.

Thursday, May 15, 2014

Cafe Paris~ Inspiration! Camera+ ~ Artista Oil~ Artista Sketch ~ Glaze ~ ImageBlender ~ Snapseed


Last week I had the great pleasure of working with a client who wanted to master GLAZE and do some iPhone work. Their home is like a large studio with white walls, soft white sheer curtains and beautiful windows with lots of natural light. As I worked with my client my eyes were just seeing small still life vignettes everywhere! So we used the natural light and set up a few stills to process on the iPhone. This was one of them. The beautiful china cream pitcher with Cafe Paris on it by Bernardaud and the blue checkered breakfast napkin, just begged to be photographed, so I arranged a little comp by the window with the soft drape of curtain behind it.We placed a white foam core board behind the curtain to balance the interior light.
Staring with Camera+ and choosing an appropriate exposure using the lock exposure feature we made a few comps. I liked this one.

1. Original capture using Camera+
                                        
2. To begin the processing, I brightened it a bit and used a warmer  White Balance in Snapseed. Then I wanted to add a bit of color to the edges. I used Artista Oil to accomplish this by reducing all the slider effects except the border and then toned  the border to work with the blue in the napkin.


3. Next I wanted to add a bit of color to the comp.
I used Artista Sketch to accomplish this, by choosing a sketch look I liked and changed the sketch color to yellow which I thought would work nicely with the blue of the napkin and china.


4. To the original image #1, I blended in ImageBlender image #2 to soften the effect of the blue border toning.


5. Next I blended image #3 with #4 in ImageBlender choosing an appropriate blend mode to achieve the look I had in mind. Then I ran that blended image through Glaze and achieved the look in this image.
6. To finish off the image I used Snapseed and boosted saturation and sharpness as well as applied the border. I used Impression to add my copyright and toned it blue to match the image.
 Check out my full list of classes on the Capital Photography Center site click here for more information and registration.

Wednesday, April 16, 2014

Whats your Muse? Apps~Hipstamatic ~ Glaze ~ BracketMode ~HDR Pro~ Leonardo ~ Snapseed

Often, I ponder what it is that moves me to see and then create an image......waxing introspectively....
On my recent workshop at The National Gallery of Art, men inspired me, doing what they do in this beautiful environment...as I was working with the group explaining BracketMode and HDR Pro I spotted this gentleman with his camera. I was curious about this older man walking around the gallery putting his camera to his eye and shooting images...at any age photography is a gift and a camera a good companion! I quickly grabbed a BracketMode shot while he stood still looking at the tree with his camera to his face. BracketMode allowed  me to capture the light inside with detail on the wall, as well as the beautiful light falling on the outside building wall. I wondered what image he made....
Captured: BracketMode Processed:HDRPro, Snapseed
After the workshop was over I found him in another section of the gallery and made this image. Waiting until I found just the right composition which allowed me to fit him in between the two paintings hanging on the wall. He was alone with his camera, his thoughts and marvelous art!
Captured: Hipstamatic, Jane lens Inas 1969 film Processed: Glaze, ImageBlender, Leonardo, Impression
The same day one of my young students, who I was terribly impressed with....captured my "Yes" when I saw him holding his iPhone up to capture the condensation of the perpetual condensation display....and once again...the joy of photography came to mind...from the very young with his iPhone to the older gentleman with his DSLR. Amazing....how we see so differently through the lens!!! any lens! and the joy it brings.
Captured: Hipstamatic, Jane Lens Inas 1969 film Processing: None
While showing a workshop student a composition using Hipstamatic, of a man seated, seemingly as part of the stone building structure, an art object himself, we got down low and and made this composition. He never knew we were there.
Captured: Hipstamatic Processed: Glaze, ArtistaSketch, ImageBlender, Snapseed, Leonardo
And after the workshop I strayed into the West wing and captured the Gallery Guard as he was directing traffic and warning people to put their beverage bottles away, again, waiting to catch him in a position separated from the escalator so that he was in a good position to offset his person against the wall in front of him, and waiting for that crossed hand behind the back stance that caught my eye initially.
It is always fun to shoot with the iPhone, then app it up! I have only two spots left for my all day workshop sponsored by Capital Photography Center on May 4th. Hope someone can join me there. For more info Click Here. My next "Getting Started" class is June 1 at the National Portrait Gallery for more info click here.
Captured: Hipsatmatic Jane Lens Inas 1969 film Processed: Glaze, ImageBlender, Snapseed, Leonardo, Impression

Sunday, March 23, 2014

Polamatic~Camera+~Glaze~PhotoArtistaSketch~ImageBlender~Leonardo~Phonto~ Working up a new process

Finished Image My Process Below.....
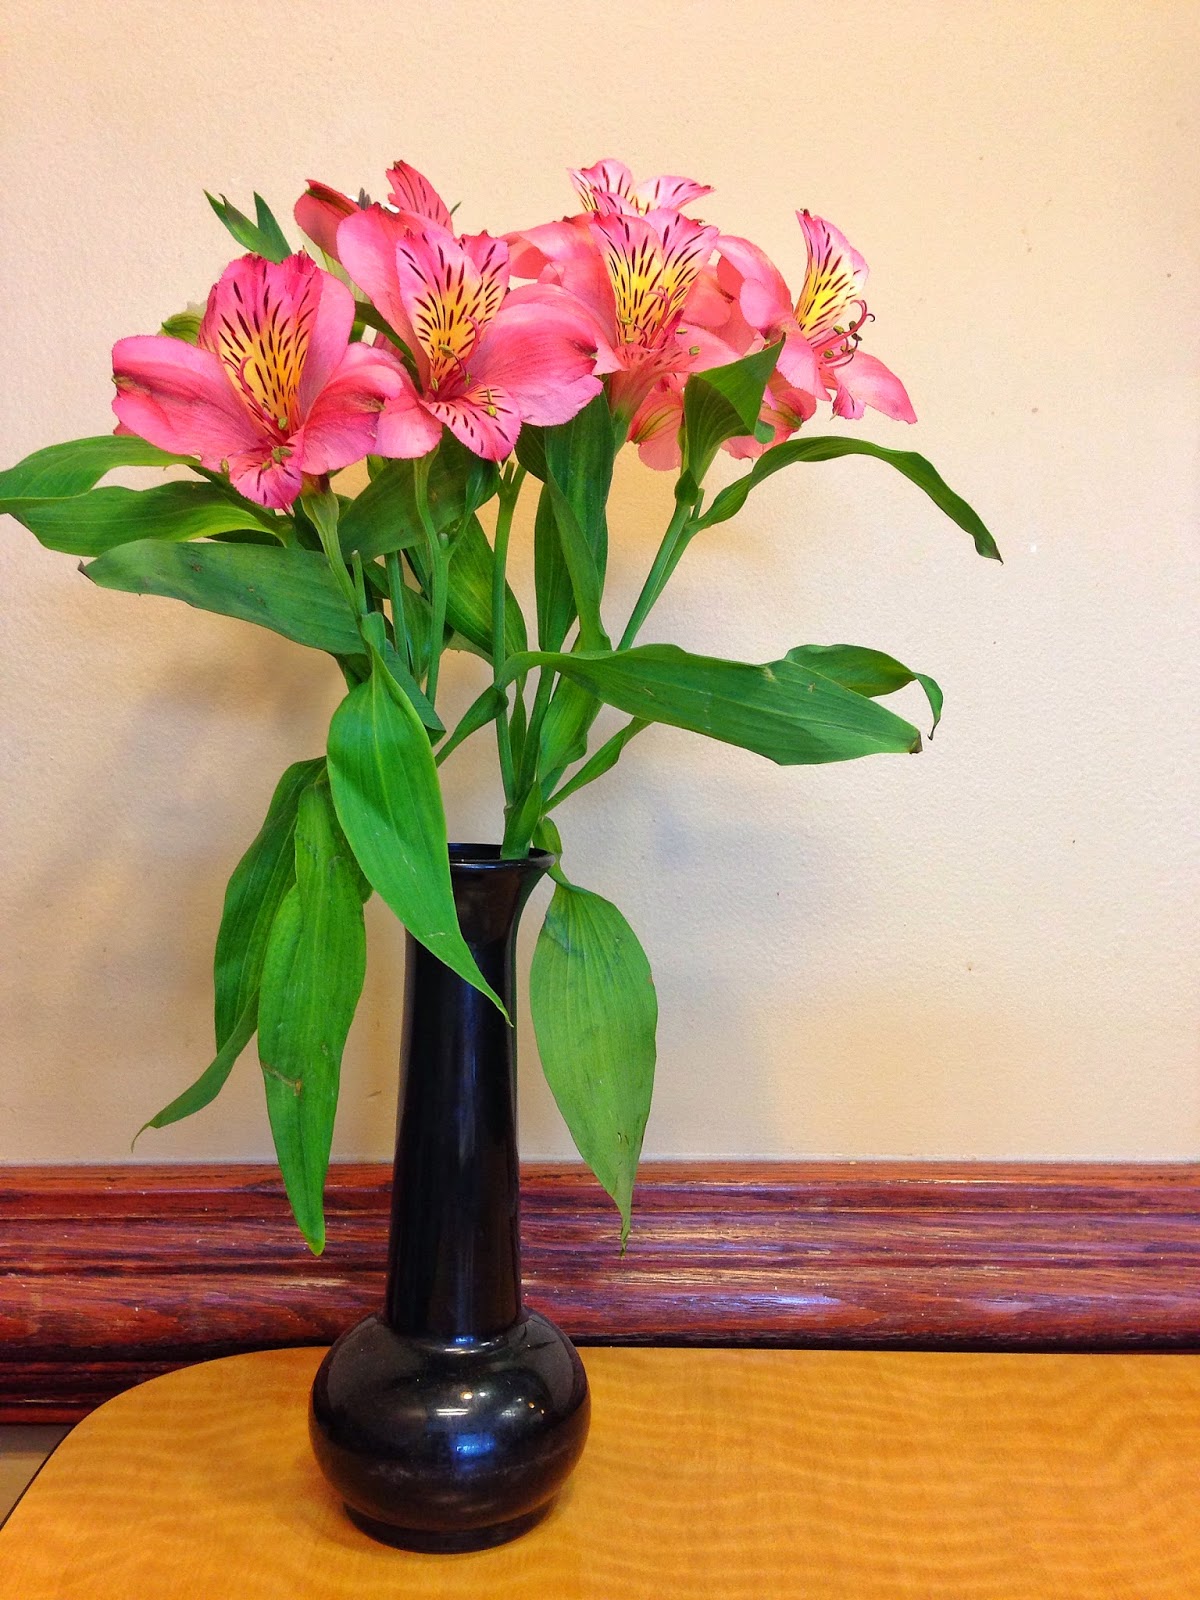
This image started with a simple grab shot of a little flower arrangement on a table at Chick-fil-a when I was killing some time before a Camera Club meeting I was judging. The process evolved as I was working through a few of my favorite apps and one I recently bought Polamatic. The process steps I took are in order below.
1. Camera+ original capture
2. Saturated in Leonardo
3. Image 2 opened in Polamatic and Filtered in Polamatic
4. Image 3 opened in Glaze and masked using the in app purchase mask feature.
5. Image 3 Glazed. Notice the cool effect of paint drips over the masked out border
using the workshop mode in Glaze to achieve a custom Glaze effect..

6. Image 5 opened in PhotoArtista Sketch with sketch effect reduced to
zero so that the paper texture is totally visible, almost completely obscuring the image file.
7. Image 5 and image 6 Blended and selectively masked in
ImageBlender for an aged paper look.

8. Image 7 adjusted for sharpness, saturation and brightness in Leonardo, then opened in Phonto to add the text.
Join me May 4th in Washington, DC for  my full day of Working with Apps in Depth class sponsored by Capital Photography Center where we will process images with cool apps like the ones used here! For more information and registration click here.

Thursday, March 13, 2014

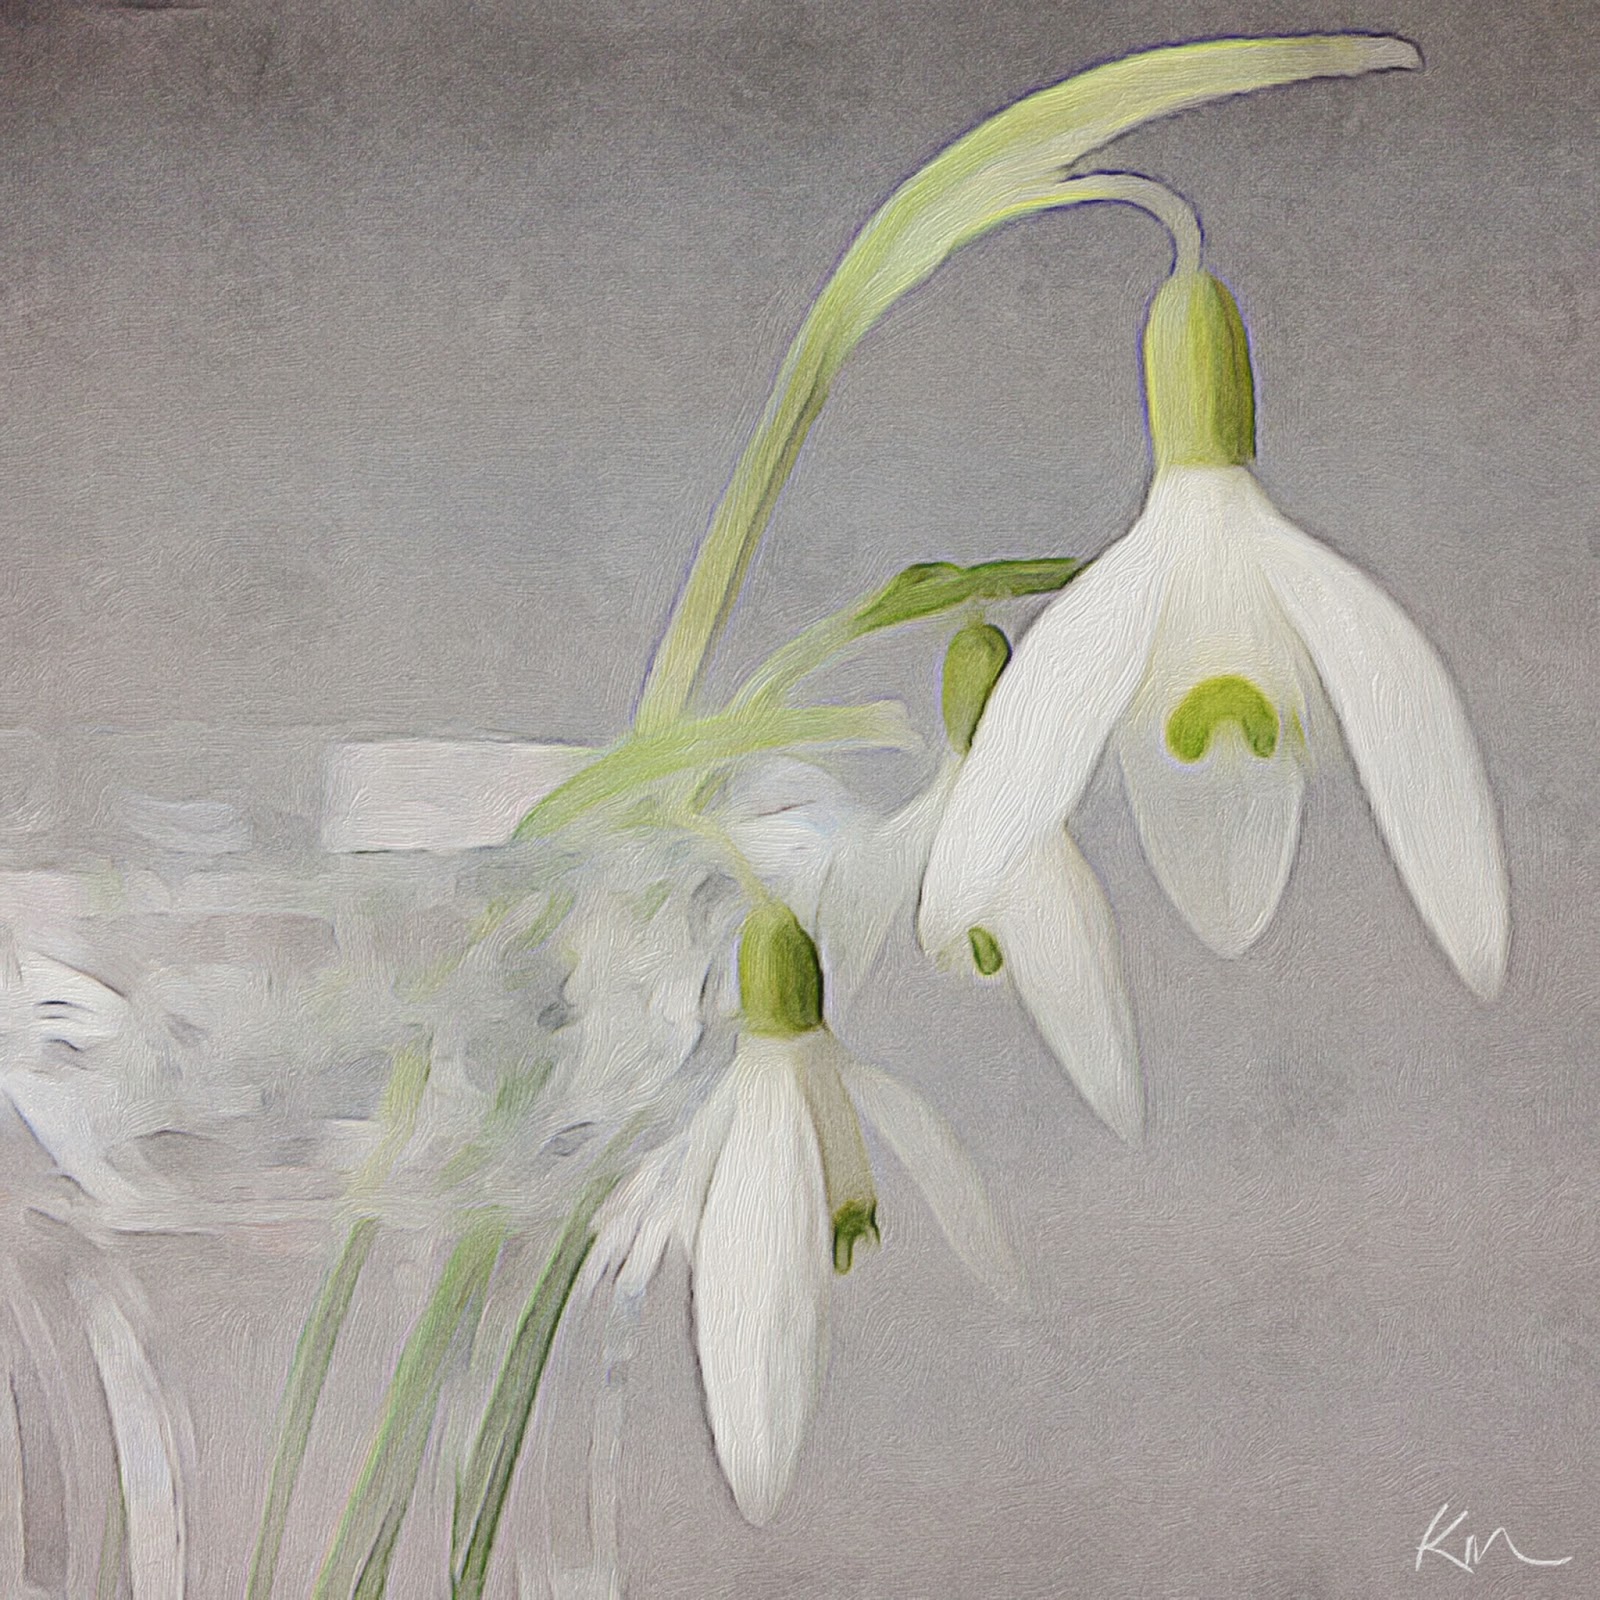
Glaze ~ Transparency Masking ~ ImageBlender ~ BrushStrokes ~ Camera+


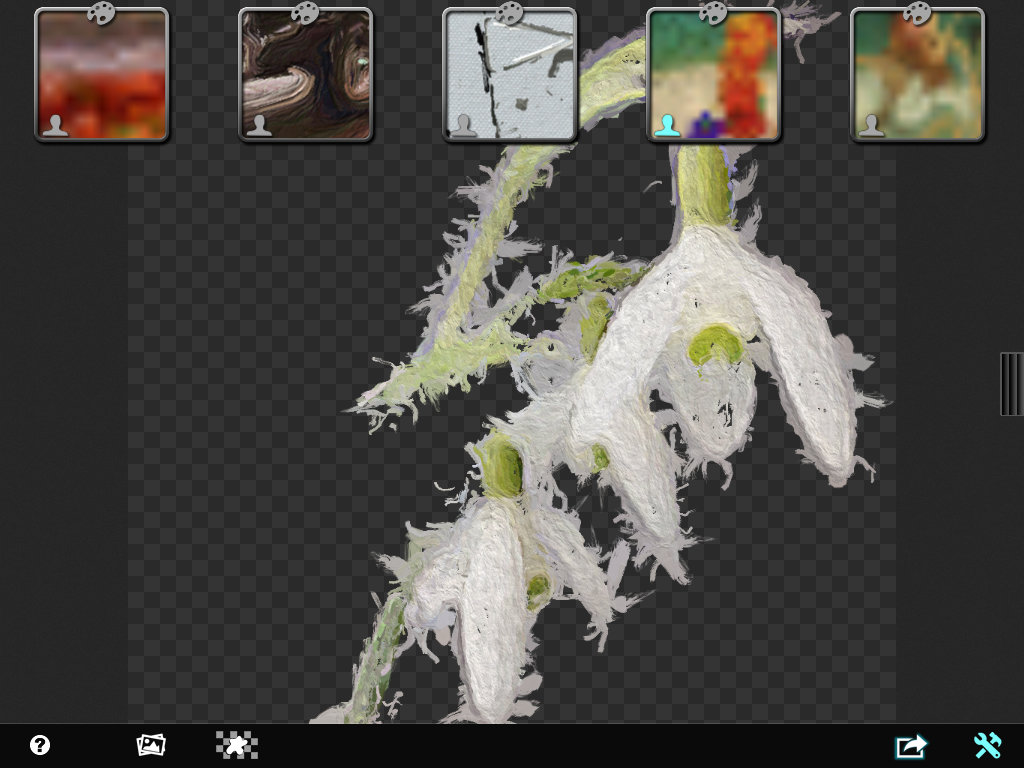
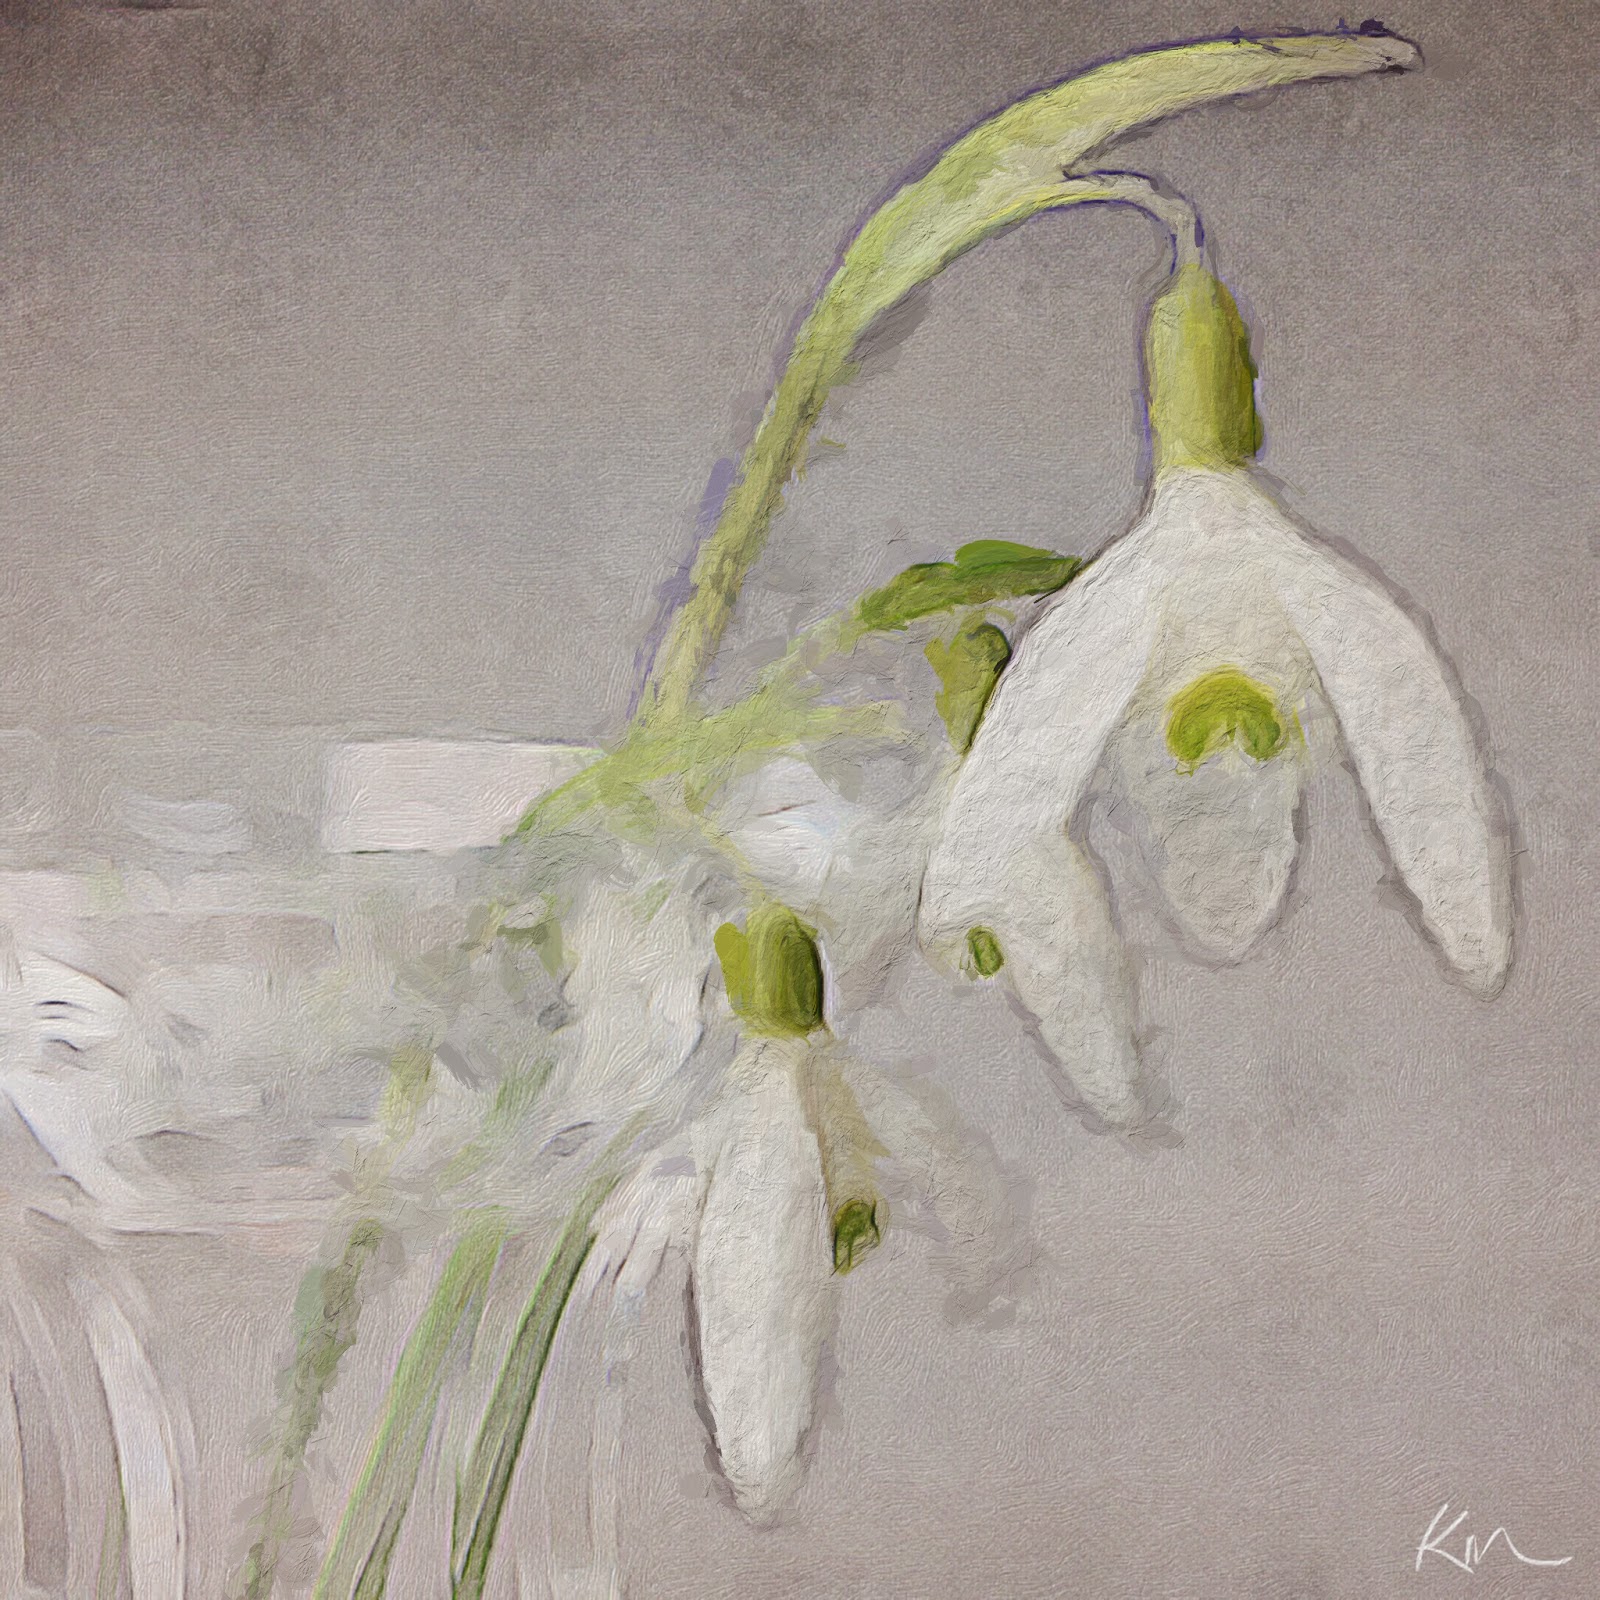
1. This is the iPhone image I started to work with in Glaze for the purpose of exploring the mask feature in Glaze. The image was captured with Camera+ with Square crop mode activated and  I had already processed the image with BrushStrokes a newly released App.
About 5 months ago the developers of Glaze added a new masking feature to their app Glaze. In order to access the feature it required an in App purchase so, I purchased it. I really did not have the curiosity to explore the options at that time as I was using ImageBlender, but this Glaze masking feature allows you to accomplish a different process when using the App Glaze with mask mode...so here it goes my attempt to explain its features and benefits as well as some ideas for improvement.
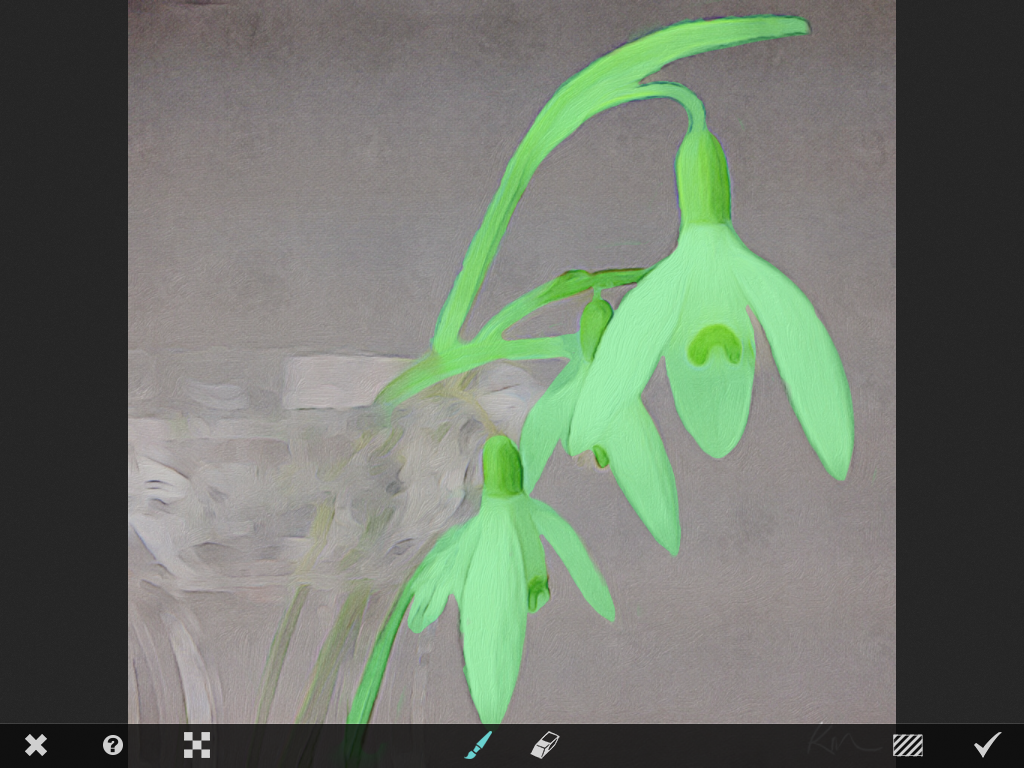
2. Image being masked in mask mode in Glaze.
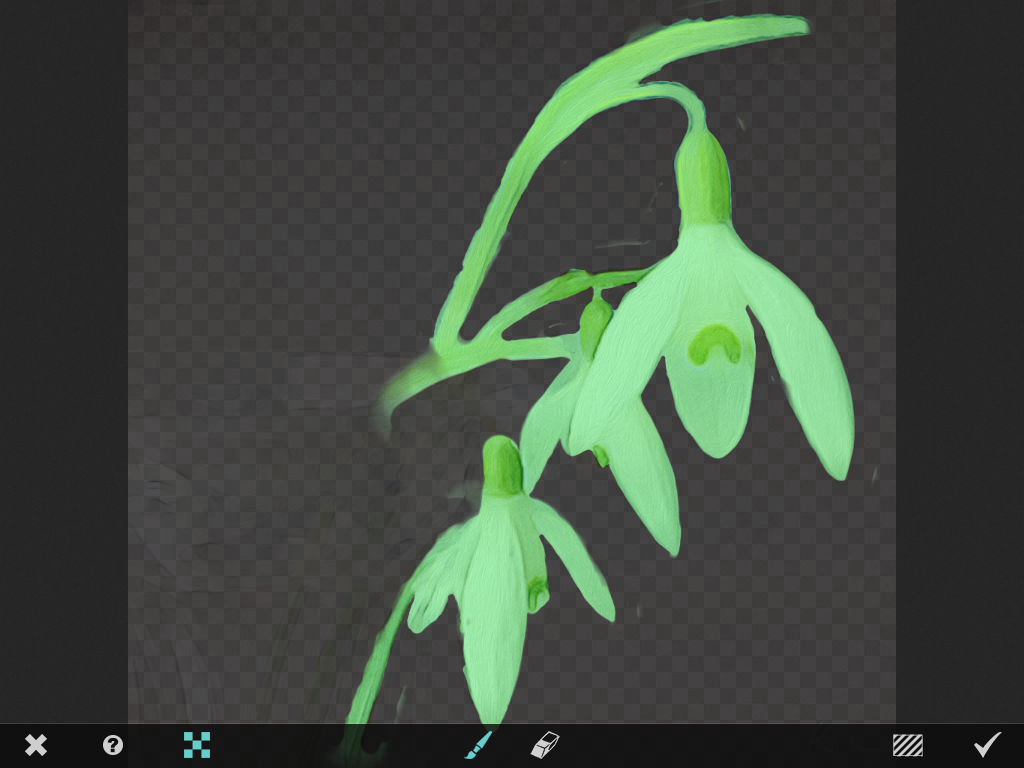
To select the areas to be masked one paints over the image area with the Brush Icon activated, it is easily seen by the bright green mask.
After purchasing the mask feature a star icon will appear at the bottom of the paint style palettes upon opening the application. When you tab on the star the menu choices appear as in the image 2 above.
3. Transparent mask applied to background of the image.
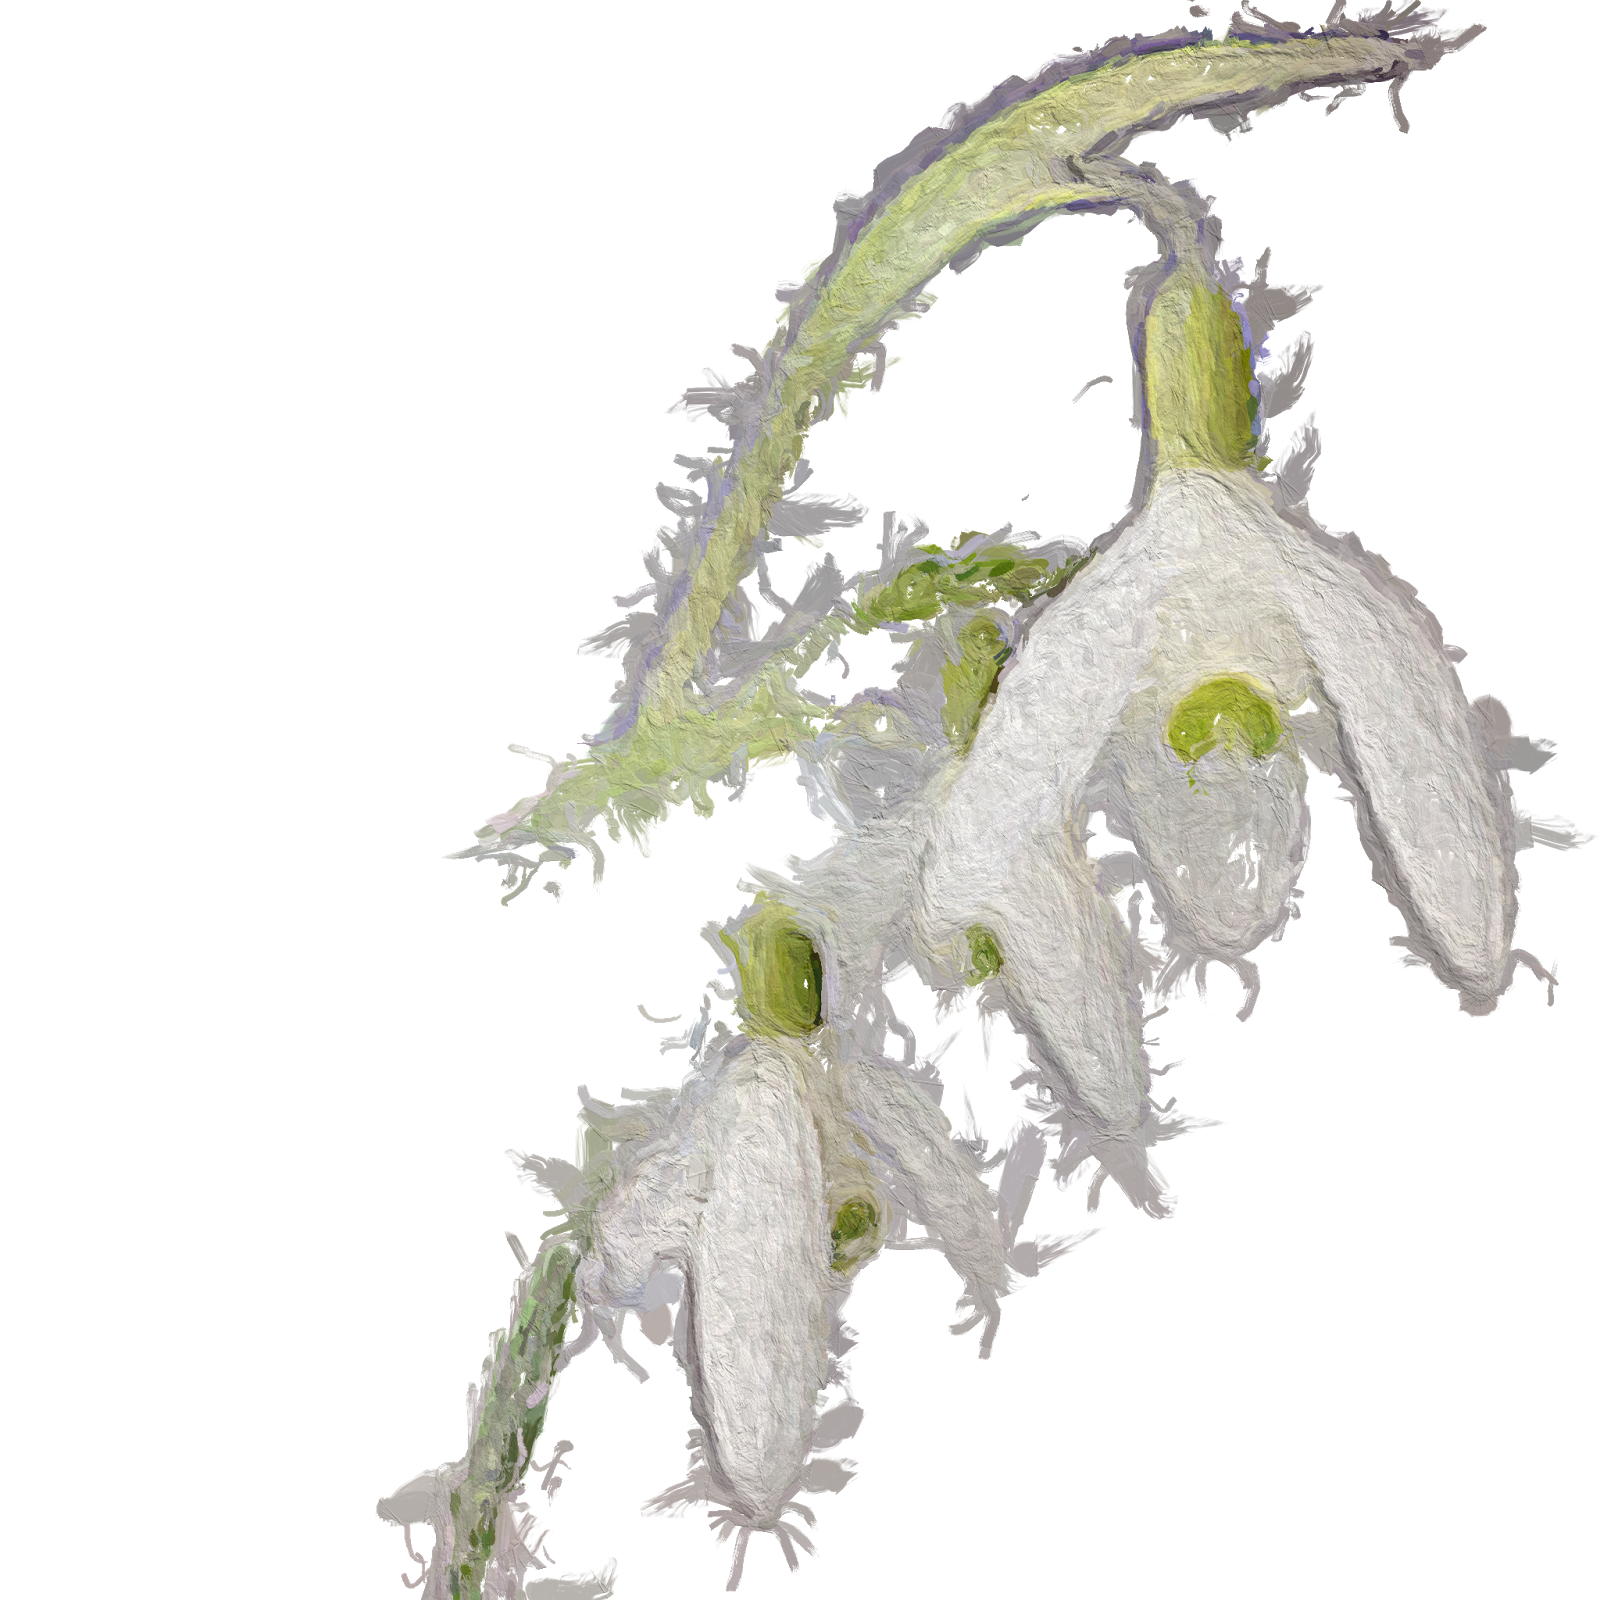
The cool thing about this mask is that you can save it with a transparent background. To do that you activate the transparent background by tabbing on the checkerboard icon. In order to work in great detail you simply expand the image and the brush becomes smaller relative to the enlarged image There is no brush size or opacity adjustment. The eraser feature works the same way. I woud like an undo button but it is easy enough if you over paint to erase. The one button you do not want to actidentally activate especially after you have spent time painting your mask is the diagonally striped rectangle on the bottom right, it will clear your mask! I wish there was a prompt connected with that saying are you sure you want to clear the mask?Now that you have the mask on a transparent background, you can hit the checkmark in the lower right. This will activate the mask and you can now run it through your favorite glaze filters.
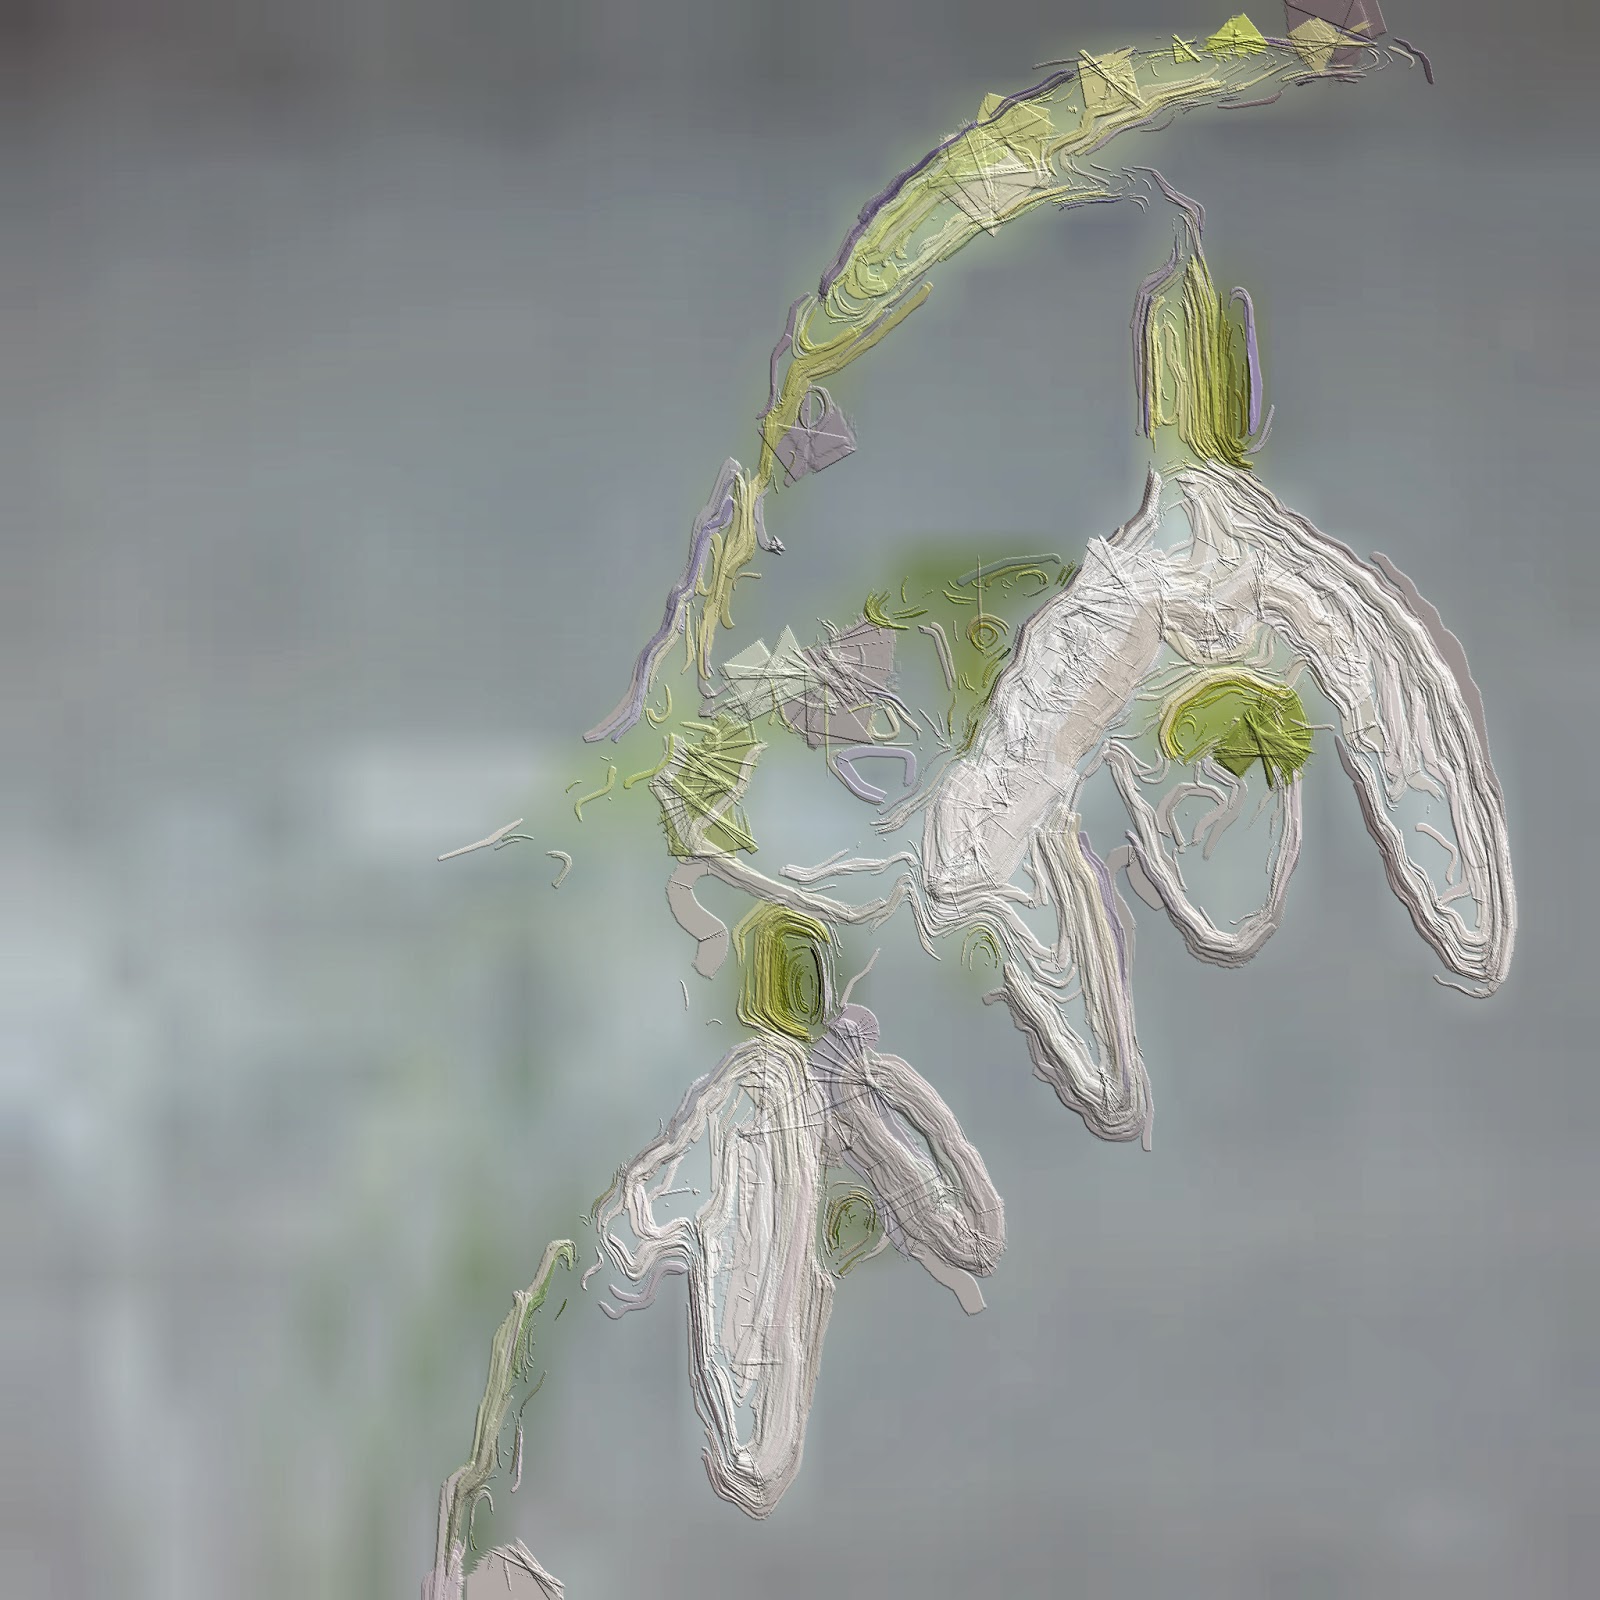
4. Masked image area processed with a Glaze filter with a transparent background.
Notice the star icon changed to reflect a transparent background.
So here is what happens when you process the  mask with you favorite Glaze filter, it applies it to the masked area only...pretty cool!
5. Saved image to camera roll, masked and Glaze processed with transparent background all ready for blending with another file.
The image above is what the saved, transparent masked image looks like in your camera roll.

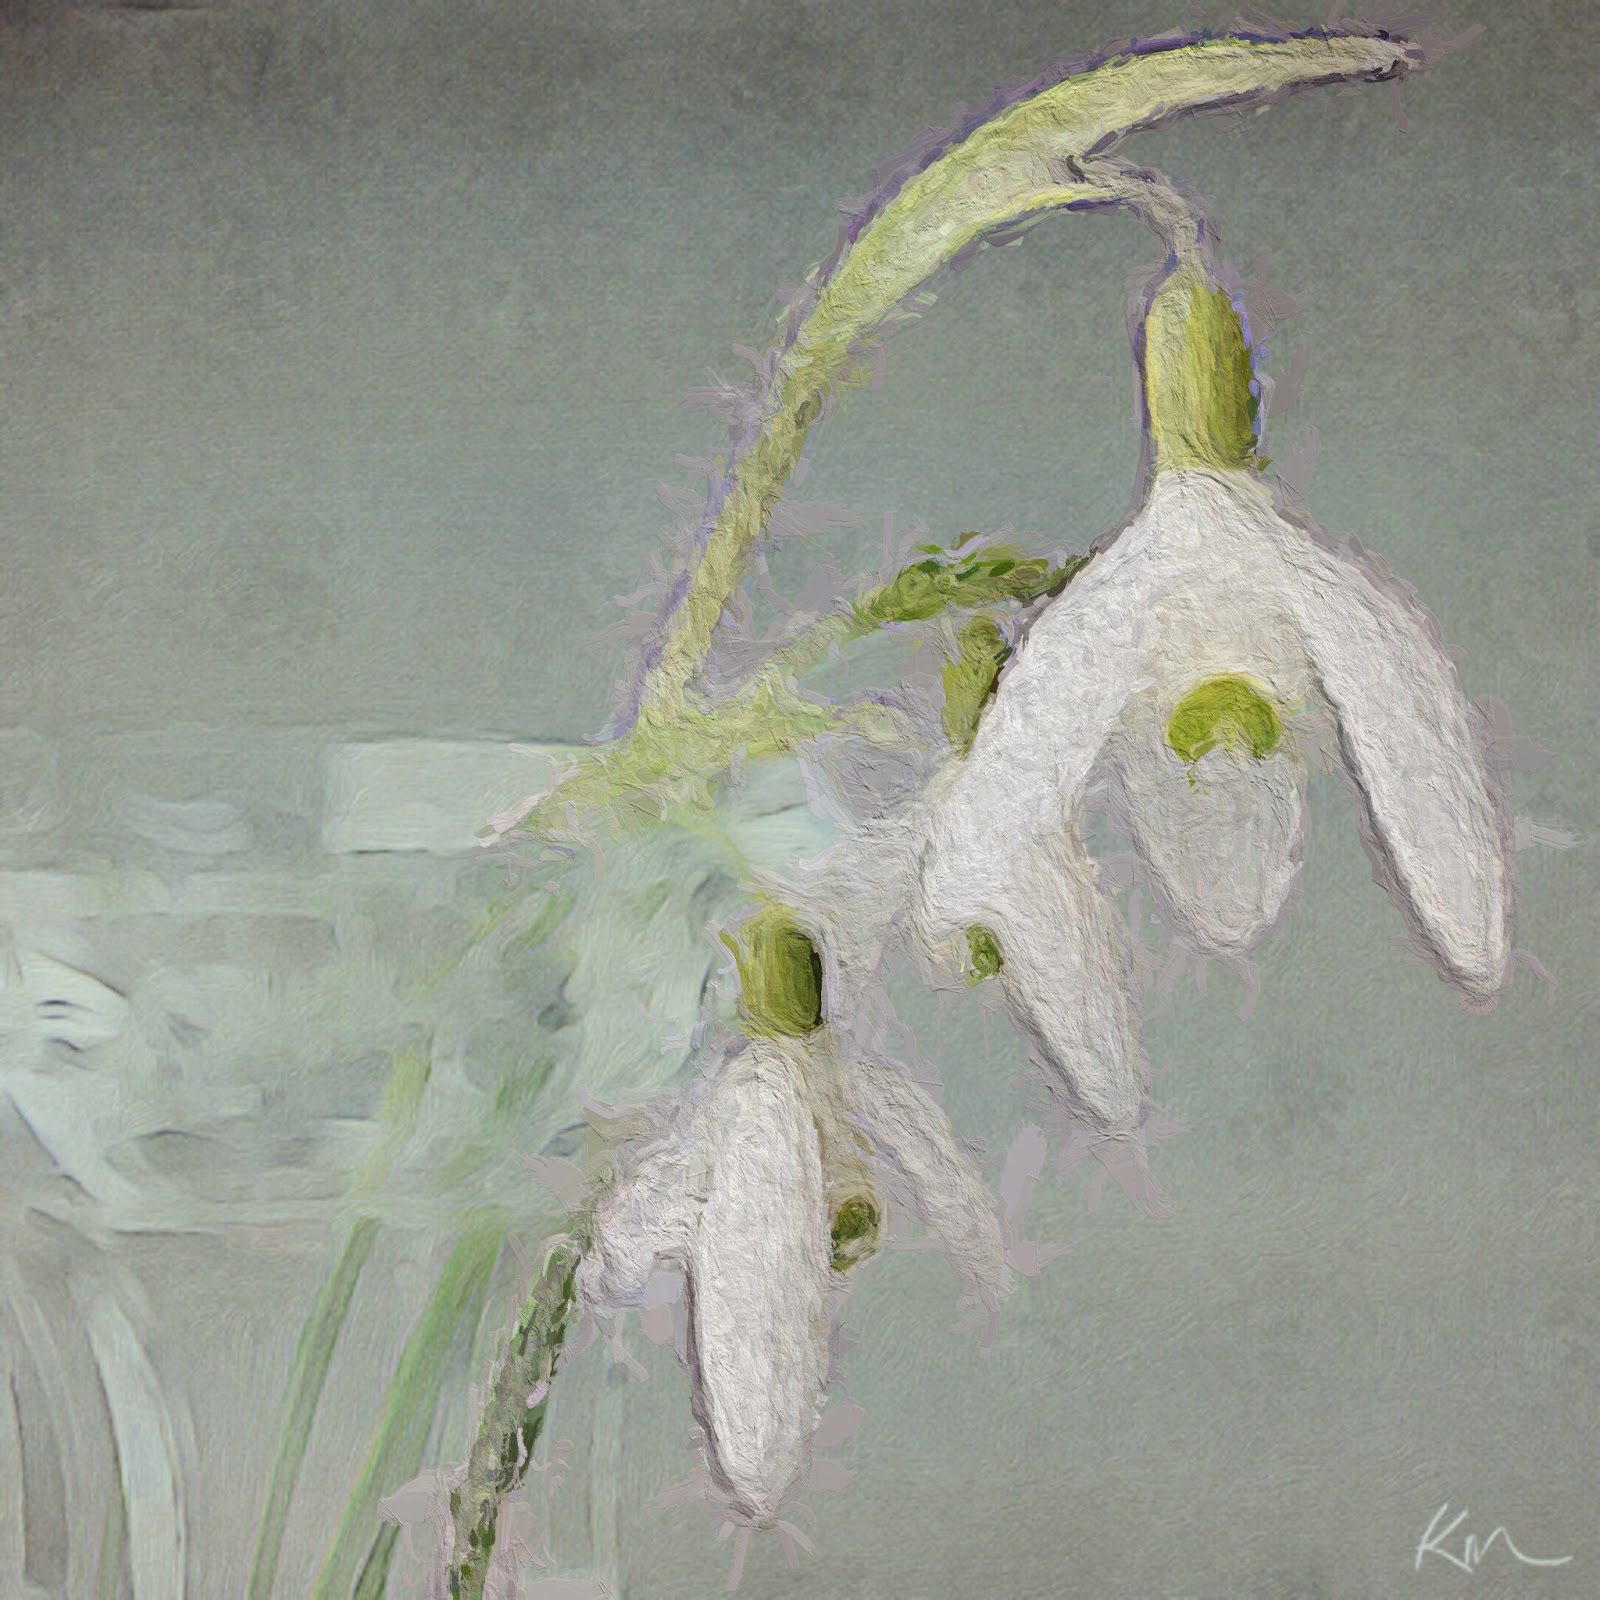
6. Blended images, the original BrushStrokes image 1 and the Transparent Glaze image 5
This is an image blended in ImageBlender using the original processed image from BrushStrokes  Image 1 and a variation of the Masked Transparent Image 5. When you use the transparent image in ImageBlender there is no further masking required.
7. You can also choose not to use a transparent background using the mask feature and run your image through a Gazed filter right out of the mask feature and Glaze will only apply the Filter to the mask leaving your background in the image.
So five months later, I will say this is a pretty trick feature in Glaze!!! If you would like to work with me on this process, join me on my next day long iPhone workshop, "Working with Apps in Depth" May 4, Sponsored by Capital Photography Center. Click here for more information and registration. Happy Masking!
Depending on the Glaze filter you use the background will change, this is a variant to the image process without the transparent mask activated.