Showing posts with label Snapseed. Show all posts

Saturday, March 11, 2017

On, LOSS, LOVE...LIFE and LIGHT

Whew its been a long winter painting inside the house I live in, moving furniture around, packing art and non essentials that I stripped off the walls to paint so when the beach house sells I can move quickly on getting this one on the market. It has also been a difficult couple of weeks, losing a good friend, who I would "speak" with almost every day. Well not really "speak" with, because she had COPD, and had radiation for esophageal cancer and it was difficult for her to speak. So we text most every day, about simple things, like the weather, her physical challenges, my daily to do list, her family visits, her pets, where her beloved husband was in his worldly travels and life in general. So when she passed I missed her thoughts, her "voice", her kindness and support for my adventures and dreams. When I expressed to her that it seemed like I would never get to Hawaii, she always said I will get to Hawaii, she could see me there.
We met several years ago, she reached out to me because she wanted to learn more about using her iPhone as an artistic tool so I traveled to her to help her learn. After that first visit we became friends and I would visit when I could. Who knew such a strong friendship would grow as a result of our original iPhone lesson? But more than the daily conversations, she got me, she knew my heart! So when you lose someone who really gets you it's a big loss.
Recently over the past three weeks, I have been supporting my family with my nephews health issues. It is so sad, difficult and exhausting to see such a young talented person in trouble with their mind. Observing the struggles of your loved ones during such times is creatively draining. Creativity needs space, a quiet mind and introspection, when you are doing doing doing...it is my sense that my creativity is suppressed.

...but slowly I am coming back to center, the day light is now longer which is great and there are signs of spring in the garden. I have already made one day trip to the beach house to see how the renovation work went over the winter and will head back next week to get the interior back together. I am hoping I can get the beach house back on the market in April to sell this summer. I will get to Hawaii when the time is right...this I know. Seems I have been needed here...for now.

Today I have had a window of personal time and have been working on some admin stuff for the two travel workshops I have scheduled this year The Palouse and The Nude as Art and a presentation coming up in April, The Beach Bash sponsored by The Coastal Camera Club.
Some presentation ideas that were rumbling around in my head led me to write this blog..

So now to the "Light." How do you teach someone to "See Light?" We walk around the planet in light and darkness all the time, but to "See Light" in photography and how it interacts with potential subjects, is different as we use a tool with limited capabilities in capturing the light we humans see. How do you teach someone what a subject looks like in different light, well show them!!
See what they like better...analyze the difference...so its a good exercise to get in touch with the light and its qualities...in order to "see" better in photography, after all Photography is about light!
My presentation at the Beach Bash was requested to be "The Art of Seeing." in one hour really? So I am trying to drill it down..not to a lot of pretty pictures but ones that will turn the proverbial light bulb on. So as I sit at my kitchen table today working on some admin stuff on the laptop, I had the idea to make a shot of a simple subject I made the other day when I liked the light on it, late afternoon streaming in from my dining room window into the kitchen, I liked the shadows the shapes the contrast of a simple "old style" wall mounted telephone cord...HA! Simple right! Well here's the difference from today mid day diffused light..
I used my iPhone for ease of use as a simple controllable capture device. I ran each image through Snapseed Black and White and applied the same "dark" filter...and here's the difference.
Now does that help you see the  light???? Whats your choice? Which image attracts you more?
and I would just say there are no rights or wrongs, It is just Different LIGHT! Different purposes.
So that's it on "LIGHT." Hope to see you somewhere along my path! Now back to work!
Image 1 strong window sidelight exposed for the white cord

Image 2 soft diffused window light exposed for the white cord


Tuesday, February 21, 2017

Catching up!

APPS: Capture: Canera+: Processed: Snapseed Signature: Impression

It is going to be a great year in iPhone Photography! My two classes at Johns Hopkins are booked full and my iPhone workshops at Capital Photography Center are booking fast! In addition to the "Getting Started" sessions, we have added two iPhone Photography walk~ a~ bouts this spring!
My iPhone Photography presentation scheduled for The Garden Club of America's annual meeting in downtown Baltimore on May 5th is also booked! Yay! Who knew the iPhone would be such a game changer for photography in our modern lives. I read a post on FB tonight by a photographer who said he had been shooting for 46 years and just did not understand why anyone would want to capture images with an iPhone. That he had one and was never even tempted to use the camera in it. I thought gee that is too bad its so much fun! How do you know until you try??
Well no worries here, unless some new better technology comes along I will always embrace creating images with my iPhone! It is just plain fun!
On a recent workshop I was happy to see the renovated East Wing at the National Gallery of Art has officially reopened. After conducting my last iPhone workshop there I made a few images while cruising the new space.
I just love the second floor sitting area with the expansive windows looking out on Washington, D.C.
APPS: Capture: Hipstamatic: Fashion Pac Processed; Snapseed
The installation above caught my eye! I knew the Hipsta pac, Fashion would create a cool effect with the neon, so I decided to shoot it with the combination Tachman Lens and Runway Film.
Walking further along the new space, I noticed another installation I liked. While standing at an angle to avoid capturing my own reflection, I enjoyed the graphic nature of all the architectural features and reflections that came into the composition.
APPS: Capture: Camera+ Processed: Snapseed Signature: Impression


Thursday, December 1, 2016

"Make the "Stuff" you stand in front of more interesting"


Captured with Camera+ Processed in Snapseed
I just love getting inspiration from other photographers and artists and one never knows where or how it will come. A good friend who attended Nature Visions posted on her Facebook page one of her favorite quotes from the keynote speaker Bob Krist, who is a tremendously talented travel photographer, she wrote "Stand in front of more interesting stuff."
Well a bit out of context but I can imagine what it was in reference to...creating compelling images.

So as I read that, I was inspired to think:
"Make the stuff you are standing in front of more interesting!"
I was at the beach when I read her post in the morning and when I went out for a beach walk in the late afternoon, I was challenging myself to,  "Make the stuff I was standing in front of more interesting."
What do you do with sand, and windblown dead plant life? Study it! Look at the, shapes, textures, light and how it interacts with your subject, look at how you can put the material into the frame so that it makes a pleasing or dynamic composition. Then make a correct exposure, then shoot it again..then go home and do your best processing! Monochrome or color with software effects..it does not matter, its what makes the image work.

I don't believe you have to be in exotic locations or have amazing subjects to create a compelling image! In your own back yard there are subjects and light situations that can work! But you have to stretch your imagination, "see" the opportunity. See how to make the image! See light!
In other words, challenging yourself to,
"Make the stuff you are standing in front of more interesting."

 When you can do this you can create compelling images anywhere you are standing! I will admit though the beach is a pretty cool place! But I was the only photographer out there looking for images on a simple beach walk on a bright sunny bluebird sky afternoon. So get out there, take your iPhone and see the stuff you are standing in front of in a more interesting way, then work hard with your skills to make it compelling!
Tidepool light
Captured with Camera+ processed in Snapseed
It has been a great and busy fall season of iPhone education, teaching two courses at Johns Hopkins in the Odyssey Program and one at Osher as well as weekend workshops at Capital Photography Center.
Look for spring course listing in a couple weeks! I will be teaching in Odyssey in the spring and maybe Osher again...and as always at Capital Photography Center!
Hope to see you  in a class!! I have three more spots open on December 18 at Union Station. Click here for more info:

Also we will be adding an iPhone photography walk about next spring at Capital Photography Center, that will be fun!

Wednesday, September 7, 2016

Snapseed new feature " Face" rocks!


Snapseed "Face" adjustments made and monochrome conversion.
Labor Day was a great day in South Bethany, De. Just being at the beach again is enough! But I also enjoyed a super beach picnic dinner with neighbors Don and Elayne and their children Matt and Michele. Don grilled awesome chicken, Elayne cooked corn on the cob and prepared some fabulous pasta shells stuffed with manicotti cheese...and we sat outside on the picnic table.
Now that's an American Labor Day!
After dinner, as the evening was coming on Elayne asked if I would take a family pic as Matt is now living in San Francisco, Snowy their family dog is now 14 years old, and they have their beach house on the market: it may be the last time they are all together at the beach. So I obliged, actually I was honored! I used their iPhone but I also wanted to use mine as no picture is ever done when you take it, it needs processing, even an iPhone pic benefits from some aesthetic tweaks!
So...I was excited to try a new feature in my favorite processing App, Snapseed. Google just added a new feature called "Face" in the artistic filter section of the iPhone app.
I decided to give it a try on the one pic I thought was best of their family. Well I was blown away by its ability to do the work. It has three adjustment features: Face Spotlight: Eye Clarity and Skin Smoothing. I applied differing degrees of each and was pleased with the result.
Below are the before and after images.
I also enjoyed making a Monochrome file and a vintage file of the same image with the "Face" adjustments already applied. I think it works great in the monochrome conversion as well.
Join me on my next iPhone class September 18 in Washington DC. Sponsored by Capital Photography Center!
Or in Baltimore at Johns Hopkins Homewood Campus this fall..one session is full and one has a few spaces so hurry!
After "Face" adjustment in Snapseed. Subtle but different. Zoom in for details.
Before

And then as we sat in the chairs in conversation, watching day fade into night, this happened in the sky!

Wednesday, August 31, 2016

The value of "Play" in your photography..Hipstamatic Classic


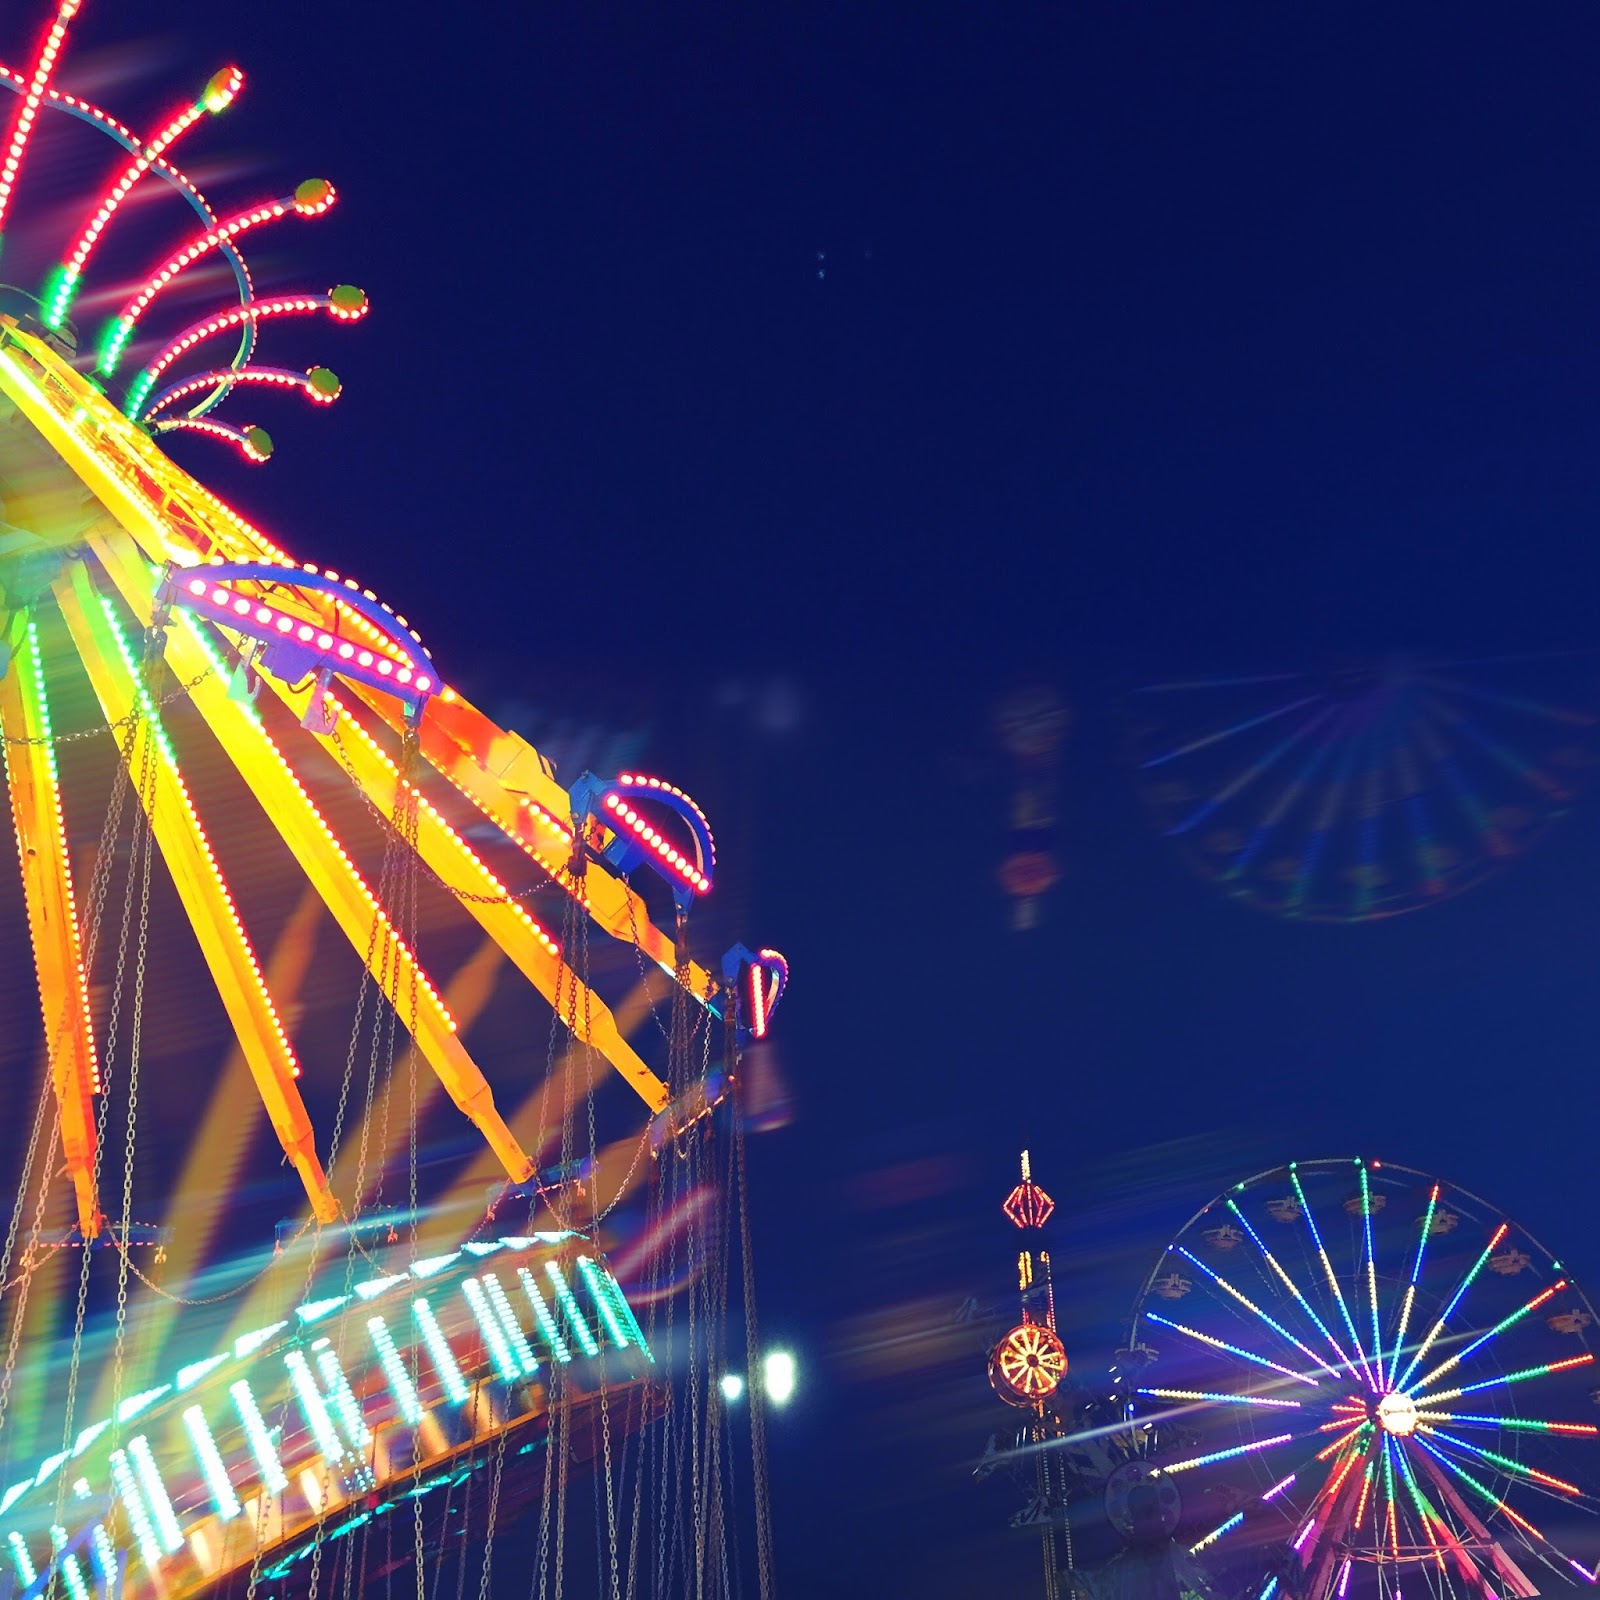
Last night several members from the Baltimore Camera Club went to the Maryland State Fair to create images. It was a great time with friends, music, lights and lots of energy there! I decided to go without the big camera. So with my iPhone in hand I selected the Hipstamatic App, loaded with the Fashion Lens/Film combo: Tacman Lens (adds motion and energy) and Runway film. I thought it would be perfect for the feeling I wanted to represent in my images. I also experimented with the shutter speed control dial that was added to the Classic Camera interface in January. I have not really experimented with it to any degree of difference but thought this would be a perfect time to play with that feature. I also used the multiple exposure feature that is built into the Classic Camera of Hipstamatic...So the combination of shutter speed control, multiple exposure and the Fashion Pak gave me the exact results I was hoping for, crazy fun images with lots of energy! I then finished the images in Snapseed for saturation, and sharpening.
I was really playing with the idea I wanted to communicate and used some cool features the App has to offer...just for fun! Don't take your photography so seriously that it becomes work or route, experiment have some fun with the art!


Wednesday, March 2, 2016

The Conservatory ~ Apps: Glaze ~ Camera + ~ Leonardo ~ Snapseed ~ BracketMode ~ Pro HDR x ~ Impression


Captured with BracketMode: Blended using Pro HDR x: Processed in Snapseed: Artistic filter rendered in Glaze: enhanced using Leonardo and signed using Impression
Sharing new ways to capture images on the iPhone with students is so much fun! I just love to see their faces when they blend their first HDR image, they capture using BracketMode and blend using Pro HDR x. It's always an "Oh Wow! Today I had a group of students in a local conservatory and we worked mainly on capturing macro images with our iPhones, but I also had a student who wanted to expand her knowledge on shooting and capturing bracketed HDR images. The images here are an assortment from today's workshop.
Join me in Washington, DC for my next "Getting Started in iPhone Photography" at the National Portrait Gallery, March 13, just a few spots open.
Orchid: Captured using the Macro feature in Camera+: Processed in Snapseed: Artistic filter applied using Glaze: Enhanced using Leonardo: signed using Impression
Captured with BracketMode: Blended using Pro HDR x: Processed in Snapseed: Artistic filter rendered in Glaze: enhanced using Leonardo and signed using Impression

Cactus Flower: Captured using the Macro feature in Camera+: Processed in Snapseed: Artistic filter applied using Glaze: Enhanced using Leonardo: signed using Impression


Tuesday, January 12, 2016

Tips for creating "Sharp" iPhone images~


Often I am asked how I get such "sharp" iPhone images...so I thought I would share a few tips which often help my students.

1. Protect your lens!!! I know this device is so easy to "throw" in a handbag with car keys and wallets, or for the men in pockets with change and keys, but I often say..."would you treat a $1500.00 DSLR lens that way? Of course not, it gets a lens cap then into a camera bag....so even though the mobile device is not a $1500.00 DSLR lens, if you want "sharp" images you must treat it so!
Protect it!
How?
a. Use a Mophie Battery pack! It keeps the lens recessed due to the packs design, so if you lay it on a table the lens will not be vulnerable to scratches.
and
b. Put it into a protective cloth (I love my Vera Bradley Cross Body Pouch) or neoprene pouch before putting it in your pocket or handbag!

2. Clean your lens: I always use a micro fiber lens cloth to wipe the lens off each day I use it to capture images. I keep it in the pouch where I keep my phone stored.

3. Capture technique matters:    
a. Don't use the volume button to trigger the shutter, when you push on the button you inherently shake the camera (or phone).
b. Shoot with an app that allows you to use a focus point on screen like Camera+ for maximum sharpness, and remember to use it.
c. Tap gently on the shutter button in the shooting app. There is no need to push hard on the screen on any shutter button: just a real soft gentle touch and release and it will fire.
d. Camera holding technique, I use a rock steady grip on my iPhone cradling it in both hands for maximum stability when I shoot, as if I was hand holding and shooting with my big camera, I also stabilize my body.

4. Processing technique: 
a. I use Snapseed on every image I create on my iPhone sharpening them up to about 25% (no more). The sharpening feature can be found under the details filter menu in Snapseed. In addition every image gets a little bit of Structure, anywhere from 10-20%, also under the details menu in Snapseed.

I hope these few tips, help you improve the sharpness of your mobile phone images.


Sunday, December 13, 2015

Gifts for your favorite iPhone Photographer

Vermont Fall
Captured using Camera+, processed in Snapseed, artistic filter applied in Photocopier.
 Its winter, but it feels like spring! Some of the azaleas in the garden have lone blossoms and the hellebore plants are putting out new shoots.

But it is the season of giving and I was asked by Marie of Capital Photography Center, to put together a list of some of my favorite iPhone gift ideas. I thought I would share it with you here. All of the items on this list I use and enjoy!
So if you have an iPhone photographer in the house I hope you will gift them a small item from this list.


Here are TEN GREAT GIFT ideas.

1. An iTunes Gift Card is tops for buying more photo apps!
What’s better than an iTunes Gift card for downloading more Apps for photography!

2. Touch sensitive gloves for navigating your iPhone screen in winter.
 Isotoner has a great selection for women here: 
And for men here:

3. A set of awesome lens attachments from INMACUS: Here

4. Nothing is better than Mophie for keeping your iPhone going long after the battery is run out. Mophie has a great selection of cases and external battery packs here:

5. Reusable wire wraps to keep your cords from snarling make great stocking stuffers!

6. For your Vera Bradley fan a cross body iPhone case is awesome! I love mine!

7. What’s better than a subscription to iPhone Life Magazine!

8. If your iPhone Photographer is also an audiophile Bose makes a super collection of Bluetooth enables speakers that are incredible!

9. A stylus is also a great stocking stuffer gift! I love mine from Pogo! https://tenonedesign.com/pogo.php

10.  A car charger for the road tripper! I love this one from Dell. http://accessories.us.dell.com/sna/productdetail.aspx?c=us&l=en&s=bsd&cs=04&sku=A8582143

Bonus idea....
11. A microfiber lens cleaning cloth is always needed to keep that iPhone lens sharp and clean.

Oh and maybe a workshop with me!

Join me December 20, at Union Station for my Holiday Getting Started in iPhone Photography workshop only four spaces left!

Monday, August 24, 2015

Shooting the Sunrise: Apps: Camera+ ~ Photo Fx ~ Snapseed

Final Processed Image
I love standing at the edge of the ocean before sunrise and on my last day at the beach this August I did just that before packing up and heading out. It was a short week and I did not even take my big camera, but as the sun began to rise I could not help but capture a few images with my iPhone, it was a beautiful morning. Today I had a few minutes to share my steps on the capture and processing the image I made that morning.

Capture: I am an avid Camera+ user when I want a clean file to work with, one that is closest to the kind of file I might get from shooting with my DSLR. (No pre-applied filters just a straight shot.) The really big advantage for me using Camera+ is the ability to choose and lock focus and choose and lock exposure. I chose the exposure I wanted by moving the exposure reticle around the screen until I saw the exposure I liked then locked it while I locked my focus as well, then all you have to do is keep firing the shutter button. I made the exposure to capture detail in the sea, knowing the area just above the horizon would blow out and I could YES, Fix it in Post!
Image 1: Original Capture
Image 2: Original with Levels (in PS) showing blow out in highlights just to demonstrate  my thoughts and for purposes of  confirming my capture. (Note: Non of the processing of this image was done in PS)

Processing: Photo FX by Tiffen is one of my favorite landscape processing apps because of the Grad Filters.
Image 3: Access the main "Grad Menu" by tapping on the Grads/Tints icon,
 then tap on the bottom right image to open the Strip Grad menu.
Image 4: Once in the strip grad menu there are sub menus of colors.
I used the Chocolate strip grad by tapping on the icon image identified as chocolate.
Image 5: When you tap on the chocolate strip grad icon this screen appears.  As you can see the filter has been applied over the entire image. But I only wanted the effect on the bright area just above the horizon. By tapping on the dashed circle icon at the bottom of the menu screen a new option appears on the screen.
Image 6: By dragging the shaded gray circles on the screen at the top and bottom
of the image you can reposition the strip grad filter.
Image 7: Grad strip filter adjusted to area desired.
Image 8: In addition to adjusting the placement of the grad strip you can also adjust the color and opacity of the grad by tapping on the blue adjustment icons to the immediate left of the dashed circle icon. When you tap on that it brings up a color picker. By moving the circles around on the two color graphs you can choose the color you want.
Image 9: When its time to save your adjustments you can tap on the lower right save icon in image 8 and either add these adjustments as a layer and proceed with further adjustments by choosing add layer or you can save to camera roll. I save the adjusted image to my camera roll for further processing in Snapseed.
Image 10: Further processing in Snapseed, using Tonal Contrast: Ambience, Saturation, Warmth, Details and Structure. 
Image 11: Final Processed image

Image 12: Histogram in PS of final image showing detail and color now in the bright areas above the horizon.

Friday, May 22, 2015

Barcelona Street Photography ~ Hipstamatic ~ Snapseed ~ Diptic ~ Phonto

Street Tango
Barcelona is a fabulous city filled with opportunity for street photography!
I chose to capture nearly 95% of my street images with Hipstamatic, using the Film Rasputin and Lens Sergio. I love shooting with the Hipstamatic large screen feature engaged so all I have to do is tap the screen to release the shutter. I also like to turn the sound off so as not to attract attention.
There are several places on the web I like to check out for Hipstamatic info and get combination ideas: one is a blog called Hipstography and the other is the Hipstamatic official blog.

The image above was further processed in Snapseed to make the monochrome conversion. When street shooting it is a good idea to make a series of images all processed with consistency.
When shooting, use the same film lens combo and when processing, make note of the adjustments so they can be applied consistently to create a series of images as in the collage below.
This collage was made using DipTic and Phonto for the script. When using DipTic to make a collage with square images, modify the Aspect adjustment feature to 4:4 and choose a border that works well with the image colors and modify the border size to compliment the collage.

I also made a small book on Blurb using all monochrome images...the link can be found below.
I used Lightroom as the interface with Blurb and it worked well.


Tuesday, April 7, 2015

Farm Dreams ~ Camera+ ~ Stackables ~ Impresso ~ ImageBlender ~ Snapseed ~ Impression

Processed final image...Farm Dreams
Rainy day at the beach so I have some time to made good on a promise I made about writing a tutorial on my image "Farm Dreams" I posted on Facebook the other day....so here goes....
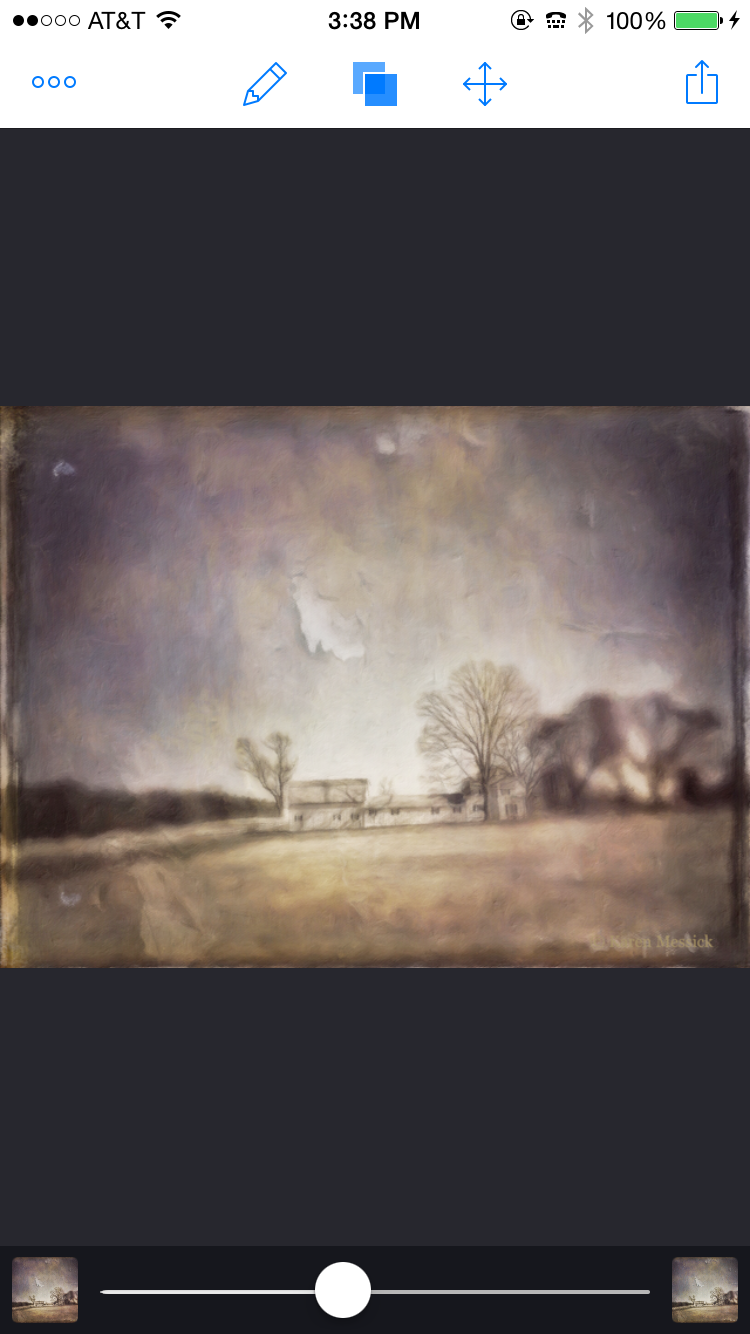
As with all images Capture is important, given subject and light. So my choice to capture the original image was with Camera+ in late afternoon light striking this side of the barn. The farm was a good way off the road and knowing that Camera+ has a zoom feature as well as an exposure and focus feature, I chose to capture the image with Camera+. When I captured it I knew that a zoomed in iPhone image would not give me the best quality for a "straight" shot, but I did not care about the quality just the capture, as I had intended to use processing applications to create a painterly look.
Image 1 original capture with a little tweaking in Snapseed.
I always run my original capture through Snapseed as a basic processing application for clarity, structure, ambience, white balance etc.....
Image 2 Processed in Stackables using the Formula feature and Tintype...
Image 3 Added texture filter Lacerations in Stackables to the Tintype filtered image and one more texture "Soft Clouds" at a very low opacity and saved to camera roll.
Image 4 Added my signature with Impression and saved to camera roll.


Image 5 This is Image 4 processed with the Impresso app...Choosing the preset "Portrait Perfect" and then adding an area of adjusted brush strength.
Settings in Impresso

Detail area selected
After making the image adjustments in Impresso I saved it to my camera roll for further editing.

Image 6 Blended with Image 5 and 4 in ImageBlender

After saving the blended image I then took the image back into Snapseed for contrast, brightness, detail and structure adjustments to arrive at the Final edited image.
Final Edited Image "Farm Dreams"
I love getting comments on Facebook from friends that see my images...and I just loved the interpretation of Carol Tharp when she wrote "Reality ripping away at your dream!" Awesome insight, tho I never wanted a farm in many ways this may be true....about reality anyway!
and thank you.....Jean Pineda Quimpo...who commented on my FB page "Hope we can get some tutorials on your piece."
Have fun shooting and using your iPhone for creative endeavors! Hope to see some of you on an iPhone or Big Camera workshop one day! or find me on FB!