Tuesday, February 12, 2013

Color Thief~

After my iPhone workshop on Sunday I took a quick spin through the West Wing of The National Gallery of Art in Washington, DC. There I found another bronze of Degas' Little 14 Year Old Dancer..one of my favorite bronze sculptures, another one resides at The Baltimore Museum of Art. I thought I would try the app Color Thief on the  image I made there of the sculpture.
My thought when I did was.....This app is pretty darn cool!
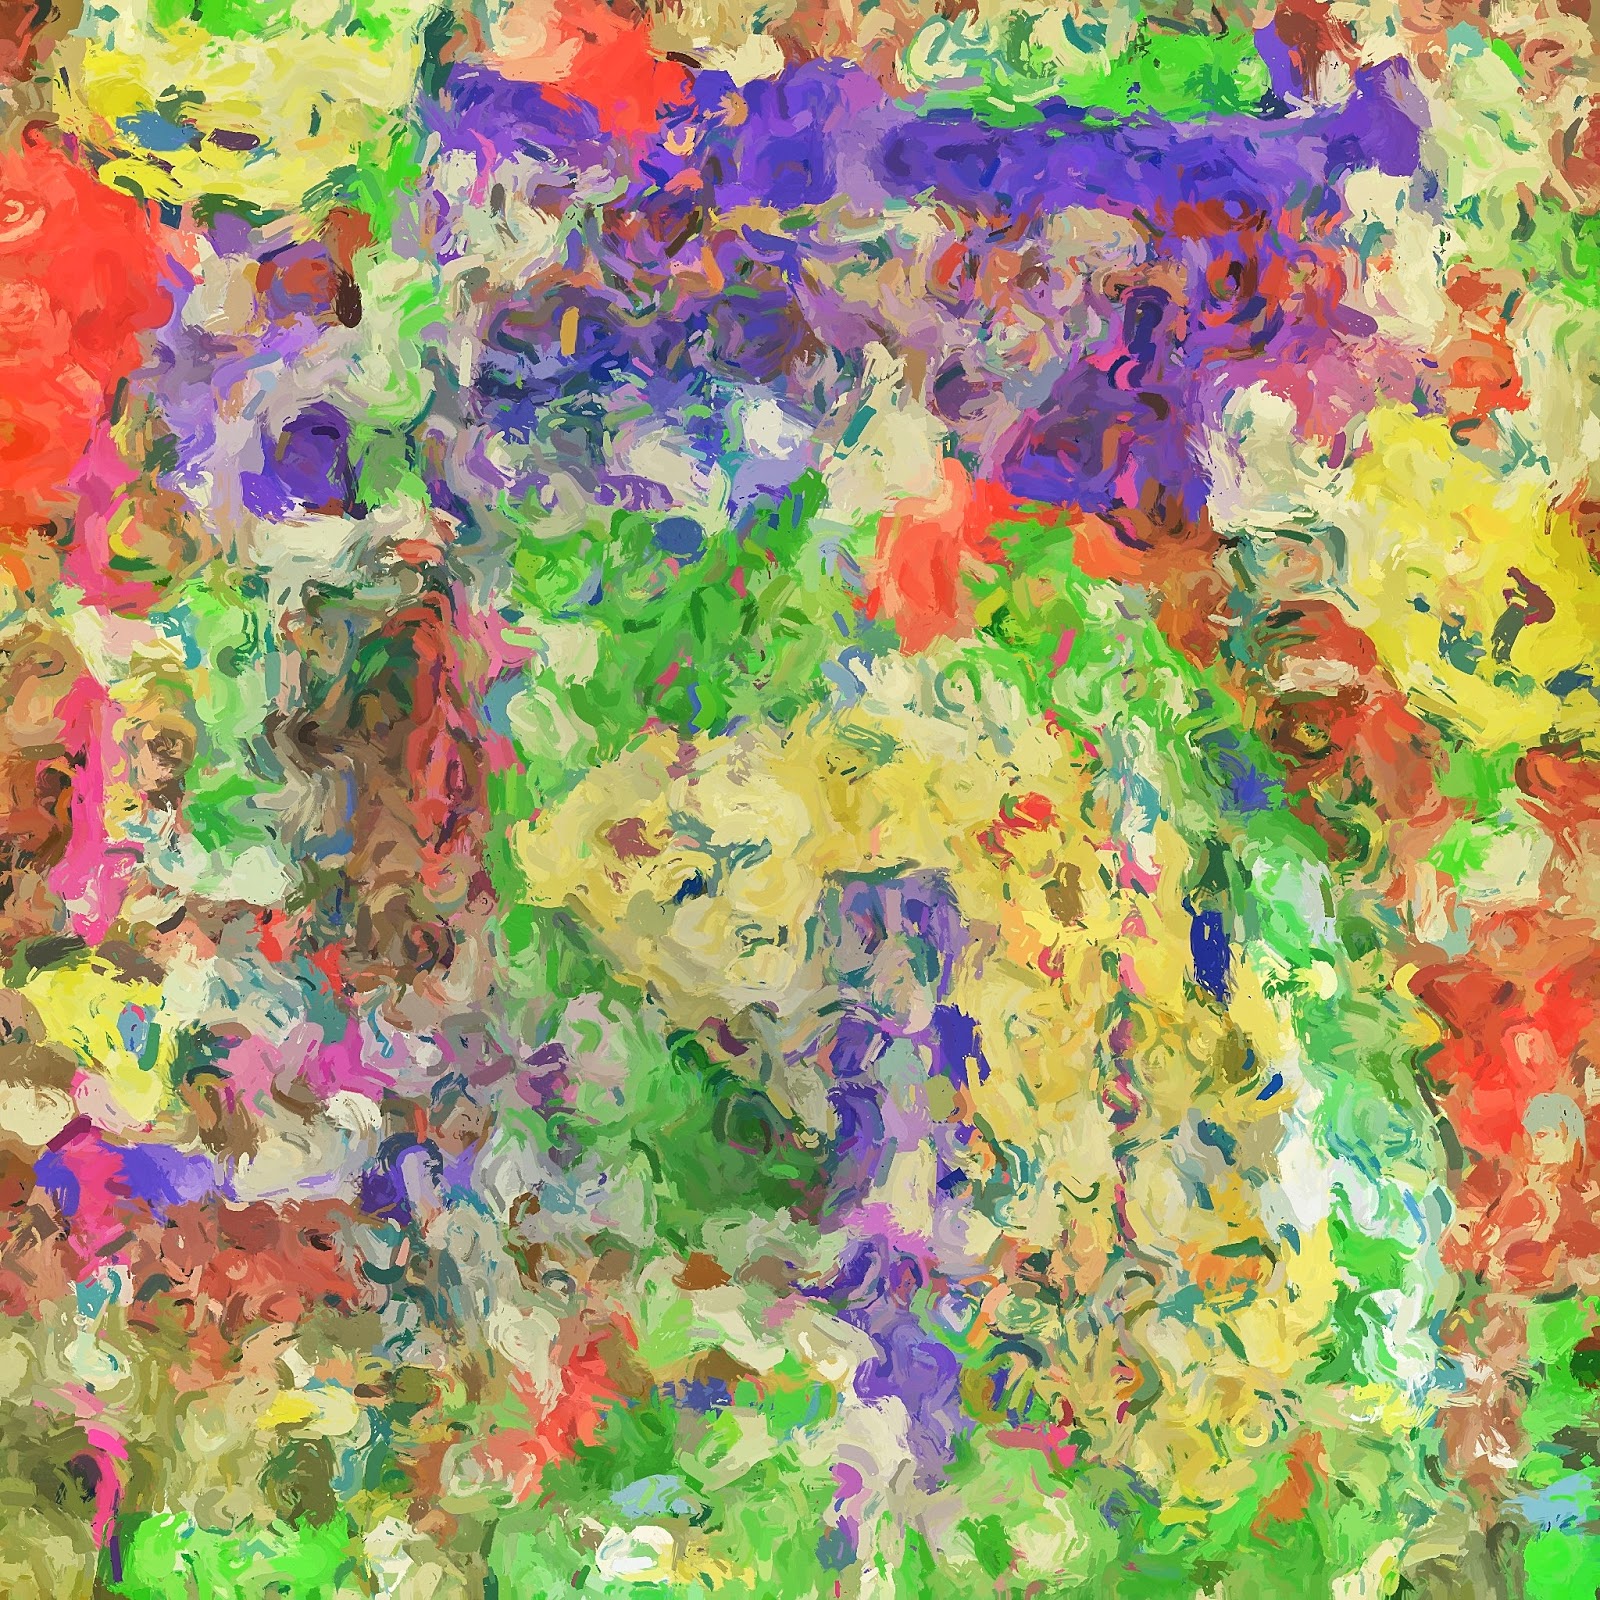
The opening image is a result of using the color shift app Color Thief. Color Thief launched in Dec 2012 and updated January 2013 to full res, awesome! It handled the color shift pretty well (you can still see remnants of the original color on the right side of the image but that did not bother me or discount the value of this app.) I love it for what it does. It's a one trick pony, robbing the color palette from one image and transferring it to another image.
Below is a screen shot of the open app which will give you an idea. The blue and gold abstract is the image I used to recolor the Little Dancer. 
The app is easy to use; First you find an image you want to use for the color "thievery" and then the image you want to recolor. So simple and cool! Then save your recolored image file. There are no sliders for opacity or blending Color Thief is just a single feature app, robbing colors!
And here is what the original file looked before I recolored it and after I had worked it using several apps blending images to create the background.
Apps: ImageBlender: Slow Shutter for background image: Glaze: Snapseed.
After walking through the west wing I went out on to the National Mall and made a few distant shots of the Capitol Building.
So I tried it on an image I had processed using several different apps adding some texture in Etchings and Retrolux in Snapseed, but you can see the color shift is pretty cool.  Join me in Baltimore on March 3 for a morning at The Baltimore Museum creating and processing iPhone images or spend a day learning in my next day long iPhone Processing workshop is March 8 in Gathersburg sponsored by Capital Photography Center. Hope to see you there!
Color Thief Screen shot
Original image tone


Monday, February 11, 2013

Creating Abstracts: Apps: Tiny Planet~Tangled FX~Glaze~ImageBlender

Wave
Yesterday I led an iPhone workshop in Washington DC at the National Gallery of Art. It was great working with new iPhone photographers. Along the way I captured a few quick shots. The moving escalators underground are cool with walls of lights so as we were moving I grabbed a couple shots.
The image above was the final result of that shot. I really am having some fun with this style or creating abstracts from pixels getting a painted look with Glaze as part of the recipe.
The sequence of images below will show you how I arrived at the image above I call "Wave"...that's what I think I really enjoy about the apps for the iPhone...I really didn't have an objective for the "final" image....I just started playing with the shot of lights in the tunnel. Once you know your apps you can use the what if game...like I did here...
Original Capture Hipstamatic Tinto with C-Type Plate
Above Image run through Tiny Planet
Tiny Planet Image with an iteration from Glaze
  
Above image run through Photo Wizard to distort and colorize
Above image run through Tangled Fx
One more iteration in Glaze

Final Image blended the last Glaze iteration with Tangled Fx version and ran one more iteration in Glaze with the blended image. Then a little saturation and contrast applied in Snapseed.
If I could only really paint like this!!


Saturday, February 9, 2013

Deco Sketch: Photo Artista Haiku, Glaze and Snapseed

Last night I was goofing around with some apps and a few images, and cooked up a new look.
For those of you who like to draw, or paint and maybe not so much photograph this is a fun process....
Deco Sketch -Photo Effects is now a full resolution app that you can process your images with as a staring point or you can draw your own using an array of cool linear effects with lots of adjustment possibilities. So I began to play with it and a few other apps and cooked up an app combo I liked to create these abstractions. Deco Sketch has been out for a year but just went full res this February.
I used this 6x6 captured image as a base image for both iterations here.
The image above is the image I used as a base image. I opened it in Deco Sketch and began to goof off with different shapes and colors and linear effects, reduced the background image opacity and landed on the image below....less I get carried away! ;)
Drawings made over original image in Deco Sketch, with photo opacity reduced as the background.
I then took the Deco Sketch result image and opened it with Photo Artista Haiku. I landed on the image below. I also saved the Photo Artista Haiku settings as a Preset in the app so I could easily repeat the look.
Artists Haiku Version
Then I took the Photo Artista Haiku image and ran it into Glaze this is where it gets a little random. Tabbing through the Glaze presets I saved a few I liked, then began using the cool tool feature in Glaze to get a unique look. The colors in these images remind me of a spring garden impression.
Final image rendered in Glaze and adjusted in Snapseed for saturation, contrast and sharpening.
The opening image went through the same process only began with the drawing below in Deco Sketch. Too much iPhone fun!!! These could make some really beautiful prints on exhibition paper.
Heading to the National Gallery of Art tomorrow with a full class of iPhone students. Should be fun! My next iPhone class with Capital Photography Center is March 3 in Baltimore and is filling fast. Or join me for a full day of iPhone fun on March 8 in Gaithersburg for an all day class working with apps.
In this drawing I let more of the background image come through as you can see in the red and white strawberries in the top portion of this image.
Final image rendered in Glaze.


Friday, February 8, 2013

Tangled fx: Photo fx

Tangled FX, Photo fx, ImageBlender and Lens Light for stars.
Often, when teaching, I get asked, How do you find the apps you use? Well, I will admit keeping up with all the new photo apps being released is nigh impossible for me, I just have way too  much to do: but there are a few folks in the Blog'o'sphere that do because it's what they do! So every once in a while I drop in to see what Marti Yawnik is up to on Life in Lofi, or Geri Centonze at iARTCHRONiCLEs or Joanne Carter of The App Whisperer and catch up on what they are doing and writing about. Belonging to a group of photographers who share app info and new releases is also a way to find new and interesting apps.
I digest and sort through the information then pick and choose the apps I like; then go shopping in the app store. I am not on the freebie list so I purchase apps when I like what I see. I always read the app info in the app store before I spend those hard earned pennies. ;)

Tangled FX is one that caught my eye for its full resolution and interesting filter effects. It is the iPhone's answer to the software company RedfieldPlugins, Fractalius.

Over the last several weeks I have been working on my on-line "Intro to iPhone Photography" course for Johns Hopkins Odyssey Program and was working on the image below, demonstrating in a tutorial how to use the gradients in Photo fx by Tiffen, a very robust iPhone app with custom color and size gradients, diffusion filters and much more. Then Tangled FX came along  a couple days ago and I ran the gradient colored image I was working with through the app and enjoyed the result after making a few custom tweaks, in the opening image.
Gradient colored and applied to the sky with Photo fx

Original capture

Monday, January 21, 2013

Pixlr-o-matic: Swipe: 6x6

Last Thursday I had the pleasure of judging a photo competition at the Manassas-Warrenton Camera Club. I met a few friends ahead of time for a little iPhone shooting in The Iron Horse Antique Store.
Today as I was watching the 2nd Inauguration of President Obama, I was working on a few images I shot last week.
Pixlr-o-matic is not a new app, it was launched in August 2011, and I have had it for quite some time but never really used it. So today I decided to check it out in depth. When it launched it was not a full res app, but it is now and has been since its first update in the same month as it launched! It has been through numerous updates and now supports the iPhone5 as of the last update in mid December.
It is basically a filter app with film looks, frames and light effects, but has some cool filters, especially if you go into the in app purchases and buy more than the preloaded filters.
After processing the images, I dropped in on Marty Yawnick's site Life In Lofi, a site I like to visit as Marty is always testing new apps and honestly reviews them. He reviewed a new app Swipe, for adding text to your images. I like to add text to my images on occasion so I bought it for .99 and used it to test on the images I processed with Pixlr-o-matic. Swipe saved my images at full resolution and has a large selection of fonts, as well as colors. The font size, placement, opacity are options. It would be nice if a drop shadow was an option. (Maybe in the next update) I will be using Swipe its a fine app! All the images here were captured with 6x6.


Wednesday, January 9, 2013

National Portrait Gallery iPhone workshop~ Autostitch ~ BracketMode~ Snapseed

Last weekend, at the National Portrait Gallery, I had a great group of eager to learn iPhone Photographers in my workshop. We worked through setting up and using a few shooting apps and processing apps before we went into the gallery and began making images. As I was working with students helping them to make shots and use apps, the window at the end of the Modern wing caught my eye. I loved the whimsical stools arranged in front of it on the square tile floor, as well as the light in the window that was filtered by translucent blinds. I wanted to capture the whole scene and in order to do that I had to make 38 shots using the BracketMode app which captures two shots rapidly, one capturing the highlights in the scene and one capturing the dark areas in the scene. I then blended the shots together in Autostitch. While I was showing a student the process I began to process the shot in Snapseed and he and I both liked the way the image was developing. The new RetroLuxe filter in Snapseed is great for creating a moody feeling in the image.
This scene made me laugh! It was so real you just had to look twice. The artist who created this was so creative.  I used ClassicPan to shoot the vertical image eliminating distracting elements on the left side of the scene. Then I processed the image in Snapseed adding a RetroLuxe filter effect, border and toning.
This is also a 38 shot panorama made with the same process as the opening image, using BracketMode for the capture and Autostitch for the stitch. I just loved this scene with the red sofas, tile floor, green carpet and window. When the stitch was done it was a little short on the left side so I used Anti-Crop to add to the image on the left. It was not a perfect add so I used a little Glaze, after processing the image in Snapseed to obscure the issue.When making stitched images it is always a good idea to begin and end the shooting series well beyond the area of the scene you want and overlap images by twenty percent to get a good stitch.
In this image you can see where Anti-Crop added image area on the left side behind the red sofa, but only in a fair way. If I had not told you would you have noticed? I will be conducting more iPhone workshops with Capital Photography Center in  Baltimore, Washington, DC and Horizon Photography Workshops in Chesapeake City, Md. I hope you can join me for some iPhone fun! Learn about creative apps and make some great images!

Friday, January 4, 2013

Getting Square ~ Hipstamatic Tinto Pak and Topaz photoFXlab

Toned with Topaz Labs photoFx
Original Image
Just before Christmas Hipstamatic updated to Version 261 and launched a new pak called Tinto 1884 Lens with two films C-Type Plate Film and D-Type Plate Film. I like to keep track of Hipstamatic on their blog as they often release interesting film/lens paks for a period of time and I don't like to miss a launch! This one is pretty cool right out of the box. All the shots here were made with the monochrome D-Type Plate film. I made several test shots at an old farm I like and processed them with different photo FX from photoFXlab from Topaz, a plugin for Photoshop, not an app. Why, because! Of course there are apps that could apply similar FX but I wanted to run them through photoFXlab. I have tried using photFXlab on Big Girl Camera files and have not found it to particularly pleasing, but I loved the toning it gave these Hipsta shots. 
The C-Type Plate Film from Hipsta (not shown here) has color and is equally as cool to work with! I have a few iPhone photography workshops coming up in Chesapeak City, Baltimore and Washington.......hope you can join me on one!
Original D-Type film

Topaz adjusted
Original D-Type Film

Topaz Adjusted

Topaz adjusted

Original D-Type film