 |
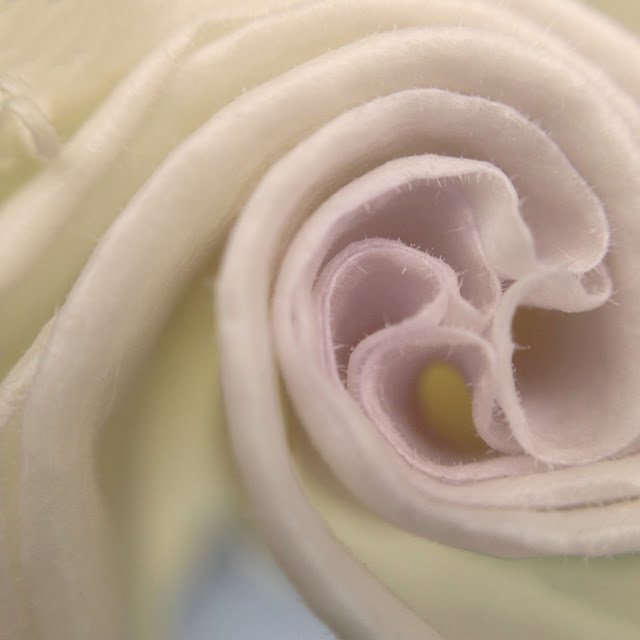
| This is the final result I achieved....or where I was satisfied with the "look" of the image. |
Part of thinking about processing actually begins in the field for me. I spotted my neighbors Datura blooming in the morning and after running some errands I went back to get a few shots...well guess what I was too late. The blooms had wilted and only a few budding blossoms were left. I had the OlloClip with me and as I always do I asked myself what I loved about my subject? Well I loved the curl and folds of the blossom end..so I used the macro lens on the OlloClip, knowing I probably would not get a totally sharp shot because I had to hold the bloom up while making the image. I made several shots and landed on the one below to start my processing. I chose the app 6x6 for its clarity and square format..as well as its ability to delivery a tiff file with a 300 dpi resolution. Once I have a shot I ask myself, "What do I think needs to be done with this image?" My answers were....
I would like to get rid of the green corner in the upper left and I would like to get rid of the brown area in the lower right....I like to take care of spots before I begin any process.
So in iPhone land my go to App for removing or adding in areas of correction is Touch-Retouch. Below is the resulting image after using Touch Retouch to make those initial adjustments, using the brush, lasso and clone stamp I was able to acceptably make those adjustments.
Now I asked myself "What I thought the image needed, to enhance "what I loved" about the subject.
So because my answer was the curls of the bloom, I thought they needed more definition by increasing the depth and light of the curls and maybe a little more color...so I then went to Snapseed and added Ambiance, adjusted White Balance, added a little sharpening and some structure and saved that file. With just a few adjustments it was beginning to fit my "vision" of the image I had in mind when I captured it. I was not sure about the little triangular peek of my blue jeans in the bottom center of the image but I decided to leave it there for the moment.
My next thought was to further define the furls of the blossom by running the image through Tangled FX adjusting the filters there to get the look I wanted to use as a "blend" file with the now adjusted Snapseed-Touch Retouch file. I landed on this image from the App Tangled FX because it maintained the softness and added a glow to the image I wanted to convey. Now it was time to blend this back with the Snapseed-Touch-Retouch adjusted image...so I used ImageBlender to make the blend.
The result of blending the two images is the image below.
Now I wanted to run it through Glaze to get a painterly effect (did I mention I love painterly effects? and Glaze?)....so I made many iterations in Glaze and several blends in ImageBlender...that stayed true to my intent, to enhance the furls of the blossom..
The last question I asked was how about a little border...so I went into PhotoToaster and added a very subtle border to frame the image and considered it done!
Below is a screen shot of the files I made on my iPhone during the process of getting to the "Final Image." So what do you think???
My next all day iPhone workshop is July 13, in Chesapeake City, Md at Horizon Photography Workshops...Click here for more info and registration.


oh yea, awesome! Thanks for taking the time to show how to be "appy" :)
ReplyDeleteWelcome! Thanks Shawn for leaving a comment!
Delete