Monday, February 17, 2014

A Little Whimsey ~ BracketMode ~ ProHDR ~ Portrait Painter ~ Snapseed~ ImageBlender ~Leonardo

Before the recent snowfalls I wandered around Druid Hill Park one day with my iPhone. It is a fabulous old park in Baltimore with good walking paths, Victorian pavilion structures and magnificent old trees. I made a couple compositions before landing on this one. I just loved how the old trees seemed to embrace the little pavilion in the woods. Below is a series of images with notes on how I arrived at this process. On a humorous note, I was also dubbed a "Master App Stacker", by Gilles Dezeustre of the 11er's by Glaze when he re-tweeted the previous post I made using one of his superb apps Glaze! That gave me a chuckle!! I have been called many things in my lifetime but that's a new title! I guess this post is a good example of App Stacking!! Thanks Gilles! A link to his app can be found here! Glaze... 
Happy to say my Spring 2014 iPhone Photography Class starts tonight at Johns Hopkins and the class is full with a wait list! amazing!! If you are interested in learning more about iPhone photography....Check out the sidebar of this blog for more info on my upcoming iPhone Workshops and classes.
I am also honored to have been invited to Present a Session on iPhone Photography at Nature Visions, in Virgnia this fall. Also happy to have sold a framed iPhone print and a few more ceramic iPhone image magnets at More Than Fine Framing in Baltimore.
Finished processed image copyright added with Impression
BracketMode Image no 1 Captured for highlights

BracketMode Image no 2 Captured for dark areas

Processed image no 3 BracketMode images 1 and 2 in ProHDR
Snapseed image no 4 sharpened and converted to monochrome
Snapseed image no 5 Retrolux Filter
ImageBlender image no 6 : Image no 3 and image no 5 combined
Image no 7 processed image no 6 in Portrait Painter by JixiPix
and enhanced color and saturation in Leonardo

Thursday, February 13, 2014

Controlling or manipulating White Blance in Your iPhone Images Camera+ ~ Snapseed ~ Hipstamatic


Well when it snows all colors of snow images appear on social media, as folks post snaps. It kind of makes me crazy when I see dingy grey snow or blue snow in pics ....... as snow is white! So how do you get your iPhone pics in snow to look white??? Easy!! Post process your Camera+ images in Snapseed or choose a Lens/Film combo in Hipstamatic.

Image 1: Camera+ shot using the square format option unprocessed. (Notice the the blue color cast to the snow?) That is a result of the algorithms in the app and the environmental light.
Image :2 Camera+ shot using Snapseed "Tune Image" filter adjusting the  "Warmth" slider then using the black and white filter.  
So here are a few screen shots showing the adjustment menus in Snapseed.
Image 3: Color Screen shot of Camera+ (Image 1) being processed in Snapseed using the "Tune Image" filter and adjusting the warmth slider to +37, which will vary depending on your taste and the tone of the original image. Substantially different then the first image Titled Image 1. (the blue cast is gone by adding warmth, which is yellow color balancing)
Image 4: Screen shot of "Warmth Adjusted" image now converted to monochrome in Snapseed using the filter "Black and White"
Another way is to choose a combination of filters in Hipstamatic which will brighten snow and whiten your image while delivering a Monochrome image.
The shot below was made using the Hipstamatic App and the lens choice of Lucas AB2 and BlacKeys Extra Fine film.
When I teach "Getting Started" in iPhone Photography students often ask why I would use Hipstamatic...well here is an example of why. I like the square format, I like white snow and I like black and white imagery! And no further processing was needed.
Hipstamatic unprocessed shot.
My next "Getting Started" in iPhone Photography is March 8 in Washington, DC at the Renwick Gallery and DAR. Hope to see some of you there! Please feel free to comment or ask questions!
As with all digital photography there are many other Apps you can use to color correct!

Sunday, February 2, 2014

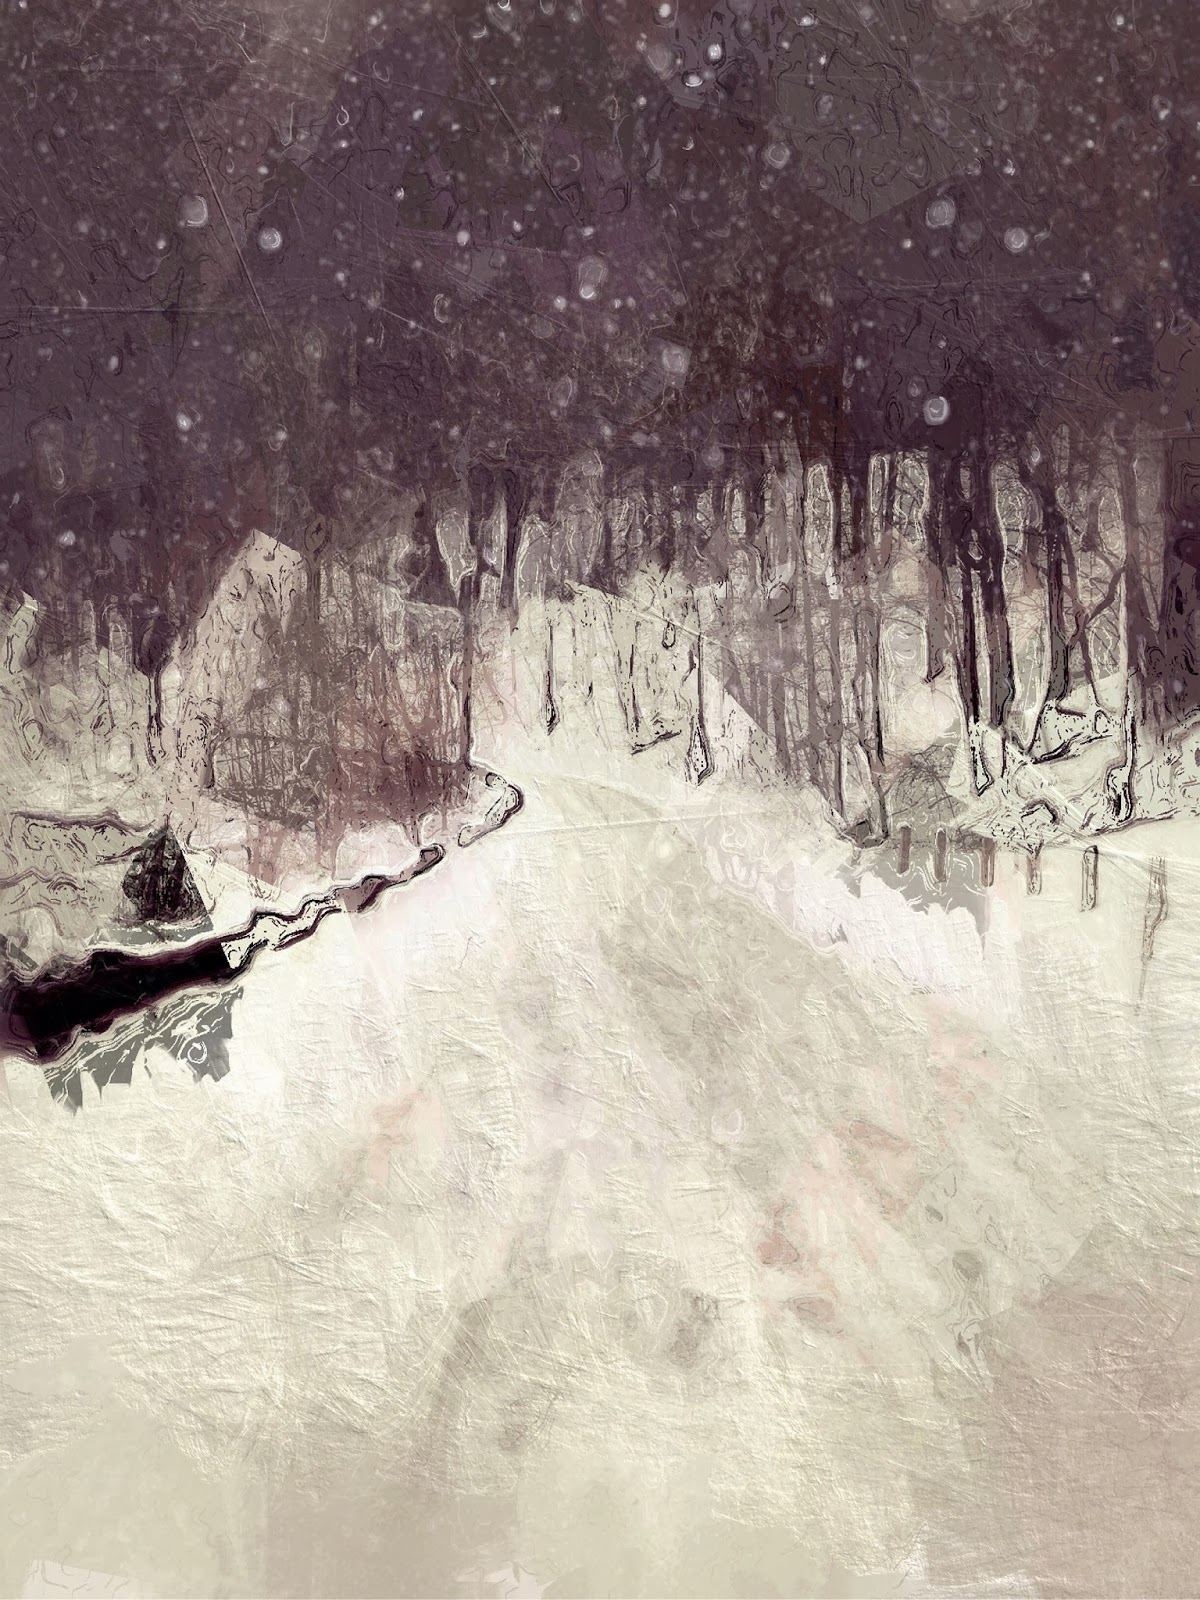
Snowy Drive~ Snapseed~ImageBlender~Glaze~Snowdaze~Leonardo


Capture: Camera+ Processed: Snapseed, ImageBlender, Snowdaze, Glaze, Leonardo
Last weekend I spent a day driving around Maryland looking for images in winter. This snow road was my favorite road as it really felt like being away from the hustle of suburbia in winter. I grabbed a quick iPhone shot because I loved the leading line and curve of the road as it followed the bend in the river. The tutorial below is how I crafted the final image above.

1. Capture: Camera+ I chose Camera+ for the capture because it allows you to control exposure, either with the compensation slider of by touching the screen with the exposure reticule selected. I wanted to capture white snow so I added compensation to brighten the original image capture.

2. I then used Snapseed to add a blur effect and toning warming up the image by using the "grunge" filter option, while maintaining focus in the middle of the image.

3. I was not  happy with the composition of the triangular shape of white sky in the top left of the image so I took the Snapseed filtered image into Leonardo and flipped it on the horizontal. My idea was to use the top left of the blurred trees to "fill in" the barren sky area in the original image.

4. I used ImageBlender to layer and then mask out the section of the flipped image I wanted in the original shot.

5. Now that I had the image I envisioned, I wanted to add some snow in the atmosphere. So, I chose the app Snowdaze, by Jixipix, to add snow falling in the scene. In Snowdaze, I also adjusted the whiteness of the image.


6. Now that I had that image I ran it into Glaze to get a couple painterly files to work with that suited my aesthetic. I chose the one above to work with as I loved the texture and geometry of shapes.

7. I then took the two images and blended the file in step 5 with the image in step 6 to get more definition to the image from Glaze.

8. The last step I took to finish off the image was to run it through Leonardo. I added clarity and adjusted the white point using levels. I enjoyed the abstract nature of the geometric shapes among the trees and roadside while the beauty of the curve of the road and the snowy scene was maintained in the final image.
I hope you enjoyed the tutorial!

My next "Getting Started" in iPhone Photography Sponsored by Capital Photography Center, is March 8, in Washington DC. Click here for more information.

My next all day iPhone "Working with APPS in depth" Sponsored by Capital Photography Center, is May 4th in Washington, DC. Click here for more information.

Hope to see some of you in the field or classroom!