Showing posts with label Beach. Show all posts

Thursday, December 1, 2016

"Make the "Stuff" you stand in front of more interesting"


Captured with Camera+ Processed in Snapseed
I just love getting inspiration from other photographers and artists and one never knows where or how it will come. A good friend who attended Nature Visions posted on her Facebook page one of her favorite quotes from the keynote speaker Bob Krist, who is a tremendously talented travel photographer, she wrote "Stand in front of more interesting stuff."
Well a bit out of context but I can imagine what it was in reference to...creating compelling images.

So as I read that, I was inspired to think:
"Make the stuff you are standing in front of more interesting!"
I was at the beach when I read her post in the morning and when I went out for a beach walk in the late afternoon, I was challenging myself to,  "Make the stuff I was standing in front of more interesting."
What do you do with sand, and windblown dead plant life? Study it! Look at the, shapes, textures, light and how it interacts with your subject, look at how you can put the material into the frame so that it makes a pleasing or dynamic composition. Then make a correct exposure, then shoot it again..then go home and do your best processing! Monochrome or color with software effects..it does not matter, its what makes the image work.

I don't believe you have to be in exotic locations or have amazing subjects to create a compelling image! In your own back yard there are subjects and light situations that can work! But you have to stretch your imagination, "see" the opportunity. See how to make the image! See light!
In other words, challenging yourself to,
"Make the stuff you are standing in front of more interesting."

 When you can do this you can create compelling images anywhere you are standing! I will admit though the beach is a pretty cool place! But I was the only photographer out there looking for images on a simple beach walk on a bright sunny bluebird sky afternoon. So get out there, take your iPhone and see the stuff you are standing in front of in a more interesting way, then work hard with your skills to make it compelling!
Tidepool light
Captured with Camera+ processed in Snapseed
It has been a great and busy fall season of iPhone education, teaching two courses at Johns Hopkins in the Odyssey Program and one at Osher as well as weekend workshops at Capital Photography Center.
Look for spring course listing in a couple weeks! I will be teaching in Odyssey in the spring and maybe Osher again...and as always at Capital Photography Center!
Hope to see you  in a class!! I have three more spots open on December 18 at Union Station. Click here for more info:

Also we will be adding an iPhone photography walk about next spring at Capital Photography Center, that will be fun!

Friday, September 9, 2016

Creating a Photo Series on your iPhone ~ Hipstamatic ~ Stackables


It's no secret, I love the beach and I love the app Hipstamatic for shooting in certain situations where you want a very unique look. I went for a walk on the beach late in the afternoon and loved the fading light, tide pools and the sparse amount of people enjoying the beach.
My idea was to use Hipstamatic loaded with the Fashion Pak while adding exposure using the shutter speed dial in Classic Mode, I wanted a bit of an ethereal look in my images.
The latest Hipstamatic update added an in App "Settings" menu under the Photos Icon in the lower left of the Classic screen: Tap the photos icon, then Tap Menu, Then Settings, it is a bit obscure but there.
There are new features for 1. Capture: Raw original unfiltered image in a 2x3 orientation along with the Square Filtered image, adding more complexity to the app and for, 2. Saving: as separate files or versions. You will need to make choices there in the settings based on your preference for Capture and Saving...

Hipstamatic now has a lens preview switch, a small toggle next to the shooting screen, which allows you to see what the image will look like with the selected film and lens combo. It was a big update on September 1: there are lots more updated features. This app, though adding improvements, has gone from a really cool simple to use app, to a somewhat complex to a new user app. I still enjoy shooting in classic mode, as I love the large screen feature of shutter release...though the pro mode shooting side of the app is pretty cool too!
So much for updates, back to creating the images: After I captured the images I wanted, I took the images into the Stackables app applied a texture filter and saved it as a formula in the app so I could apply the same filter with the same opacity to the series I shot.
I then finished the series by adding my name using the app Impression. So give it a try..create a series with intent, a point of view and consistency...
Check out my Getting Started iPhone workshops at Capital Photography Center in Washington, DC


Sunday, November 15, 2015

iPhone Photo Essay? ~ Yes! The pictures tell the story....


It has been a while since I wrote a post but now that summer is over and fall almost gone, I have a few minutes to compose an iPhone blog.
So ~ What is a Photo Essay? Wikipedia says:  A photo essay is a set or series of photographs that are intended to tell a story or evoke a series of emotions in the viewer. OK, so last week I wanted to get in a long walk on the boardwalk in Ocean City, Md. I did not know how far exactly my objective of walking from one end to the other was but it turned out to be four miles. I did not want to carry my big camera gear for an unknown, health walk, so I took my iPhone and restricted myself to shooting with the INMACUS Wide Angle attachment and Camera+ only. I do this sometimes with my big camera forcing  myself to "see" only through one fixed focal length lens and make images. It is a great exercise in creativity. 

As I began my walk it was obvious to me that the story I would tell through the images I made that day was one of a resort town after the season. As I walked I poked the lens of the iPhone through wrought iron bars that restricted access to pool areas closed for the season. I could never have done that with my big camera, I was able to get shots because of the lens attachment and the size of my iPhone. The pool series evolved:


As I walked on the boardwalk I saw other images that spoke to the idea of a closed summer resort town, such as the empty restaurant seating and shuttered storefronts.


Further on the boardwalk there were more signs of a past summer season.
All the images here were processed with Snapseed and converted to monchrome in Snapseed.

 Broken signs, empty signs, became a series...


The normally crowded boardwalk  had the infrequent bicyclist or kids on skateboards and the usually crowded to overflowing parking lots of the old motels were absolutely empty.


And so until next year when the crowds, the summer sun, and I return the resort town will look like this.

NEWS........

Next summer I will be presenting on iPhone Photography at the NECC Conference in Amherst, Mass.  July Friday 15, Saturday 16, and Sunday 17. If you live in the area or are a part of the Council, I hope to see you there. 


Monday, August 24, 2015

Shooting the Sunrise: Apps: Camera+ ~ Photo Fx ~ Snapseed

Final Processed Image
I love standing at the edge of the ocean before sunrise and on my last day at the beach this August I did just that before packing up and heading out. It was a short week and I did not even take my big camera, but as the sun began to rise I could not help but capture a few images with my iPhone, it was a beautiful morning. Today I had a few minutes to share my steps on the capture and processing the image I made that morning.

Capture: I am an avid Camera+ user when I want a clean file to work with, one that is closest to the kind of file I might get from shooting with my DSLR. (No pre-applied filters just a straight shot.) The really big advantage for me using Camera+ is the ability to choose and lock focus and choose and lock exposure. I chose the exposure I wanted by moving the exposure reticle around the screen until I saw the exposure I liked then locked it while I locked my focus as well, then all you have to do is keep firing the shutter button. I made the exposure to capture detail in the sea, knowing the area just above the horizon would blow out and I could YES, Fix it in Post!
Image 1: Original Capture
Image 2: Original with Levels (in PS) showing blow out in highlights just to demonstrate  my thoughts and for purposes of  confirming my capture. (Note: Non of the processing of this image was done in PS)

Processing: Photo FX by Tiffen is one of my favorite landscape processing apps because of the Grad Filters.
Image 3: Access the main "Grad Menu" by tapping on the Grads/Tints icon,
 then tap on the bottom right image to open the Strip Grad menu.
Image 4: Once in the strip grad menu there are sub menus of colors.
I used the Chocolate strip grad by tapping on the icon image identified as chocolate.
Image 5: When you tap on the chocolate strip grad icon this screen appears.  As you can see the filter has been applied over the entire image. But I only wanted the effect on the bright area just above the horizon. By tapping on the dashed circle icon at the bottom of the menu screen a new option appears on the screen.
Image 6: By dragging the shaded gray circles on the screen at the top and bottom
of the image you can reposition the strip grad filter.
Image 7: Grad strip filter adjusted to area desired.
Image 8: In addition to adjusting the placement of the grad strip you can also adjust the color and opacity of the grad by tapping on the blue adjustment icons to the immediate left of the dashed circle icon. When you tap on that it brings up a color picker. By moving the circles around on the two color graphs you can choose the color you want.
Image 9: When its time to save your adjustments you can tap on the lower right save icon in image 8 and either add these adjustments as a layer and proceed with further adjustments by choosing add layer or you can save to camera roll. I save the adjusted image to my camera roll for further processing in Snapseed.
Image 10: Further processing in Snapseed, using Tonal Contrast: Ambience, Saturation, Warmth, Details and Structure. 
Image 11: Final Processed image

Image 12: Histogram in PS of final image showing detail and color now in the bright areas above the horizon.

Wednesday, November 13, 2013

Hipstamatic Oggl ~ Winter at the Beach


Watts Lens and BlacKeys Supergrain Film
This is my last week at the beach before closing the house for the winter. It was very cold last night as a Canadian blast of cold air came through. The beach in winter, and it does feel like winter, is ghost like. People abandon it and return it to the wind, the birds and the sea. As the WWII watch towers now stand guard over the abandoned picnic tables, winter is coming on. All these images were shot using the Hipstamatic Oggl app. The coolest thing about Oggl is the ability to control exposure and then to choose the combination of Lens and Film after the shot is made. It was a bold blue sky day when I made all these images and I like to think in Black and white on those kind of days. Processing all the images here in Oggl I chose several Lens and Film combos to achieve the results.
Watts Lens Blackeys Supergrain Film
 The dune fences give way to the wind and the sand.
Watts Lens and Rock BW-11 Film


Shells are tossed to shore and nestled into windblown sand.
Foxy Lens and BlacKeys Supergrain Film


Beach pines filter the harsh afternoon sun.
      
G2 Lens and BlacKeys Supergrain Film                                  


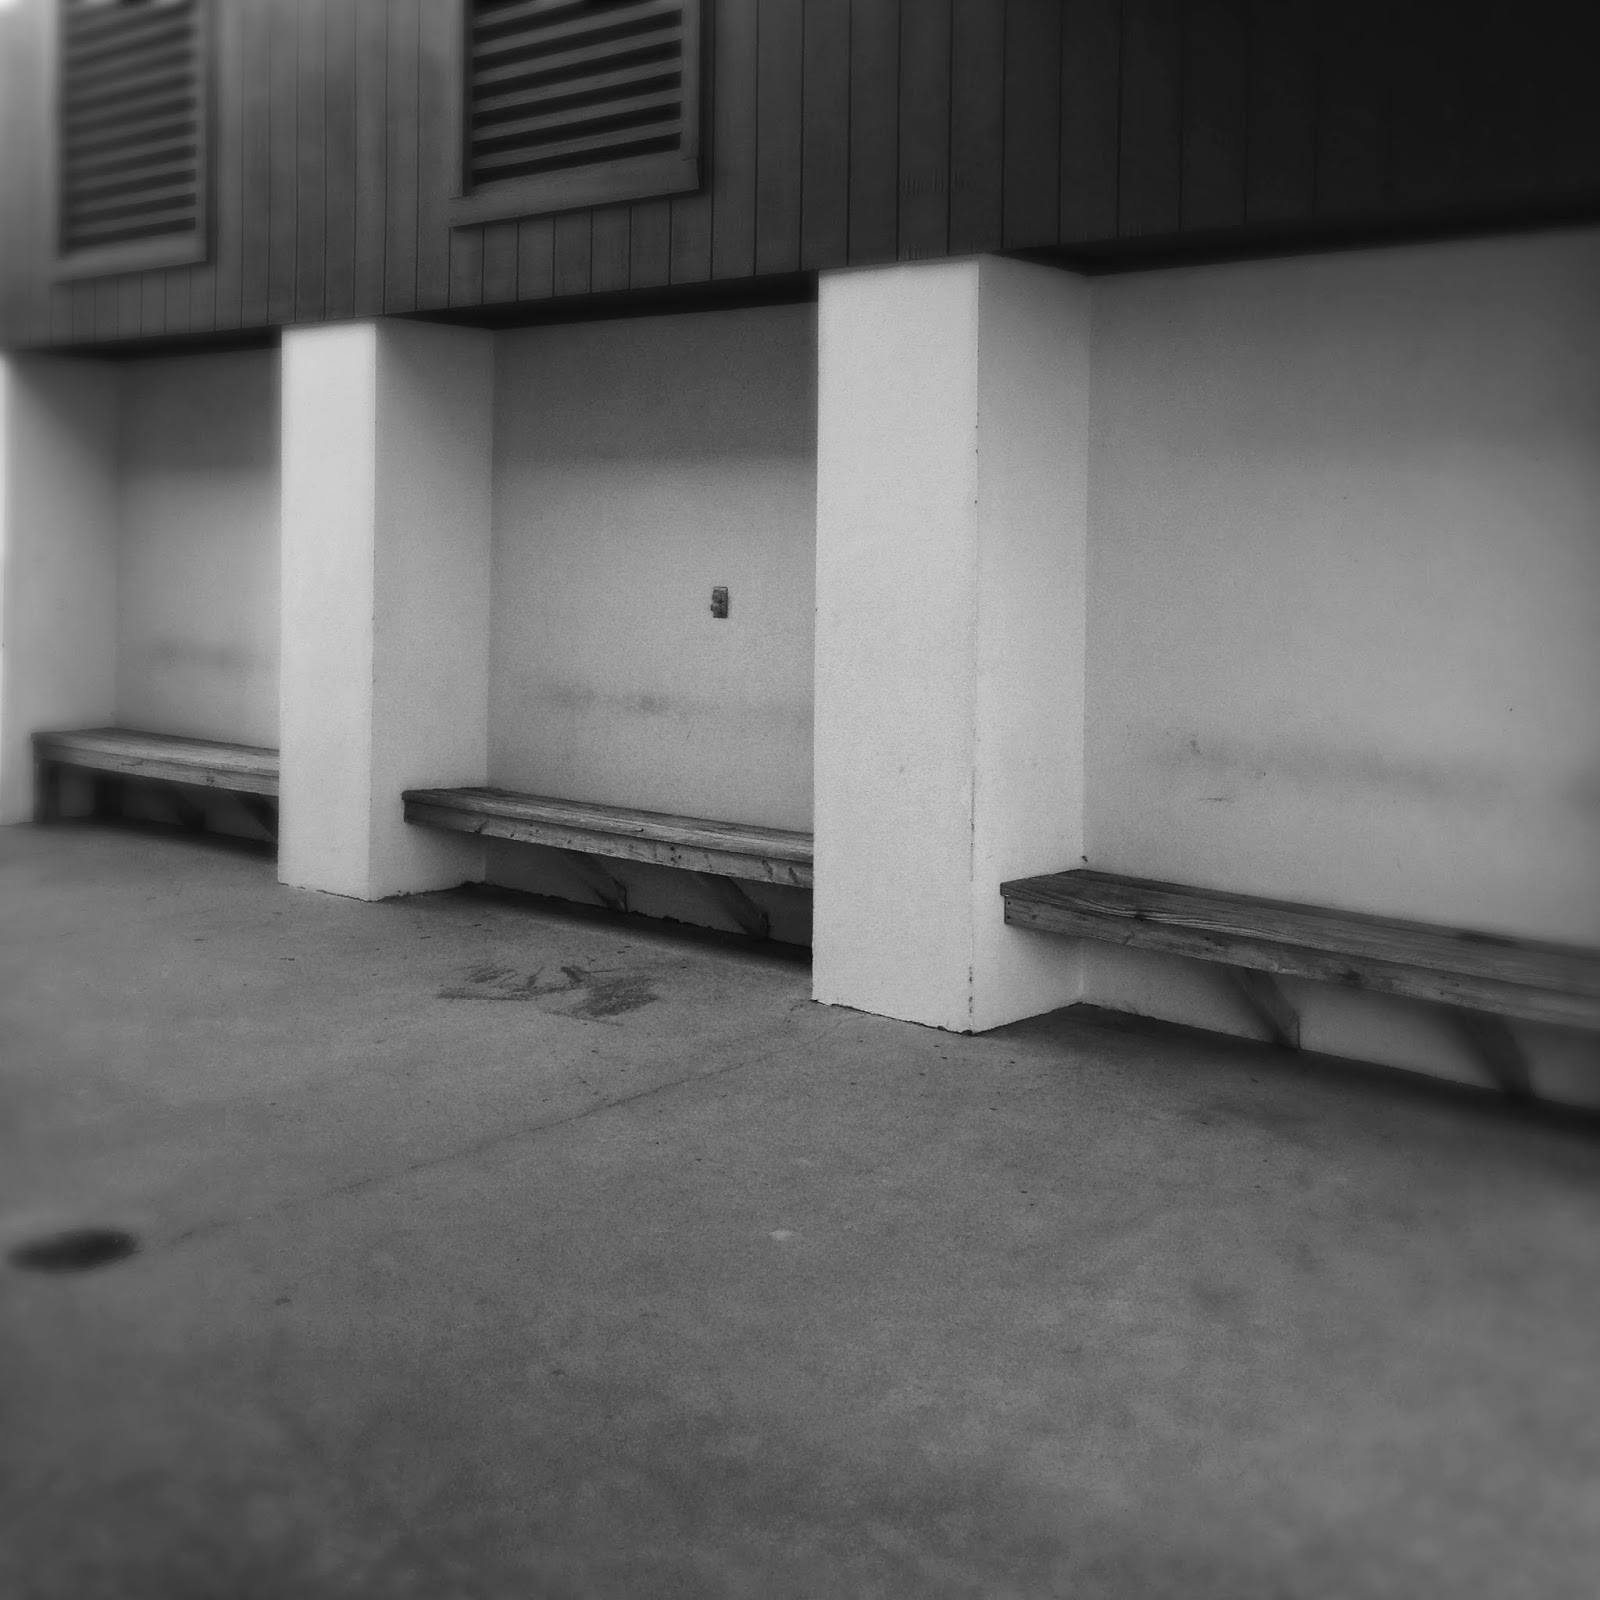
Beach grass struggles to keep rooted in the shifting windblown sands. The ice lockers are locked and the refreshment stands are shuttered. The bath house benches are empty. Winter is here!
Lucas Lens BlacKeys XF Film

Lucas Lens D-Type Plate Film       


Loftus Lens BlacKeys XF Film