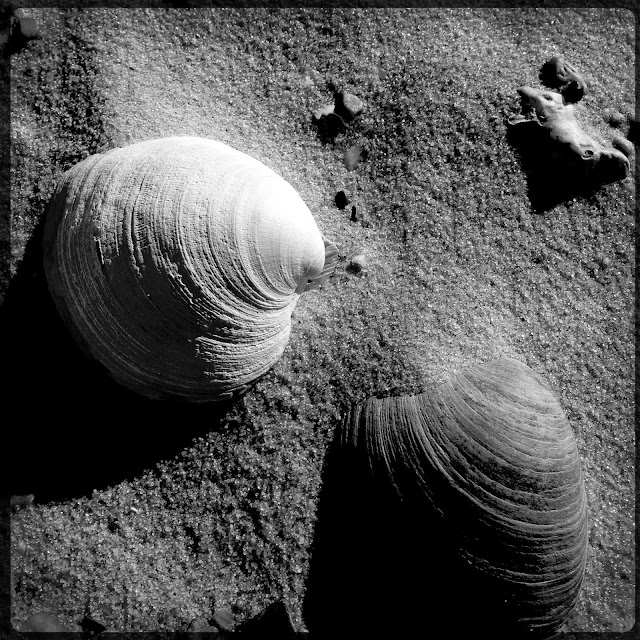
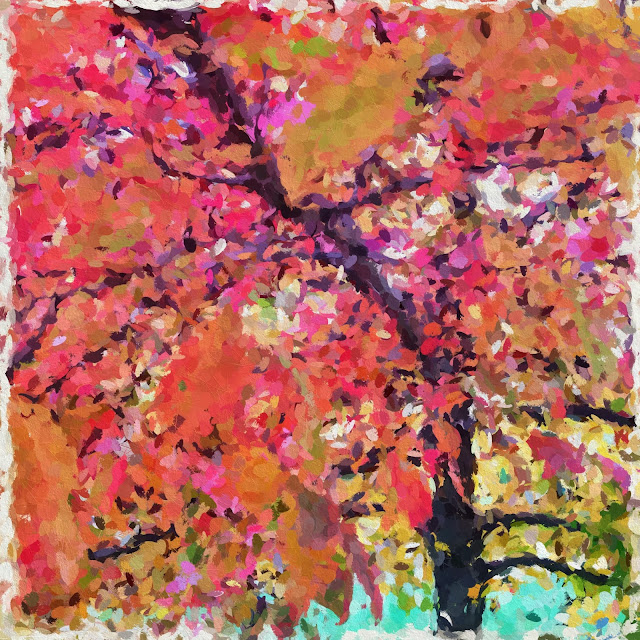
This is an image I posted on Facebook over the weekend. One Facebook friend said they hoped I would write a tutorial on my blog for this processing. Well...... I can tell you what I shot it with and maybe a few steps along the way. However to duplicate the exact same image after the fact, with a process one could share, without writing down the original process, is almost impossible. I am not one to write down my processes with exacting steps. In this tutorial I have tried to recreate the image to some degree here. Hopefully these steps will be a starting point for a creative process you might want to try.
Original Image Capture: Hipstamatic Oggl ~ Lowry Lens Kodot XGrizzled Film
The reason I chose Oggl is because you can control exposure. Using the reticles in Oggl I wanted to open up the deep shady areas of the pines. I didn't care if the sky blew out because it was gray and overcast anyway. I did want a hint of horizon line from the ocean. SO controlling capture is important to me as well as processing. I knew I wanted to add textures to the sky area when I shot this image.
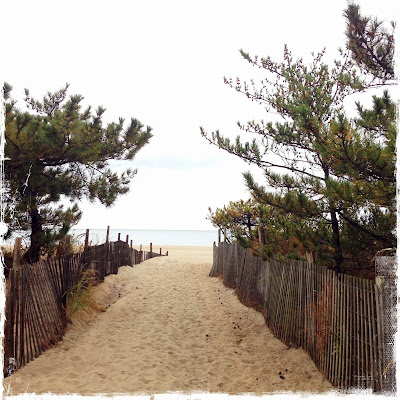 |
| Original Capture |
Processing:
A. Open the Hipstamatic image in Mextures then choose
1. Grunge Filter Painterly
Choose Blend Mode Multiply
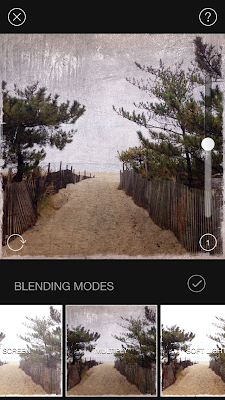 |
| Screen shot of Mextures Grunge interface |
Then Adjust texture to 50% Check and continue to add filters in Mextures.
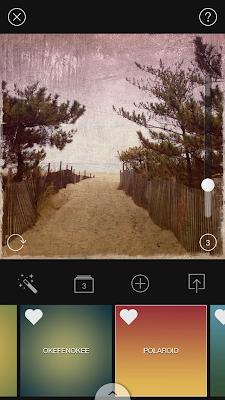 |
| Screen shot of Mextures Vintage User interface |
2. Then add new filter in Mextures
Landscape enhance "Vignette" at 20 % Blend mode overlay (not shown) Check and continue to add filter in Mextures.
3. Then add new filter in Mextures
Vintage "Polaroid" at 20% Blend mode Hard Light
Save file to Photo Library
B. Open the saved Mextures file in AutoPainter and apply Benson filter and save.
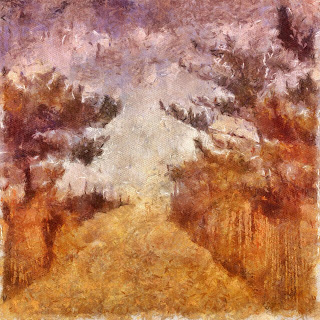 |
| AutoPainter file |
C. Open the last saved Mextures file (not the AutoPainter file) in Leonardo and apply the Clarity slider as shown in screenshot and save to Photo Library.
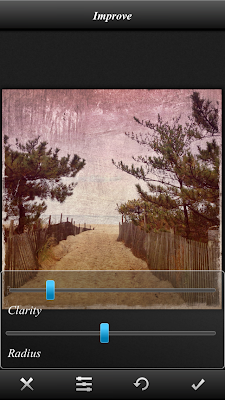 |
| Screen shot Leonard Clarity interface |
D. Open AutoPainter saved image in Snapseed and add ambience and warmth in the Tune Image Command and save file.
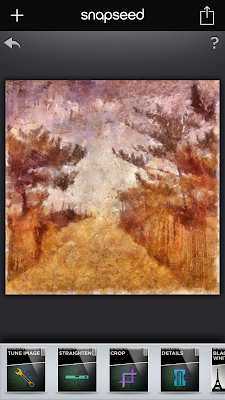 |
| Screen shot Snapseed |
E. Open Image Blender and open The last saved Mextures file from Leonardo first, with the last saved AutoPainter file from Snapseed and blend with Lighten mode at about 45% and save.
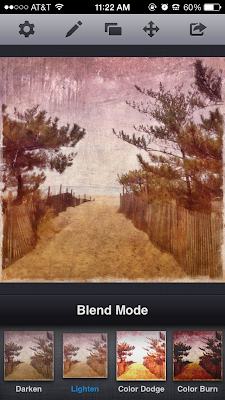 |
| Screen shot ImageBlender interface |
F. Open the saved ImageBlender file in distressed fx and use filters to adjust color save.
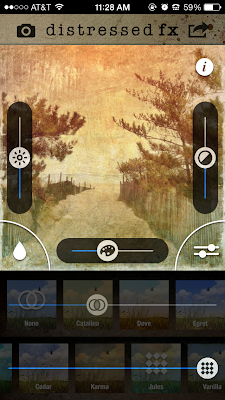 |
| Screen shot distressed fx interface |
G. Lastly to the saved distressed fx file add a vignette in Mextures and save. This is close but not exact in tone and shading however, I hope the tutorial will give you some ideas for future processing of your images.
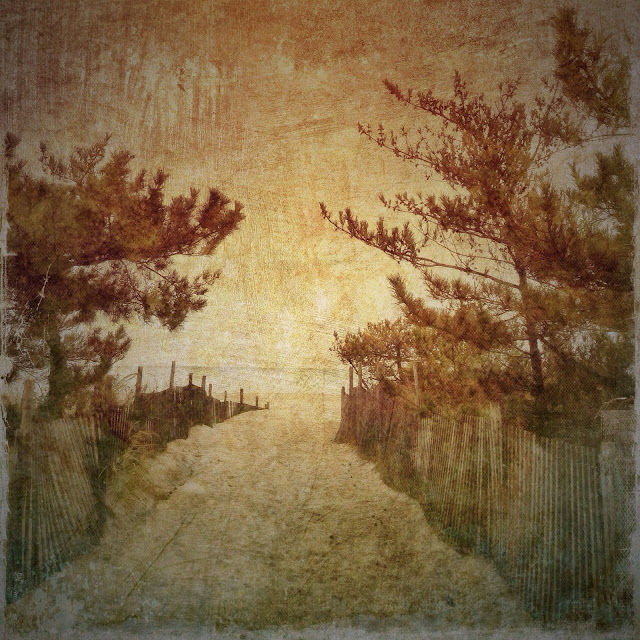 |
| Final image |


