This is an image I posted on Facebook over the weekend. One Facebook friend said they hoped I would write a tutorial on my blog for this processing. Well...... I can tell you what I shot it with and maybe a few steps along the way. However to duplicate the exact same image after the fact, with a process one could share, without writing down the original process, is almost impossible. I am not one to write down my processes with exacting steps. In this tutorial I have tried to recreate the image to some degree here. Hopefully these steps will be a starting point for a creative process you might want to try.
Original Image Capture: Hipstamatic Oggl ~ Lowry Lens Kodot XGrizzled Film
The reason I chose Oggl is because you can control exposure. Using the reticles in Oggl I wanted to open up the deep shady areas of the pines. I didn't care if the sky blew out because it was gray and overcast anyway. I did want a hint of horizon line from the ocean. SO controlling capture is important to me as well as processing. I knew I wanted to add textures to the sky area when I shot this image.
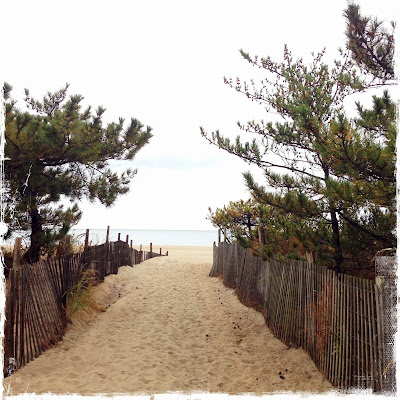 |
| Original Capture |
A. Open the Hipstamatic image in Mextures then choose
1. Grunge Filter Painterly
Choose Blend Mode Multiply
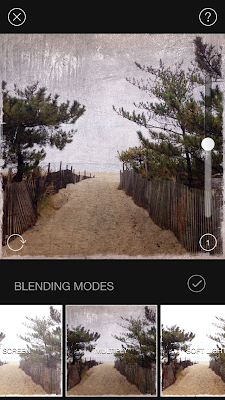 |
| Screen shot of Mextures Grunge interface |
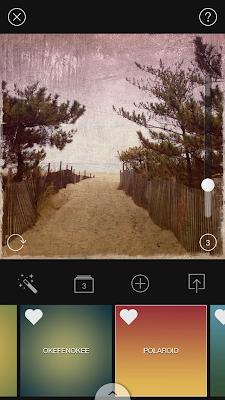 |
| Screen shot of Mextures Vintage User interface |
Landscape enhance "Vignette" at 20 % Blend mode overlay (not shown) Check and continue to add filter in Mextures.
3. Then add new filter in Mextures
Vintage "Polaroid" at 20% Blend mode Hard Light
Save file to Photo Library
B. Open the saved Mextures file in AutoPainter and apply Benson filter and save.
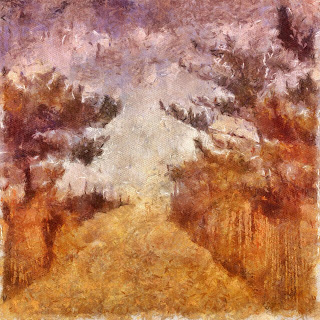 |
| AutoPainter file |
C. Open the last saved Mextures file (not the AutoPainter file) in Leonardo and apply the Clarity slider as shown in screenshot and save to Photo Library.
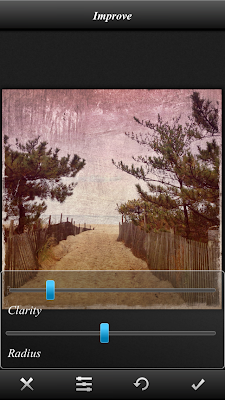 |
| Screen shot Leonard Clarity interface |
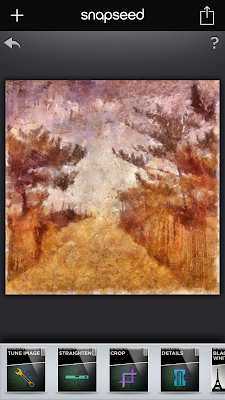 |
| Screen shot Snapseed |
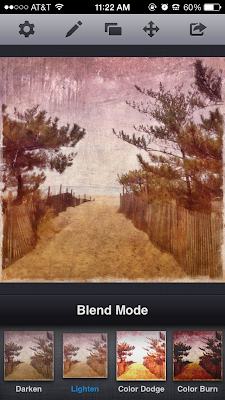 |
| Screen shot ImageBlender interface |
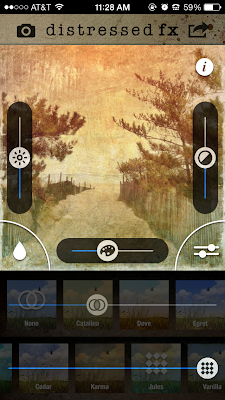 |
| Screen shot distressed fx interface |
G. Lastly to the saved distressed fx file add a vignette in Mextures and save. This is close but not exact in tone and shading however, I hope the tutorial will give you some ideas for future processing of your images.
Check out my next all day iPhone Sessions in DC on November 24 sponsored by Capital Photography Center (click here for more info) and in Chestertown, Md on November 23 sponsored by The Chestertown River Arts (click here for more info on Chestertown.)
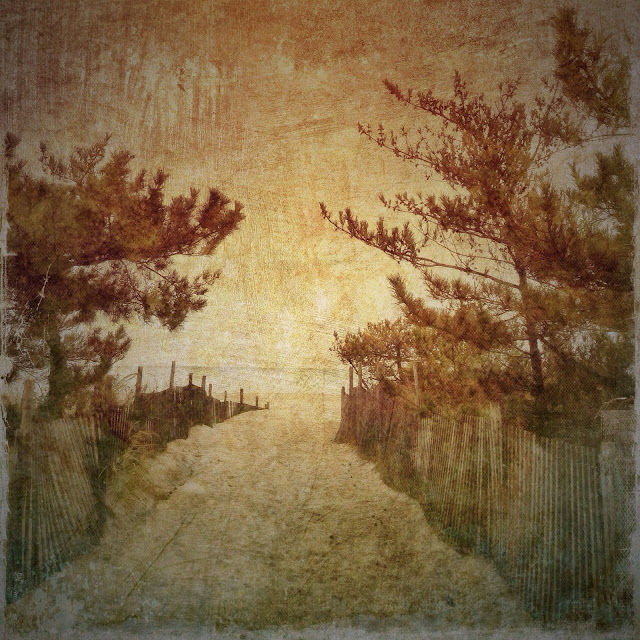 |
| Final image |

Thanks for sharing your process! Will have to give it a try...
ReplyDeleteYou are very welcome Nancy. I appreciate your comments!
DeleteThat's really cool! Often if one is already good in editing and knows about her apps, the tutorial can make sense easier, even if it's not complete. In here for example, I can already imagine the workflow and the technique that you were using just by skimming the steps. Thanks for sharing!
ReplyDeleteThanks Chris, your comments are appreciated!
ReplyDelete