 |
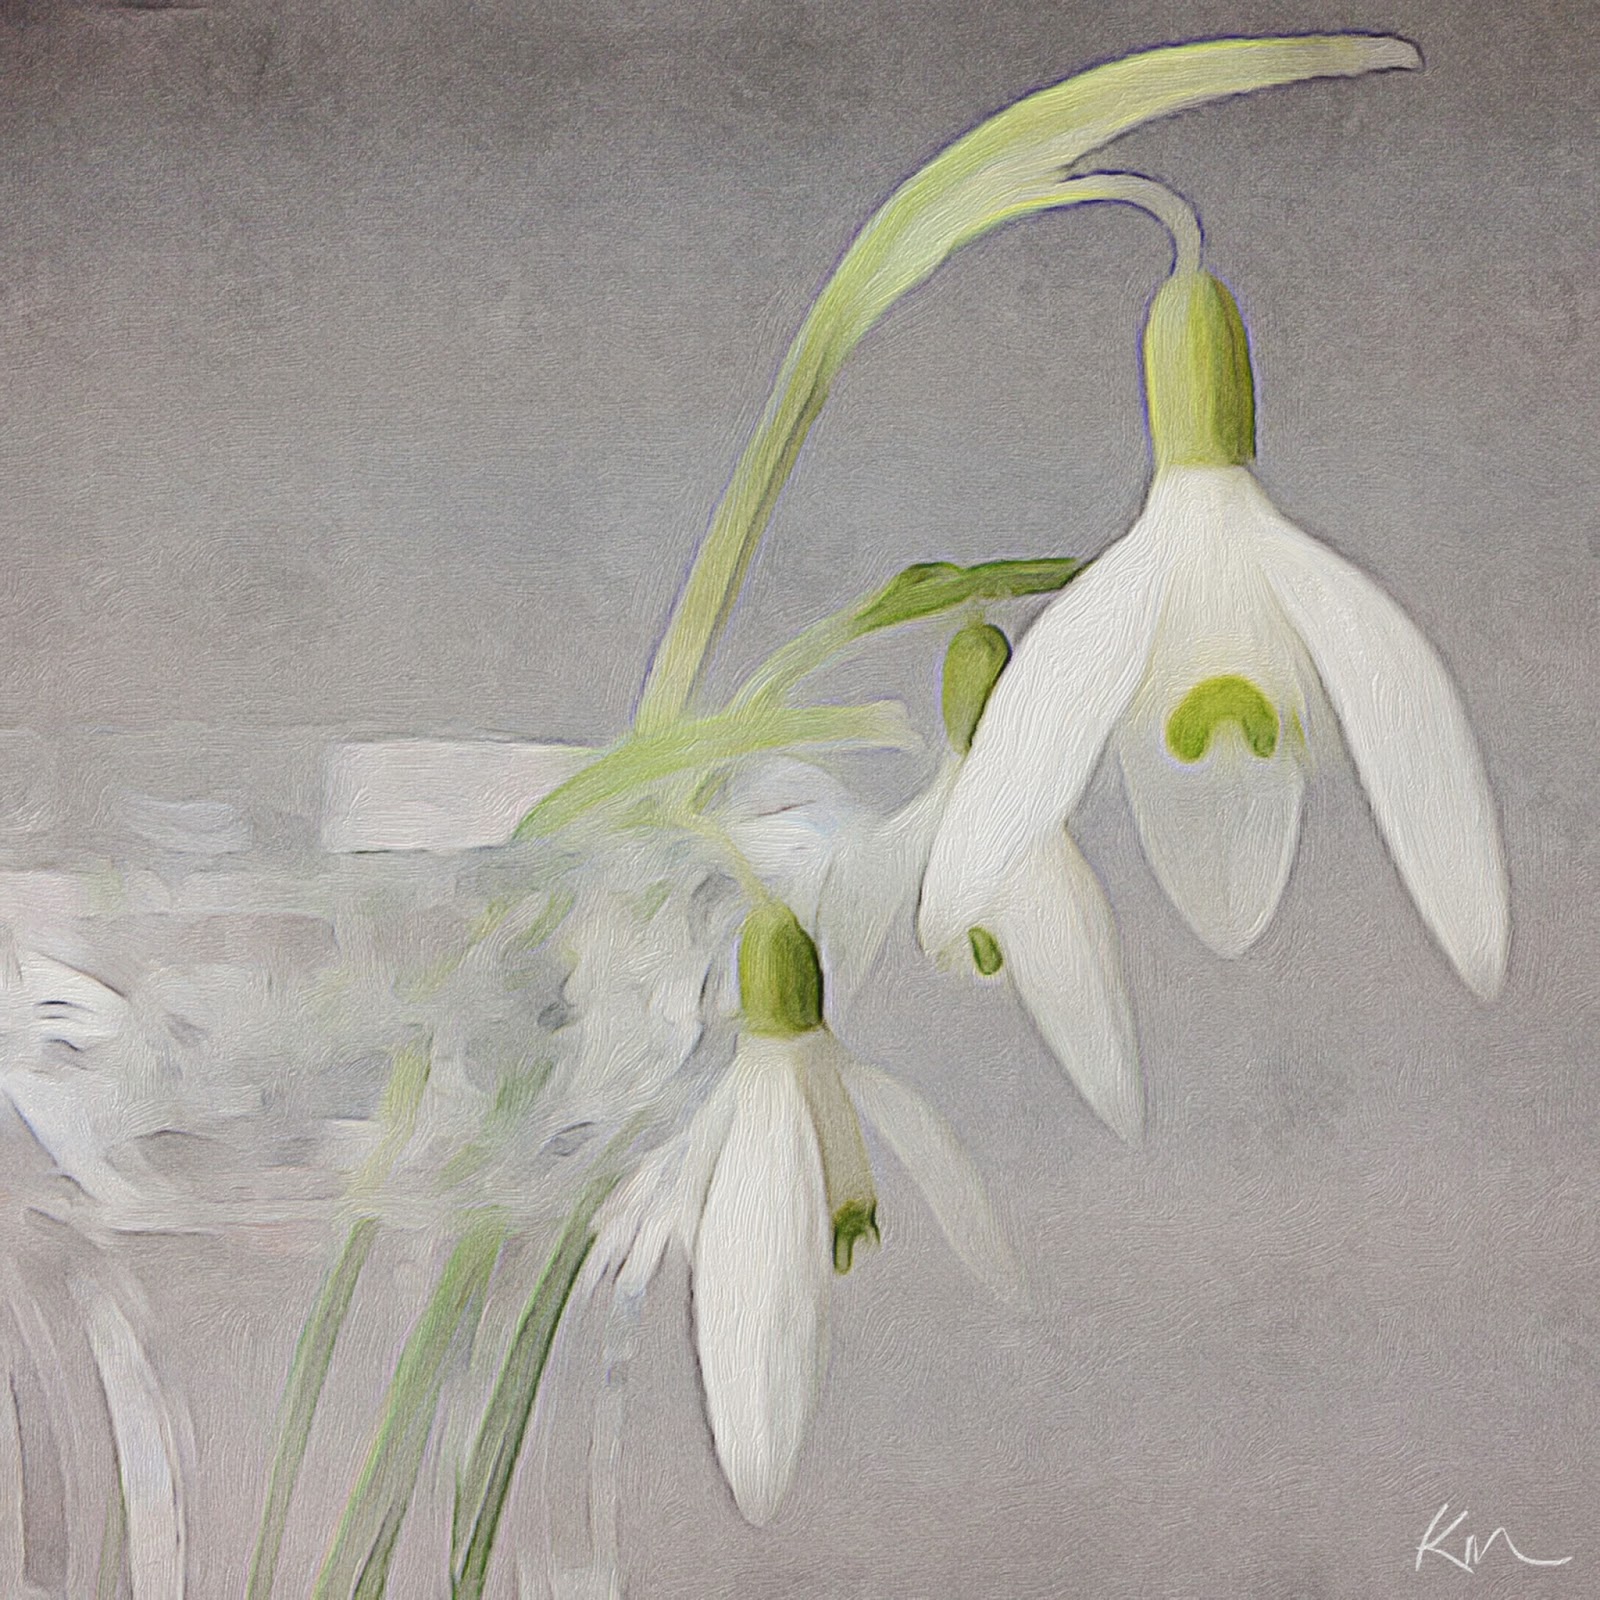
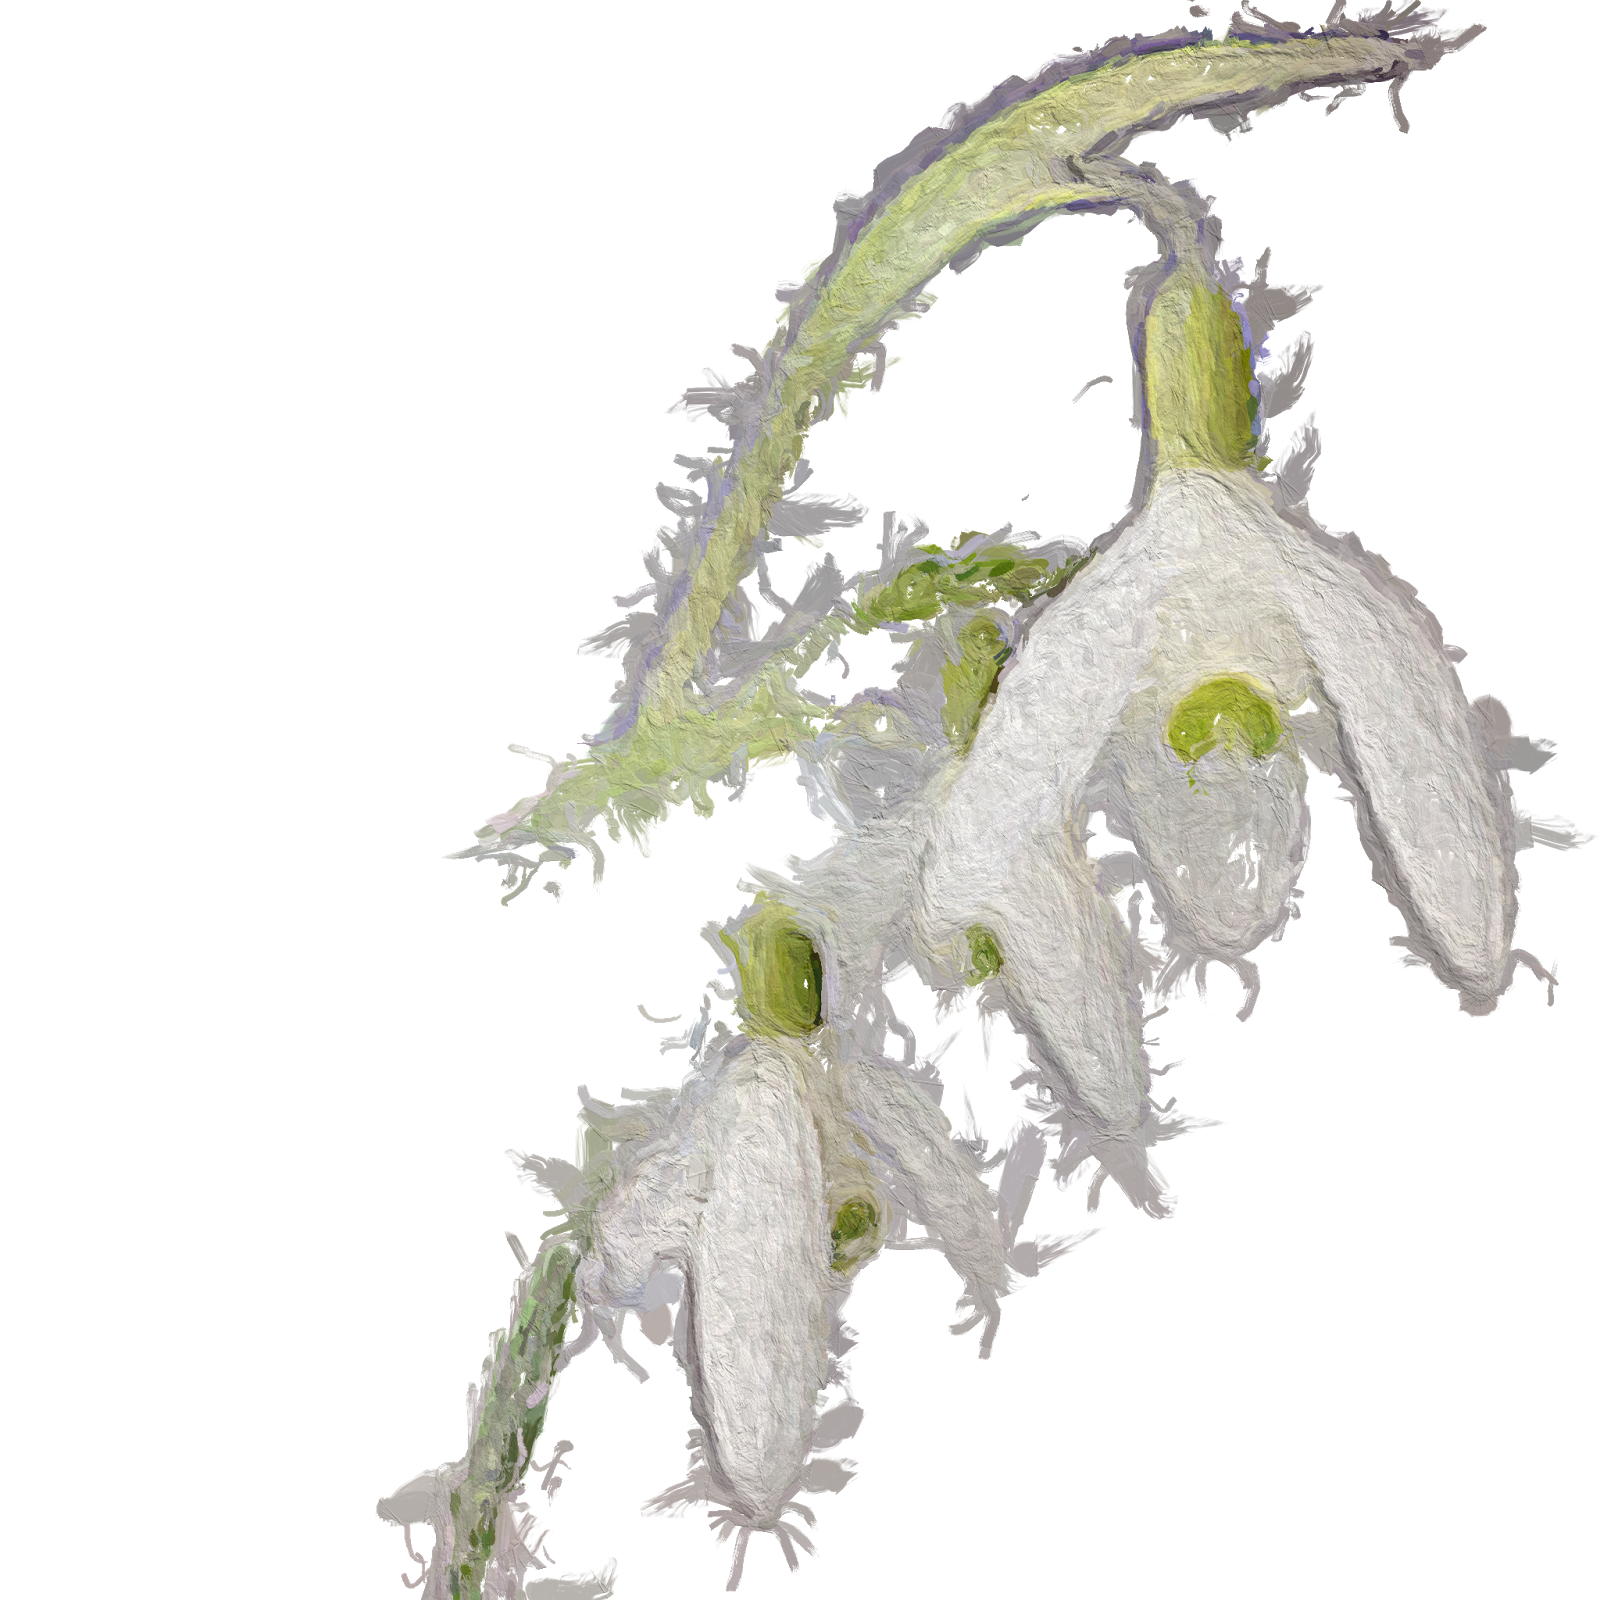
| 1. This is the iPhone image I started to work with in Glaze for the purpose of exploring the mask feature in Glaze. The image was captured with Camera+ with Square crop mode activated and I had already processed the image with BrushStrokes a newly released App. |
About 5 months ago the developers of Glaze added a new masking feature to their app Glaze. In order to access the feature it required an in App purchase so, I purchased it. I really did not have the curiosity to explore the options at that time as I was using ImageBlender, but this Glaze masking feature allows you to accomplish a different process when using the App Glaze with mask mode...so here it goes my attempt to explain its features and benefits as well as some ideas for improvement.
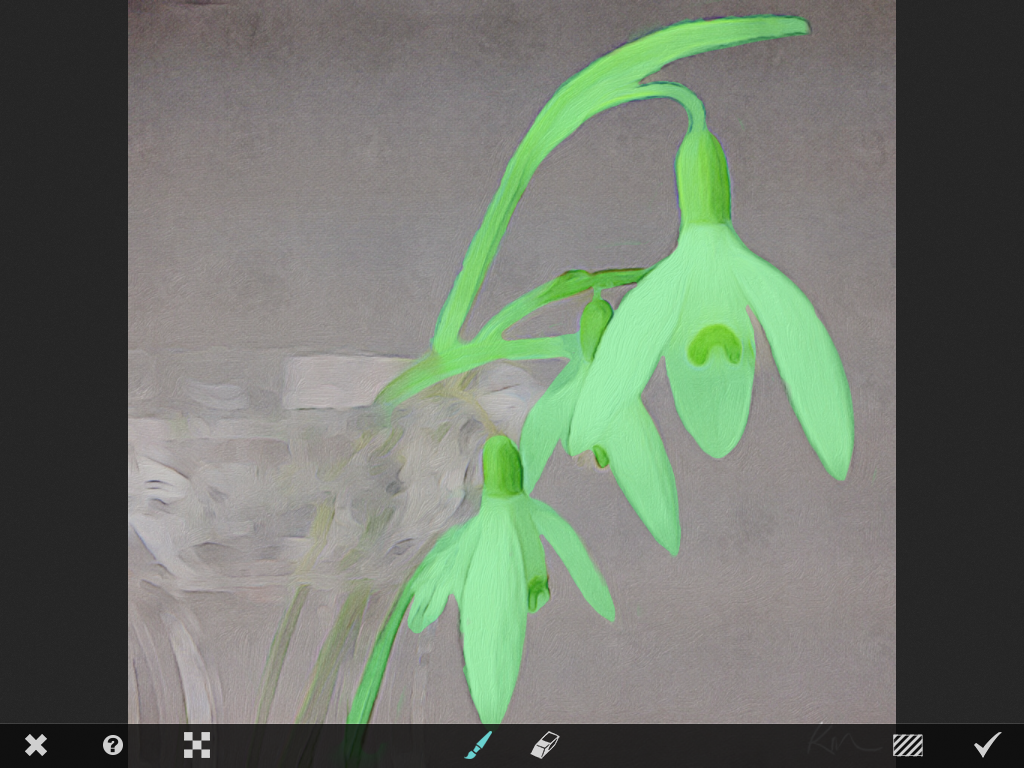 |
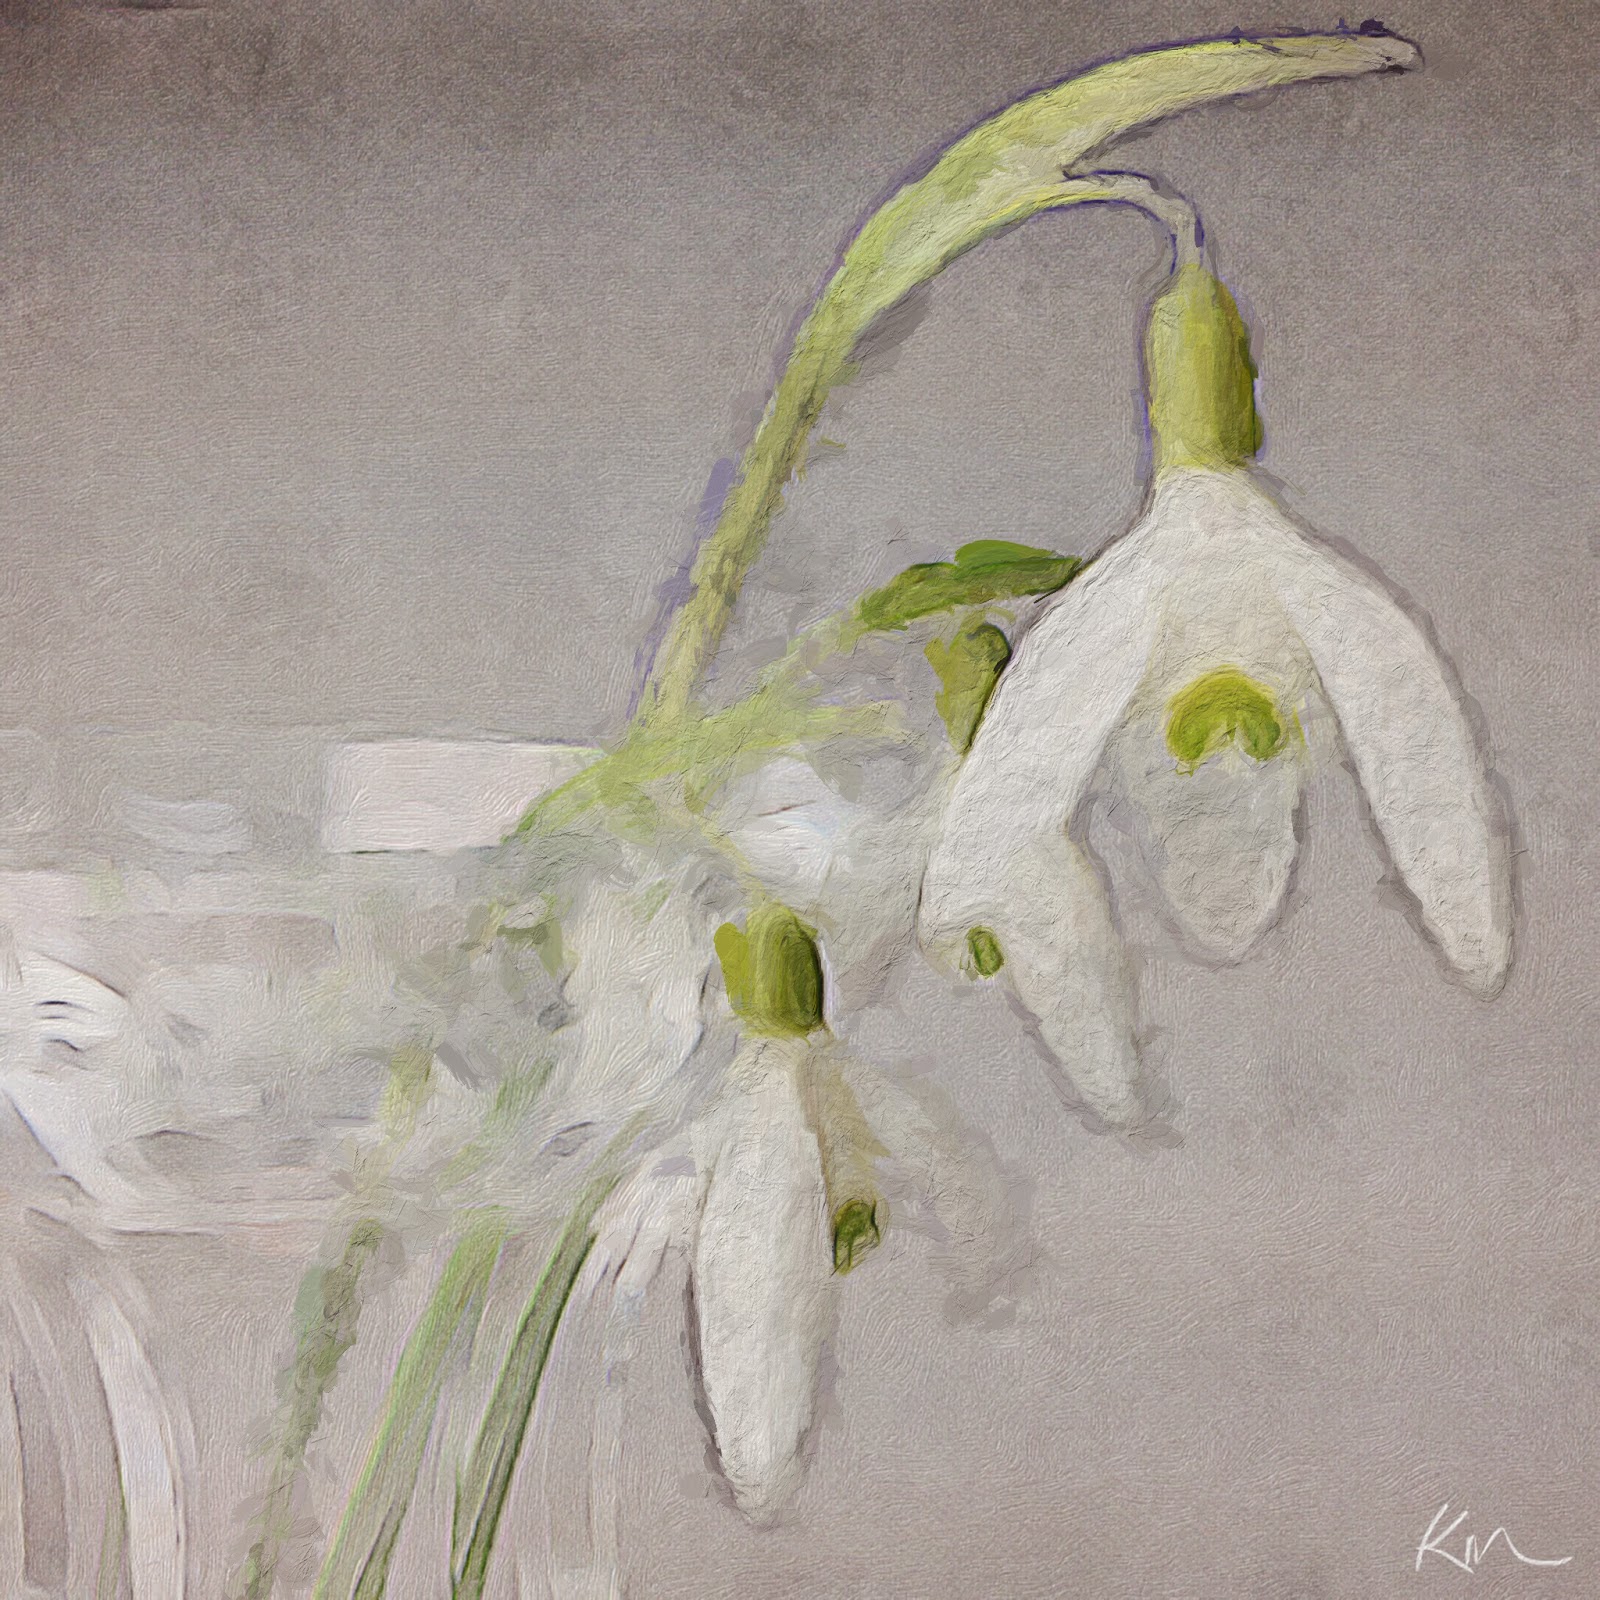
2. Image being masked in mask mode in Glaze.
To select the areas to be masked one paints over the image area with the Brush Icon activated, it is easily seen by the bright green mask. |
After purchasing the mask feature a star icon will appear at the bottom of the paint style palettes upon opening the application. When you tab on the star the menu choices appear as in the image 2 above.
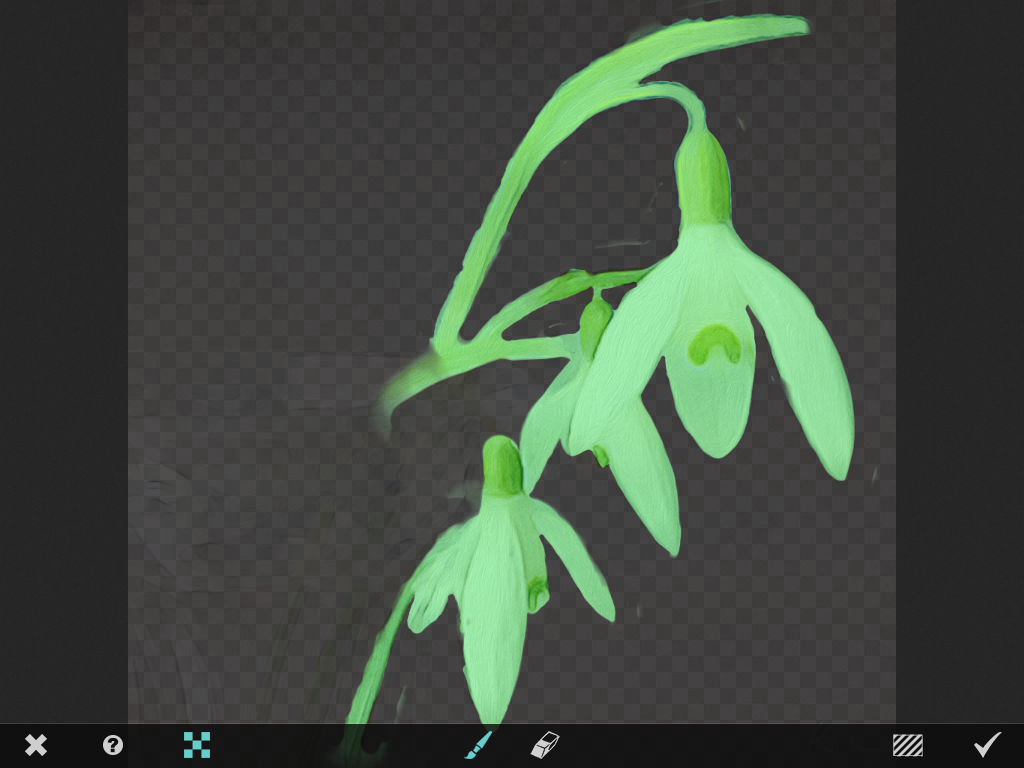 |
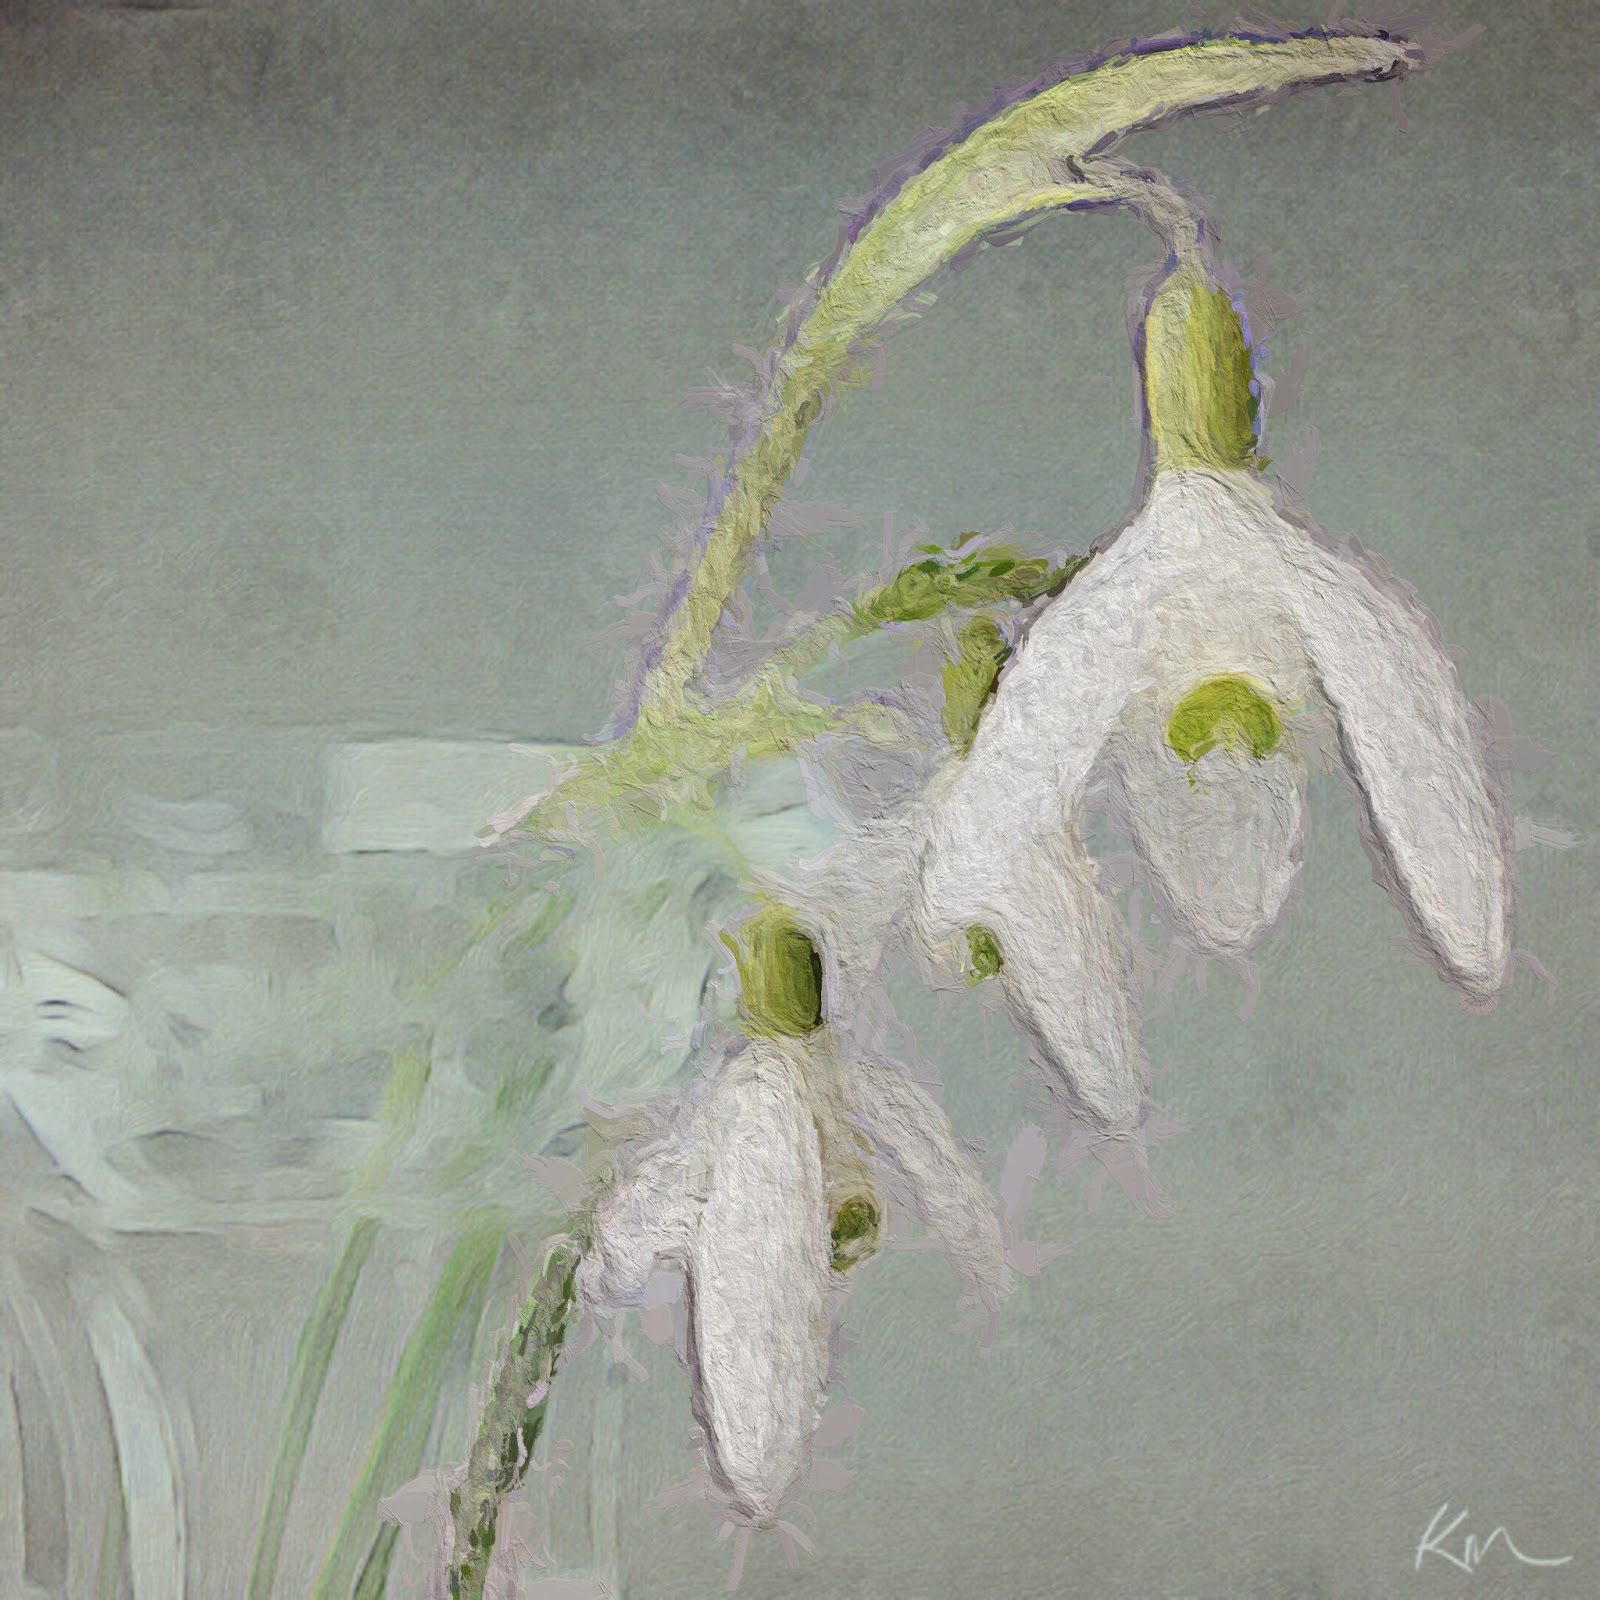
| 3. Transparent mask applied to background of the image. |
The cool thing about this mask is that you can save it with a transparent background. To do that you activate the transparent background by tabbing on the checkerboard icon. In order to work in great detail you simply expand the image and the brush becomes smaller relative to the enlarged image There is no brush size or opacity adjustment. The eraser feature works the same way. I woud like an undo button but it is easy enough if you over paint to erase. The one button you do not want to actidentally activate especially after you have spent time painting your mask is the diagonally striped rectangle on the bottom right, it will clear your mask! I wish there was a prompt connected with that saying are you sure you want to clear the mask?Now that you have the mask on a transparent background, you can hit the checkmark in the lower right. This will activate the mask and you can now run it through your favorite glaze filters.
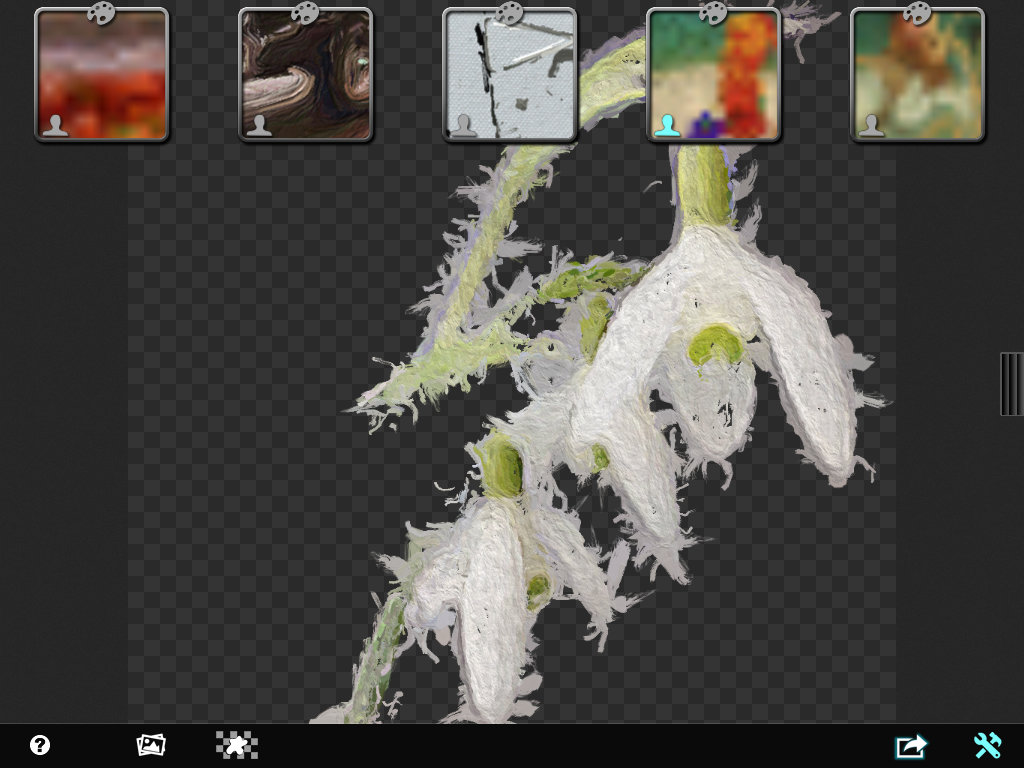 |
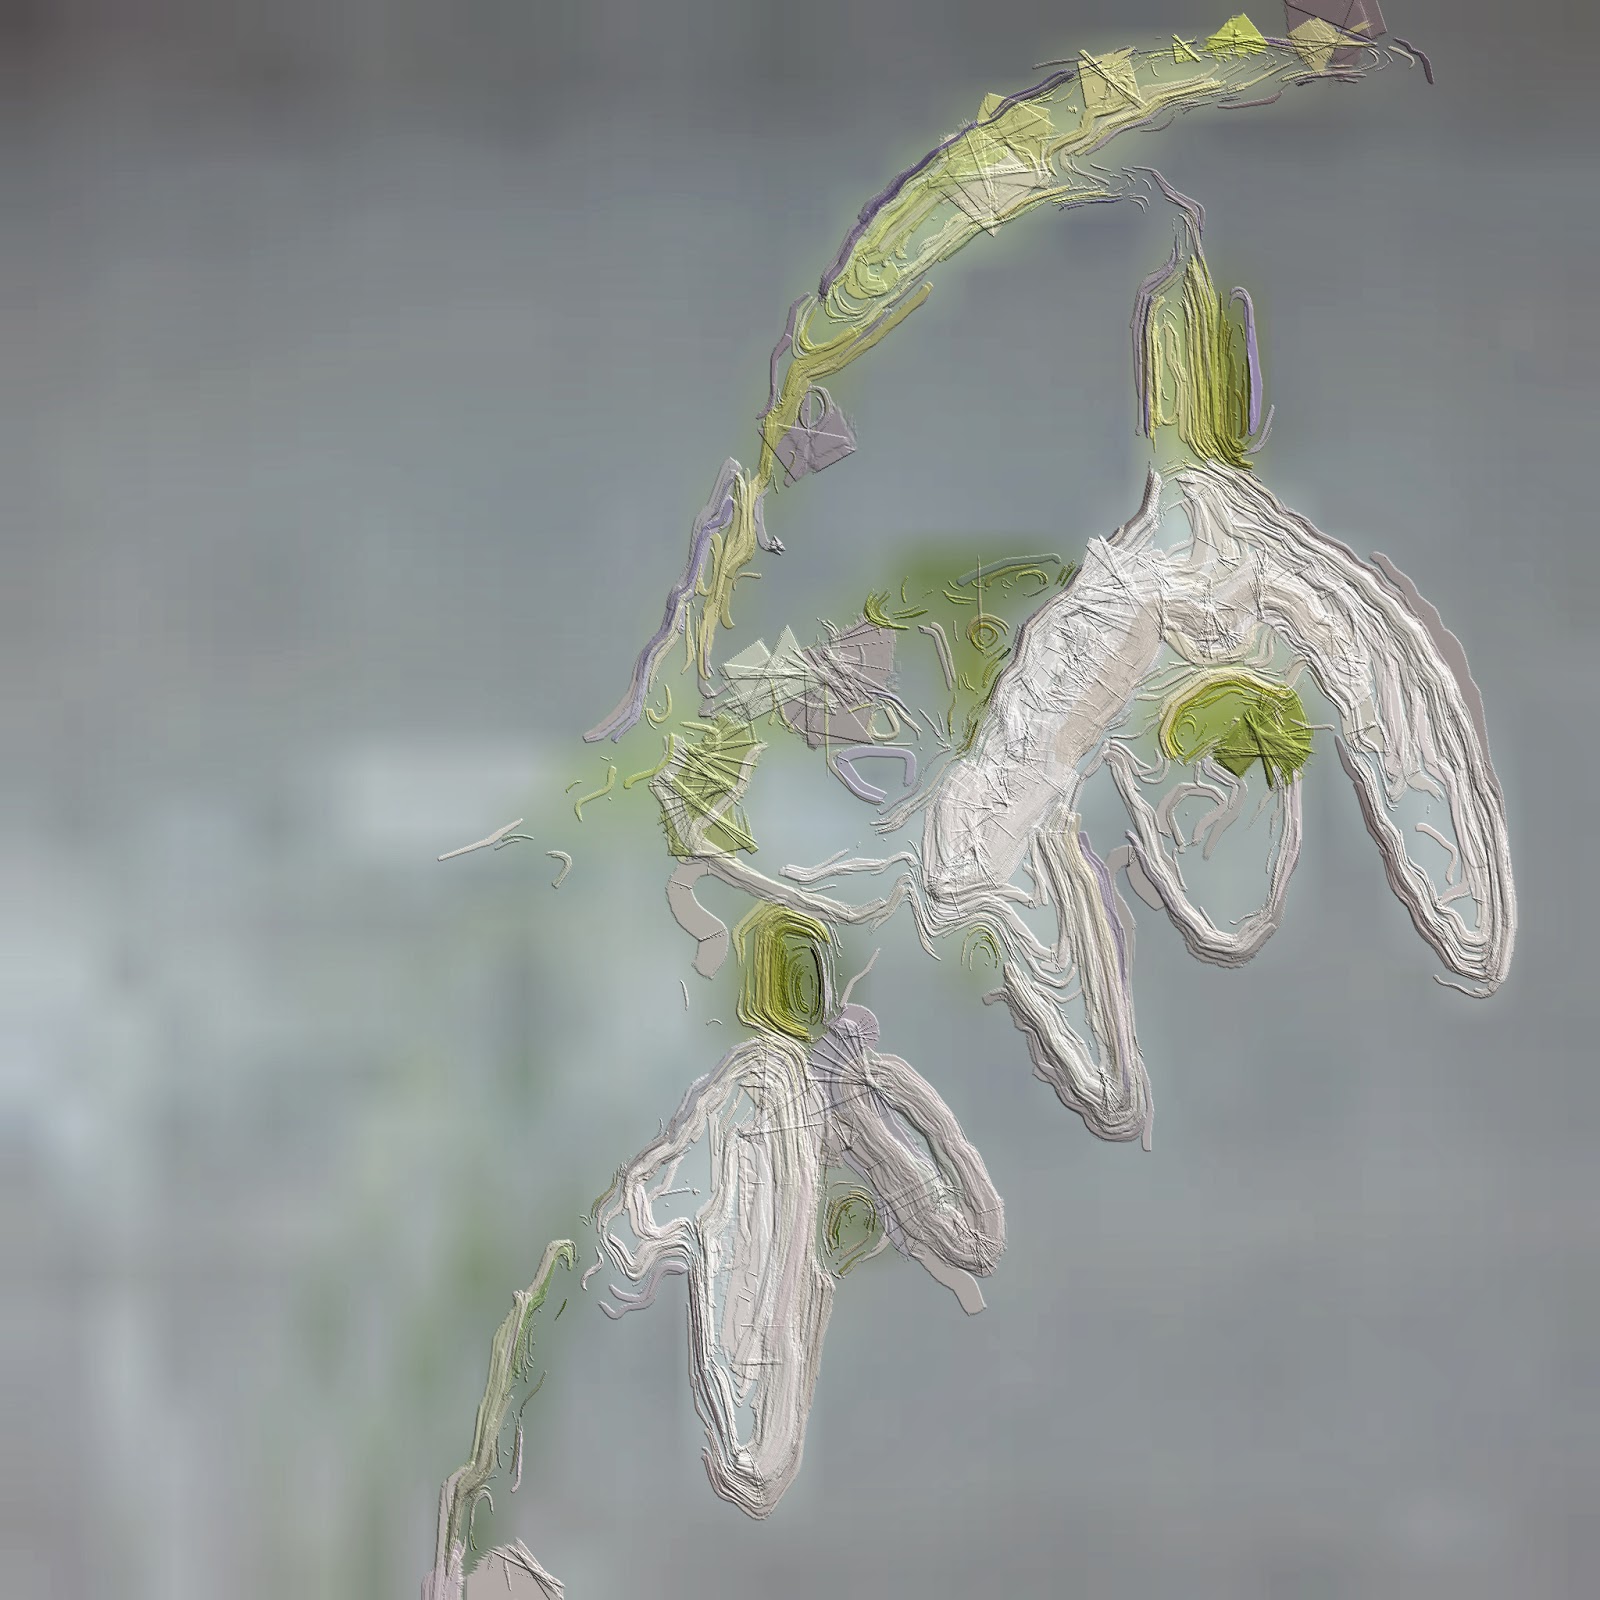
4. Masked image area processed with a Glaze filter with a transparent background.
Notice the star icon changed to reflect a transparent background. |
So here is what happens when you process the mask with you favorite Glaze filter, it applies it to the masked area only...pretty cool!
 |
| 5. Saved image to camera roll, masked and Glaze processed with transparent background all ready for blending with another file. |
The image above is what the saved, transparent masked image looks like in your camera roll.
 |
| 6. Blended images, the original BrushStrokes image 1 and the Transparent Glaze image 5 |
This is an image blended in ImageBlender using the original processed image from BrushStrokes Image 1 and a variation of the Masked Transparent Image 5. When you use the transparent image in ImageBlender there is no further masking required.
 |
| 7. You can also choose not to use a transparent background using the mask feature and run your image through a Gazed filter right out of the mask feature and Glaze will only apply the Filter to the mask leaving your background in the image. |
So five months later, I will say this is a pretty trick feature in Glaze!!! If you would like to work with me on this process, join me on my next day long iPhone workshop,
"Working with Apps in Depth" May 4, Sponsored by Capital Photography Center. Click here for more information and registration. Happy Masking!
 |
| Depending on the Glaze filter you use the background will change, this is a variant to the image process without the transparent mask activated. |

No comments:
Post a Comment